Upon trying to install Windows Updates, if you see a message with an error code 0x80240061, then this post is sure to help you fix the problem in Windows 11/10.

How to fix Windows Update error 0x80240061
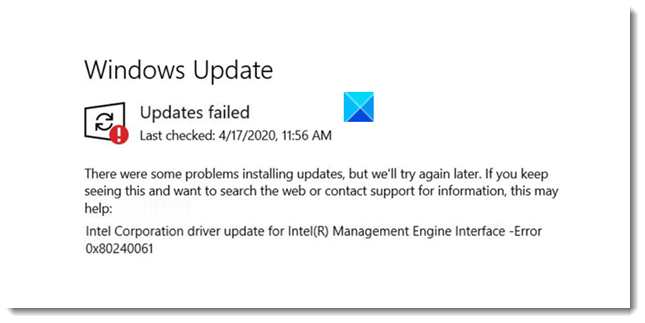
The error code 0x80240061 is usually followed by a message that reads –
There were problems installing some updates, but we’ll try again later. If you keep seeing this and want to search the web or contact support for information, this may help/ Error 0x80240061.
To fix this, try the following methods.
- Check if Windows Update related Services are running
- Clear SoftwareDistribution and catroot2 folder’s content
- Run Windows Update Troubleshooter
- Uninstall Hidden USB device
- Manually install the Update.
Software conflict can be a possible reason for getting the error 0x80240061. In order to troubleshoot this issue do the following.
1] Check if Windows Update related Services are running
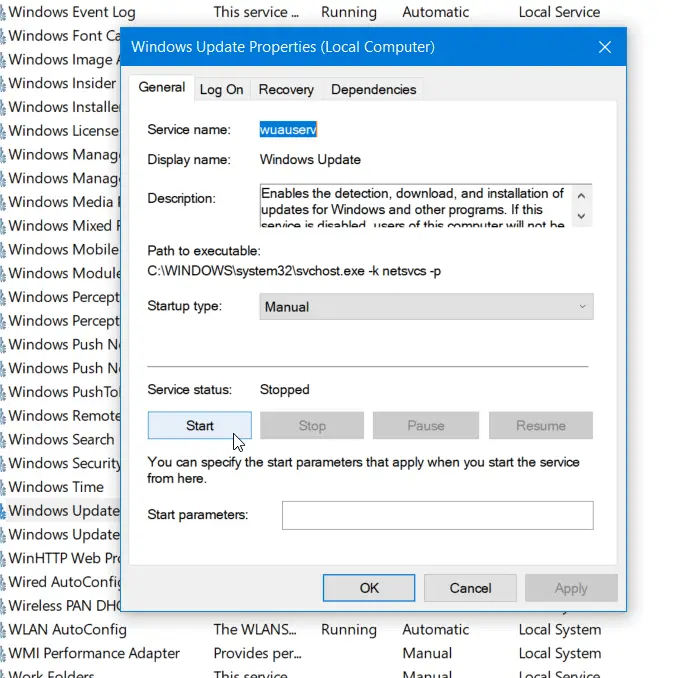
Open Windows Services Manager and check the Windows Update related Services like Windows Update, Windows Update Medic, Update Orchestrator Services, etc are not disabled.

The default configuration on a standalone Windows 10 PC is as follows:
- Windows Update Service – Manual (Triggered)
- Windows Update Medic Services – Manual
- Cryptographic Services – Automatic
- Background Intelligent Transfer Service – Manual
- DCOM Server Process Launcher – Automatic
- RPC Endpoint Mapper – Automatic
- Windows Installer – Manual.
Make sure that the Startup type is as mentioned above. This will ensure that the required Services are available.
Apart from the direct service, you should find the dependencies of the Windows Update service and ensure if they are running or not.
To get started, search for “services” in the Taskbar search box and click on the search result. After opening the Services window, find out Windows Update, DCOM Server Process Launcher, and RPC Endpoint Mapper. Check if they are running or not.
If not, you need to start those services one after one. You may double-click on them to open their Properties box and then do it, or you may simply right-click on the Service name and select Start.
2] Clear SoftwareDistribution and catroot2 folder’s content
Even the Windows Update cache has its own cache folder. Clearing this folder manually is known to resolve most issues experienced while installing the latest Windows 10 updates, automatically.
To do so, you need to clear the contents of the SoftwareDistribution folder and the Catroot2 folder to completely clear the Windows Update cache.
3] Run Windows UpdateTroubleshooter

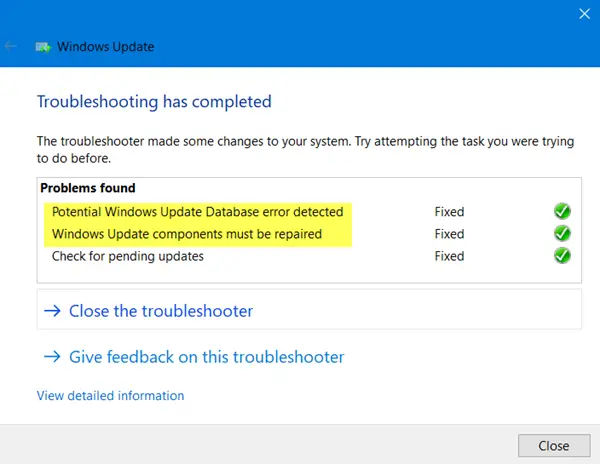
Use the Windows Update Troubleshooter from Microsoft. It resets Windows Updates settings to defaults.
- Go to Start button
- Select Settings
- Open Update & Security settings
- Locate Troubleshoot section
- From the Troubleshooters, select Windows Update.
You may also run the Online Windows Troubleshooter from Microsoft.
4] Uninstall Hidden USB device
There is another workaround that has helped many, and you may try it. This Error could happen if your computer has ever plugged in some USB devices, etc. To check and resolve this issue, do the following:
Open Windows PowerShell (admin) and execute the following command:
dvegr_show_nonpresent_devices=1
Next, open Device Manager, choose View, and activate ‘Show hidden devices‘.
You may find items related to a USB or Smart Card in the device list – Like for example – Smart card, Smart card filter and Smart card reader.
Double click on Smart card. You’ll see some hidden USB devices with grey font or icon
Uninstall this device.
Restart your computer and check Windows Update again.
5] Manually install the Update
You need to manually download and install the update via the Microsoft Catalog site. The error message will display the KB number of the failed update.
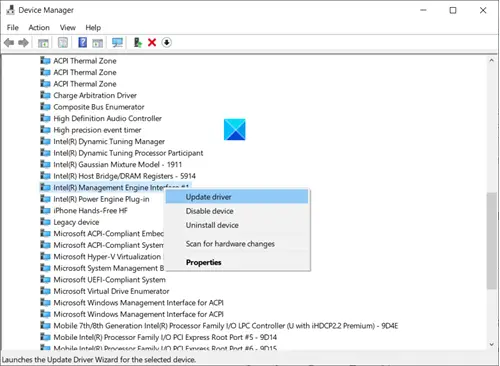
If it is the Intel Management Engine Interface that has failed, then do the following.
Open Device Manager. Go to System Devices. Expand its menu.

Find Intel(R) Management Engine Interface entry. When found, right-click it and select the Update Driver option.
Hope it helps!