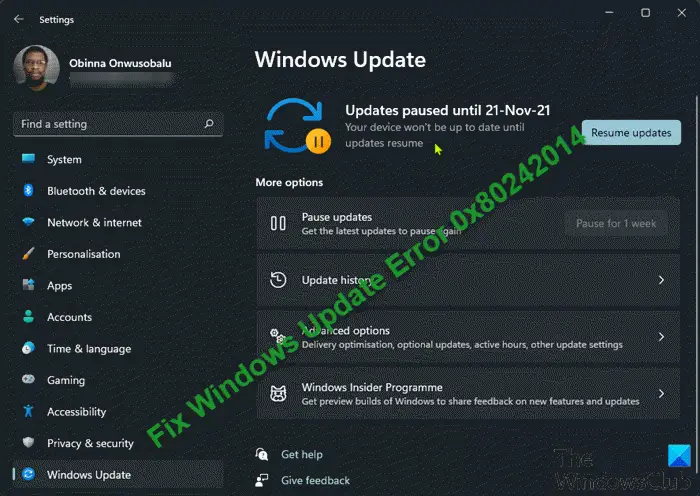
If you’re encountering Windows Update error 0x80242014 on your Windows 11 or Windows 10 computer, you can try the solutions we will present in this post to successfully remediate this issue.

The Windows update error description reads thus:
0x80242014 Message Description Mitigation WU_E_UH_POSTREBOOTSTILLPENDING The post-restart operation for the update is still in progress.
How do I know if my Windows Update is corrupted?
To know if your Windows update is corrupted, you can follow these instructions: From the desktop, press the Win+X hotkey combination and from the menu select Command Prompt (Admin) for Windows 10 OS – for Windows 11 OS, select Windows Terminal (Admin). Click Yes on the User Account Control (UAC) prompt that appears. Once the blinking cursor appears, type: SFC /scannow and hit the Enter key. SFC checks the integrity of Windows system files.
Windows Update Error 0x80242014
If you’re faced with this issue, you can try our recommended solutions in the order presented below to resolve the Windows Update Error 0x80242014 on your Windows 11/10 PC.
- Restart the computer
- Run Windows Update Troubleshooter
- Clear the Windows Update cache
- Perform System Restore
Let’s take a look at the description of the process involved concerning each of the listed solutions.
1] Restart the computer
As the error description indicates POSTREBOOTSTILLPENDING, you can manually force a restart of your Windows 11/10 computer and see if the Windows Update Error 0x80242014 will be resolved. If not, try the next solution.
2] Run Windows Update Troubleshooter
This solution requires you to run the inbuilt Windows Update Troubleshooter and see if that helps to resolve the issue. Otherwise, try the next solution.
3] Clear the Windows Update cache
The Software Distribution folder in Windows 11/10 operating system is a folder located in the Windows directory and used to temporarily store files that may be required to install Windows Update on your computer. This solution requires you clear the contents of the Software Distribution folder.
Like the SoftwareDistribution folder, Catroot2 and Catroot both folders are important for Windows update. A catroot2 folder contains some important Windows update component. Any problem on it can cause Windows update failure. So, to repair some update-related issues, you will need to reset the catroot2 folder and Software Distribution folder.
If none of these actions worked to resolve the issue at hand, you can try the next solution.
4] Perform System Restore
If nothing has worked so far for you, you can perform System Restore and select a restore point in a working condition prior to the Windows update. Once you have your system in that pristine working state, you can rerun the Windows update or manually download the update package from Microsoft Update Catalog, then run the standalone installer to install the update on your Windows 11/10 computer.
Any of these solutions should work for you!
How do I fix Windows 10 update failed?
If you’re encountering issues whereby Windows 10 update failed to install on your Windows 11/10 system, you can try the following suggestions to Fix Windows 10 Update Failed Errors: Try rerunning Windows Update. Unplug your peripherals and reboot. Check your available drive space. Use the Windows 10 troubleshooting tool. Pause Windows 10 Updates. Manually delete your Windows Update files. Download and install the latest update manually.
How do I fix Windows Update assistant error?
If you’re having issues with the Windows Update Assistant errors on your Windows PC, here are some steps you can take to fix a stuck Windows Update Assistant: Restart the Windows Update Service. Use the Windows Update Troubleshooter. Disable Third-Party Antivirus and Windows Defender Temporarily. Clear the Update Cache.
Leave a Reply