If Windows Volume Mixer is not saving settings then this post is sure to help you resolve the issue. The Windows Volume Mixer is a feature in Windows OS that allows controlling the volume levels of individual applications and system sounds. This feature isn’t available as a full-fledged application. Recently, some users have complained that Windows Volume Mixer is not saving the changes made in the settings. Fortunately, you can follow some simple suggestions to fix the error.
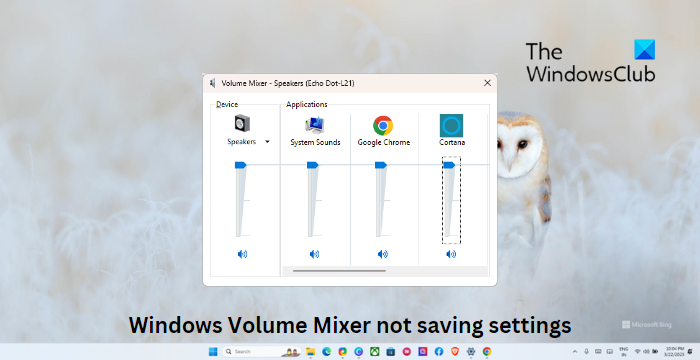
Fix Windows Volume Mixer not saving settings
If Sound and Volume Mixer is not saving settings on your Windows 11/10 computer, follow these suggestions:
- Run Windows Audio Troubleshooter
- Update the Audio Drivers
- Turn on Exclusive mode in Speakers Properties
- Roll Back Windows Update
- Check for Conflicting Applications in the Clean Boot Mode
Now let’s see these in detail.
1] Run Windows Audio Troubleshooter
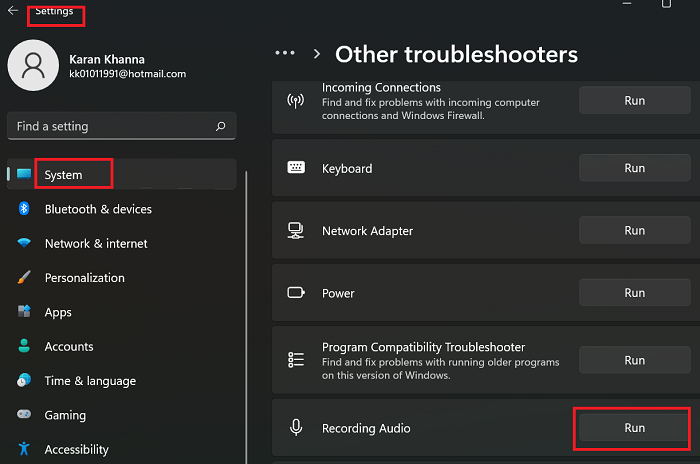
Before getting started with different methods to fix this issue, run Microsoft’s built-in Audio troubleshooter. Here’s how:
- Press Windows Key + I to open Settings.
- Scroll down and select Troubleshoot > Other Troubleshooters.
- Click on Run beside Playing Audio.
- Once the process is complete, restart your device to see if the error has been resolved.
2] Update the Audio Drivers

Outdated or corrupted drivers can also be responsible for why Windows Volume Mixer is not saving settings. Update your Audio drivers and check if the issue gets fixed. Here’s how you can do it:
- Open Settings and navigate to Update & Security > Windows Update.
- Right under it, look for a clickable link— View optional updates.
- Under Driver Updates, a list of updates will be available, which you can choose to install if you are facing an issue manually.
Alternatively, download and install Audio drivers from the manufacturer’s website.
3] Turn on Exclusive mode in Speakers Properties
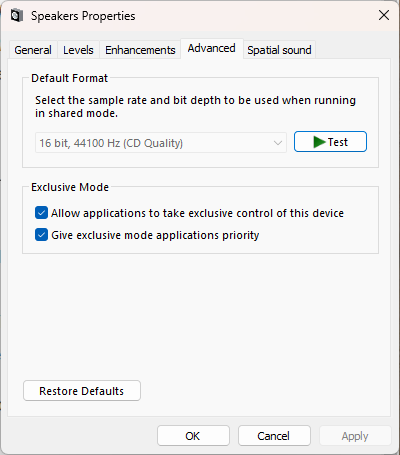
This method requires you to allow applications to take exclusive control of this device and enable exclusive mode. Doing so can help fix issues with the Windows Volume Mixer. Here’s how:
- Press the Windows key + R to open the Run dialog box.
- Type sndvol and hit Enter.
- Once the Volume Mixer opens, click on the Speaker icon.
- The Speaker Properties dialog will now open; here, navigate to the Advanced tab.
- Under Exclusive mode, check the options Allow applications to take exclusive control of this device and Give exclusive mode application priority.
- Click on Apply and then on Ok to save the changes.
Fix: Volume Mixer not opening on Windows 11
4] Roll Back Windows Update
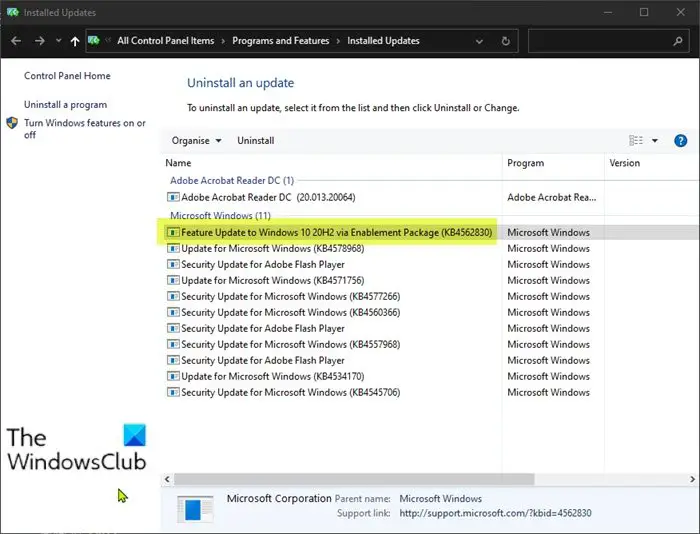
If the issue occurred after Windows Updates, consider uninstalling the Update. To uninstall an update, follow these steps:
- Press the Windows key + R to open the Run dialog box.
- Type appwiz.cpl and hit Enter.
- In the Uninstall or view a program page click on View Installed Updates.
- Right-click on the recently installed update and select Uninstall.
If it occurred after you installed a Feature Update, this post will show you how to roll back the Feature Update.
5] Check for Conflicting Applications in the Clean Boot Mode
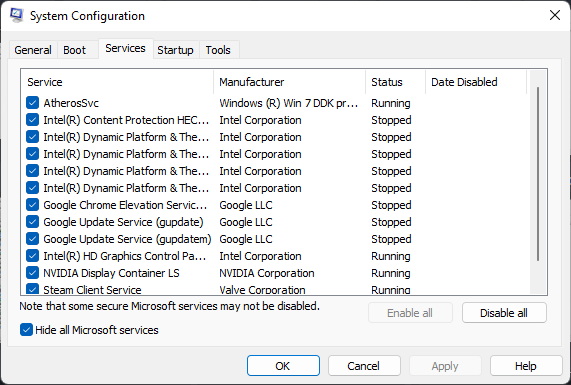
Some applications installed on your device can be the reason why Windows Volume Mixer may have trouble saving settings. Perform a Clean Boot of your PC to restrict all third-party applications.
If the error doesn’t appear in the Clean Boot State, you may need to manually enable one process after another and see who the culprit is. Once you’ve identified it, disable or uninstall the software.
Fix: Sound and Audio problems and issues in Windows
I hope this helps.
Why do my sound settings keep resetting?
If the sound settings keep resetting on your Windows device, it could be due to outdated or corrupted audio drivers. To fix this update, download and install the drivers directly from your manufacturer’s website. However, it can also occur if third-party software interfere with your device’s audio settings.
Read: Stop Windows from changing audio device
How do I stop Windows from auto adjusting volume mixer?
To stop Windows from auto-adjusting the volume mixer, disable the “Allow applications to take exclusive control of this device” option in the sound settings. Doing so should fix this error.