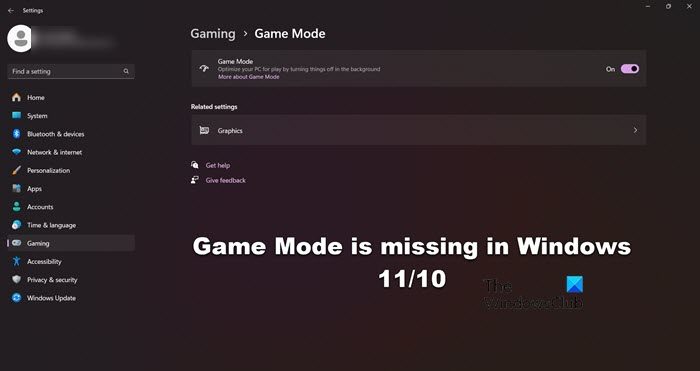
The Game Mode feature in Windows 11/10 enables your computer to dedicate all its resources to the game. Even though this feature is available across Windows computers, some of us have complained that the Game Mode is missing from our computers. In this post, we will provide an explanation and necessary actions that can be taken

Game Mode is intended to make Windows 11/10 the best operating system for gamers – enabling a seamless gameplay experience across all types of computers and devices. This feature essentially prevents system background activities such as Windows updates or notifications from apps during gameplay in a bid to offer a more consistent gaming experience.
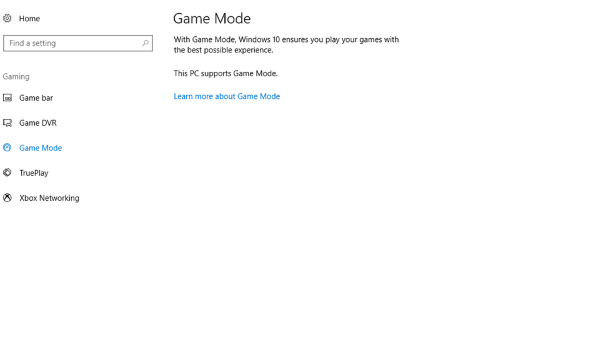
Windows Game Mode toggle is missing
It’s imperative to point out that the users most likely to encounter the missing Game Mode issue are users running the N/KN editions of Windows 11/10.
Labeled “N” for Europe and “KN” for Korea – includes all the base features of the operating system – but without Windows Media Player and related technologies pre-installed. For the Windows 11/10 editions, this includes Windows Media Player, Music, Video, Voice Recorder and Skype.
To find out if you’re running the N/KN edition of Windows 11/10, do the following:
- Press the Windows key + R.
- In the Run dialog box, type winver hit Enter.
You’ll get a display with the information.
Consequently, if you’re running an N/KN edition of Windows 11/10 – to fix this issue, all you need do is to download and install the Media Feature Pack.
Once the update package is done installing the Media Feature Pack, reboot your PC. When your computer boots up, your computer will have Game Mode. The quickest way to verify is to press Windows key + I to launch the Settings app – make sure that one of the options available in the window is Gaming.
Furthermore, in a seemingly related issue, whereby the Game Mode option is available but the On/Off toggle button is missing or grayed out.

This issue can be encountered by any Windows 11/10 user regardless if running the N/KN editions or not. In this case, you’ll need to carry out a registry tweak to fix this issue. Here’s how:
First, create a System Restore Point or backup the Registry – in case things goes south.
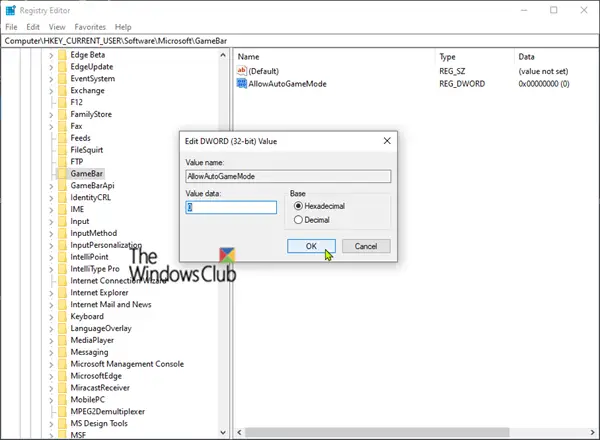
Now, navigate to the following location in the registry:
HKEY_CURRENT_USER > Software > Microsoft > GameBar
Here, look for a key called AllowAutoGameMode. If it’s not there, create it by right-clicking inside the right panel and selecting New > DWORD (32-bit) Value.
Double-click this newly created key to edit its properties.
Now, set the value accordingly as to what you want and click OK:
- Value of 0 = Off
- Value of 1 = On

Restart your PC.
If you are running the regular version of Windows 11/10, you can try upgrading to the latest version/build of Windows to see if that helps or you can perform an In-place repair upgrade.
I hope this helps!
How do I enable Game Mode in Windows 11 and 10?

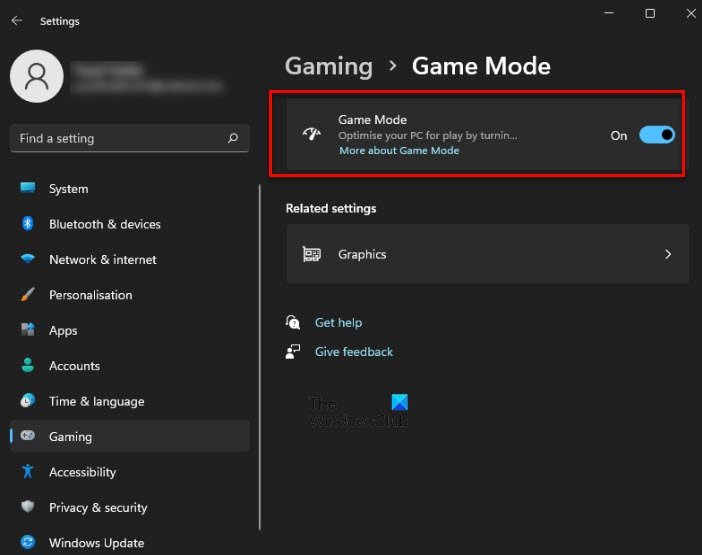
To enable the Game Mode in Windows 11/10, we will use the Settings application. So, open Windows Settings, go to Gaming > Game Mode and then turn on the toggle.
Leave a Reply