In the past, we’ve talked about several free tools designed for calculating hashes and generating Checksum files. Most lack many features, and some have an ancient-looking user interface, which is problematic for some. With all that in mind, we would like to discuss a new program called PS Hash.
PS Hash calculates checksum & hashes of files
The idea behind it is to calculate file hashes and checksums and then compare their contents using a specialized algorithm. The tool will generate a checksum file, and from what we’ve gathered, it supports 30 of them. Some are .md5, .sha1, .sha256, and much more. Additionally, we like the fact that PS Hash is portable; therefore, there is no need to install anything.
Let us look at this tool in more detail.
1] Select Files
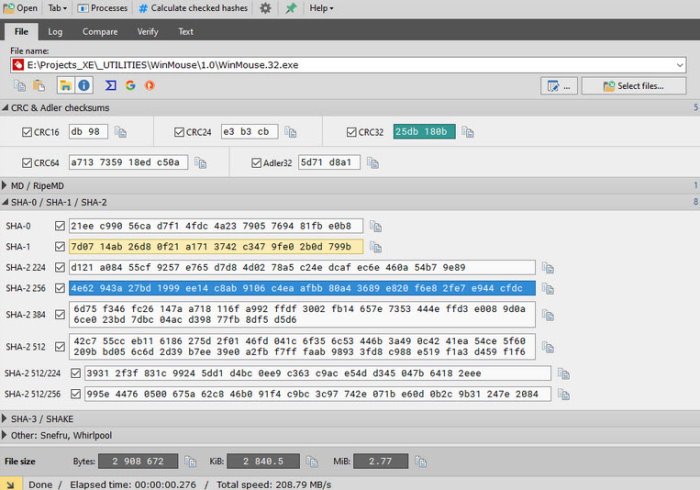
The first thing you’ll want to do when using PS Hash is to select the required files and add them to the program. To do this, click on Open, then search for the file(s) you want to add and select it. Alternatively, you could click on the button that says Select file(s).
Once the file has been added, you should see a bunch of information below in the form of hashes. Beside each section is a copy button if you want to copy the hash to clipboard.
Read: What is the difference between Encryption and Hashing?
2] Calculate the selected file hash
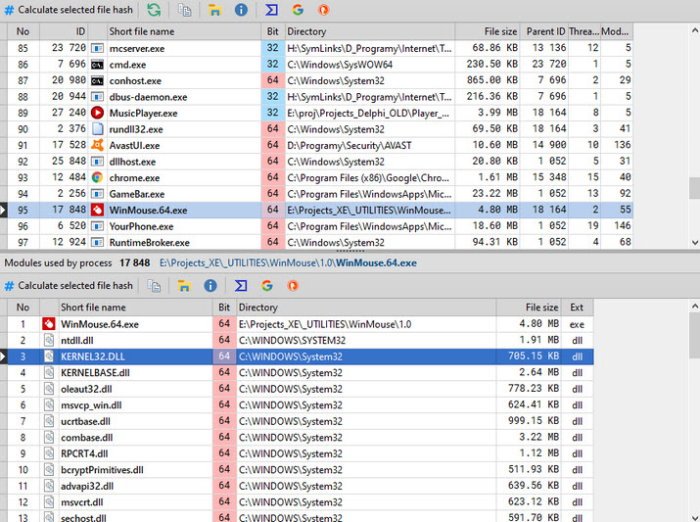
Another way to add files and calculate the hash is to click on the Processes button. A new window should immediately appear with a list of apps and files on your Windows computer. From the list, select the required file, then click on Calculate selected hash file.
That should do the trick, so go ahead and copy the hash to the clipboard for future reference if you want.
3] Log
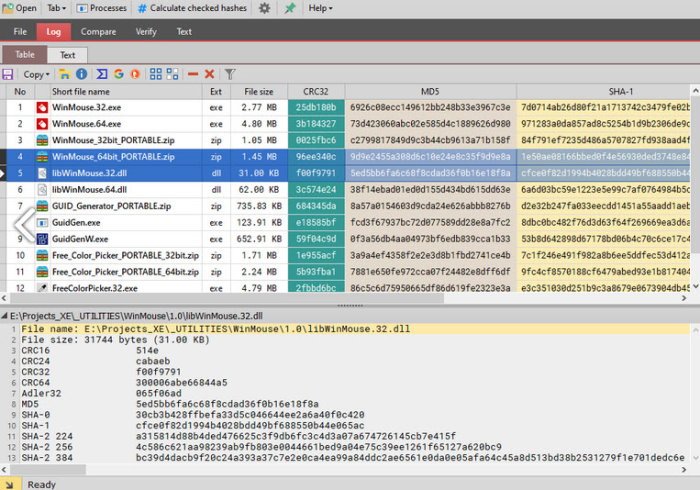
One cool aspect of PS Hash is that it creates a log of all the files you’ve added. It means there is no need to add the same file again to gain access to the hash because its available in the log. Additionally, the ability can filter out certain files and only see the types you want.
For example, if you only want to see ZIP files, type ZIP in the filename box, and only files with that container will show up.
4] Comparing files
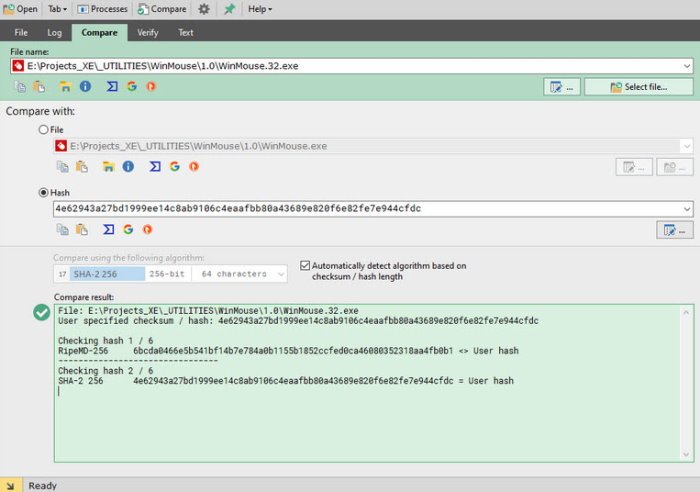
The ability to compare two files is something PS Hash does very well. Simply add both files and allow the tool to compare the hashes. Folks can even compare using different algorithms in a bid to get the best results.
When the comparison is complete, the results should appear in the box below, which is highlighted in green.
5] Shell integration
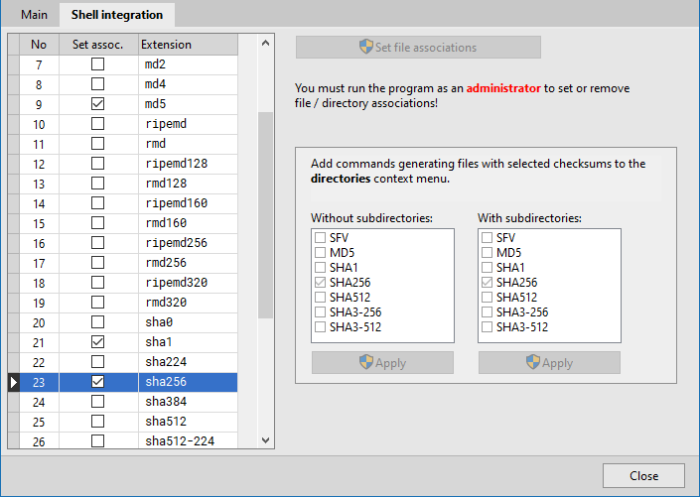
As we all know, Windows has a context menu that supports the integration of third-party apps. PS Hash allows this, therefore, if the user feels the need to add a checksum to the context menu, then this can be done easily.
Simply click on the gear icon, and select the Shell Integration tab from the new window. From there, choose what is best to add to the context menu, hit Apply, then close the window and move on.
Download PS Hash from the official website.
Related Article: Best MD5 Hash Checker Tools for Windows.
Leave a Reply