OneDrive is an online cloud storage service that comes with your Microsoft Account. It allows you to store files in the cloud and access them anytime, anywhere on your PC, tablet, or phone. It also enables you to share the same without sending them as bulky attachments. In this post, we will touch upon some basic tutorials that will help you in getting started with OneDrive. Towards the end of this post, you will see a link where you can download an eBook from Microsoft.
OneDrive Tutorial for Beginners

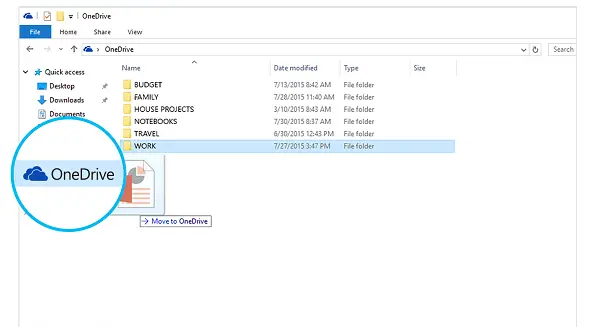
Before putting the service into use, the first step is to add files to your OneDrive. The simplest way to do this from your PC is to download OneDrive and drag the files into the OneDrive folder.
When you download OneDrive cloud service, a cloud icon is added to the left pane of your ‘File Explorer’ window. If you have any file, document, or PowerPoint presentation saved to your PC, it too shows in the left pane of the ‘File Explorer’ window. You can simply use the ‘Drag and Drop’ action to transfer the file to OneDrive account. When you have it saved in the OneDrive, you can access the file anytime from your phone or other mobile devices.

One benefit of adding files to your OneDrive account is that files you save to OneDrive are available online at OneDrive.com and offline on your PC. What does this mean? Well, you can access them anytime, even when you’re not connected to the Internet. Moreover, when you reconnect, OneDrive updates the online versions with changes you made offline if any.
Offline feature proves handy when you’re stuck without Wi-Fi, but they also take up space on your PC. So, if you’re running low on storage space, it is advisable not to keep the OneDrive files offline. Learn how to activate selective sync on OneDrive.
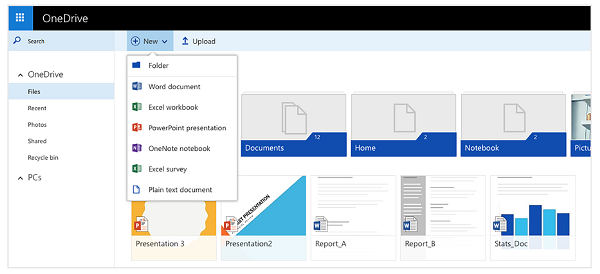
If you have OneDrive account, the service allows you to create Word documents, Excel workbooks, PowerPoint presentations, and OneNote notebooks via Office mobile apps or OneDrive.com. This is completely free. All you need to do is sign in to your OneDrive account and select ‘New’ option as shown in the screenshot below.

Similarly, you can share files and folders to OneDrive website without attaching anything. Just select ‘Share’ option, adjacent to ‘New’ option. When you chose this option, you invariably grant people, permission to edit shared file or document so you don’t have to send around. Other people can introduce changes by adding comments and add images or charts.
With all things in place, you can accept changes and add files from any computer, tablet, or phone by using the OneDrive website. To do so, simply go to OneDrive.com, sign in, and then select “Upload.”
Does OneDrive have a PDF reader?
Yes, OneDrive has a built-in PDF reader. To use OneDrive built-in PDF reader, log in to OneDrive using your Microsoft account in your web browser. Now, upload a PDF file and then click on that PDF file to open it. The PDF file will open in the OneDrive built-in PDF reader.
Can OneDrive convert PDF to Word?

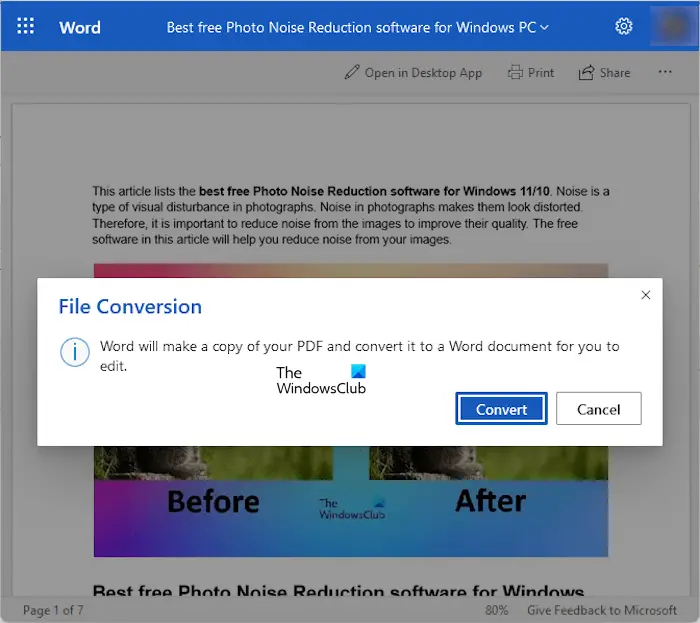
Yes, you can convert a PDF file to Word using OneDrive. For this, open a PDF file in the OneDrive built-in PDF reader in your web browser. Now, click on Open and then click Open again on the top left side. The PDF file will open in Microsoft Word online in a new tab in your browser. To convert it into Word, click on the Open in Desktop App option on the ribbon. After that, you will see a popup saying to convert it into a Word document. Click Convert.
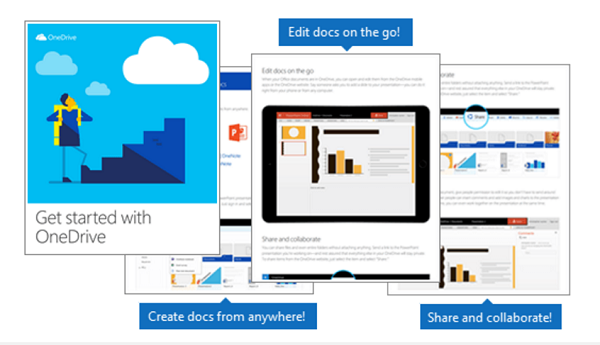
For some more cool tips, download this ebook from Microsoft. For more, see this OneDrive tips and tricks post.
Leave a Reply