Hid.dll (Hid User Library) is a Microsoft dynamic link library file vital to the operation of system files and driver functions. This file could also be linked to applications and processes. So, if there’s a problem with the hid.dll file, you must fix it permanently.
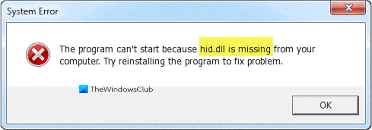
The program can’t start because the hid.dll file is missing from your computer.
Several factors can cause hid.dll errors. Troubleshooting these errors is tricky because they could indicate the presence of malicious software, registry problems, a lost hid.dll file, or even a problematic application.
Fix Hid.dll not found or missing error in Windows
While searching for a fix for a missing dll file, you’ll come across many sites offering free or paid downloads. They’ll assure you that the file is clean and authentic. Downloading those files is a quick way to introduce malware onto your system. We recommend you go to this Microsoft site if you need to download a dll file.
You should only download such files from the official Microsoft website or follow these steps to repair or rebuild the file.
- Restore from the Recycle Bin.
- Reinstall the application.
- Run System File Checker on your PC.
- Perform a System Restore.
We’ll break down the above operations into easy-to-follow steps. Please read this post to the end to get the complete guide.
1] Restore from the Recycle Bin
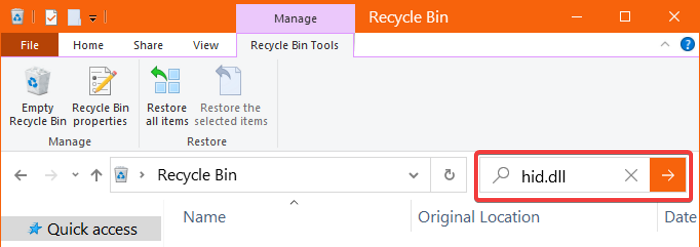
Before getting into more complicated fixes, we’ll begin with the most obvious case of the unavailable hid.dll file. You might’ve deleted it mistakenly. So, open the Recycle Bin and search for the file.
If you find the file, right-click on it and select the Restore option. If your search returns no results, move on to the following method.
2] Reinstall the application
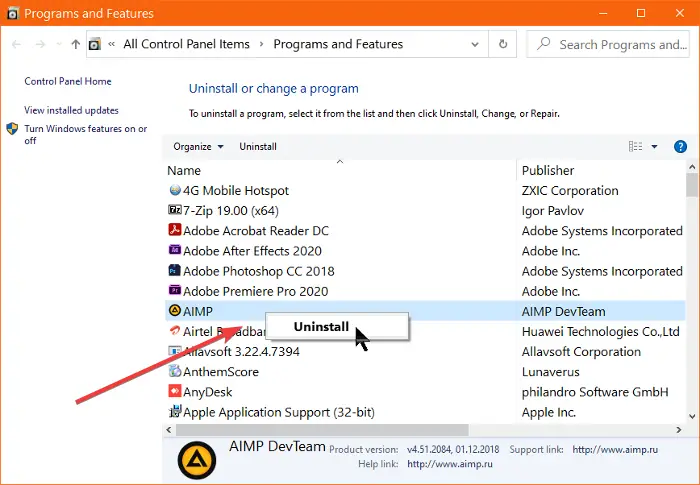
If you only notice the hid.dll error when you run a specific application, the issue is from that program. Reinstalling the program will fix the error if that’s the case.
First, press the Windows + R key combination and enter appwiz.cpl. Click on the OK button to open the Programs and Features applet.
Look for the application that causes the error and right-click on it. Press Uninstall from the context menu and follow the on-screen steps to complete the uninstallation. After this, restart your computer and see if the hid.dll error still appears.
If the error doesn’t appear, you’d know that the uninstalled app was the cause. You can now attempt to install it again to see if that brings back the hid.dll file and clears the error.
3] Run system file checker on your PC
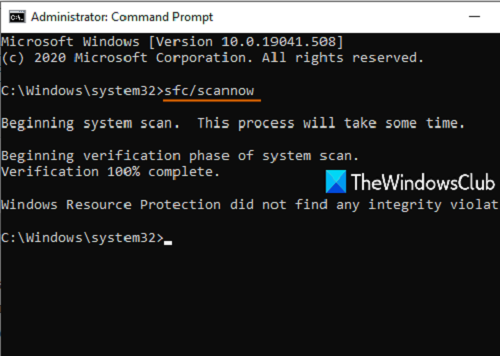
If you always troubleshoot your computer, you may know the SFC utility. The system file checker scans your machine and attempts to repair corrupt resources.
First, we’ll run the SFC file in the Command Prompt. Press the Windows key, search for Command Prompt, and run it as an Administrator. In the Command Prompt window, type in the command below and press ENTER:
sfc/scannow
This triggers the system file checker and begins the scanning process. After a couple of minutes, it returns the message,
Windows Resource Protection found corrupt files and successfully repaired them.
This is good news because the utility might’ve found and repaired the hid.dll file.
Don’t give up yet if the scan doesn’t repair the problem. It can’t fix issues found in system files that are in use.
We’ll also run the SFC utility in the Windows Recovery Environment to search for and repair integrity errors in these system files. Here’s how to do it:
Press the Windows key + I combination. Click on System in the Settings window.
Go to Recovery and click on the Restart now button next to Advanced startup.
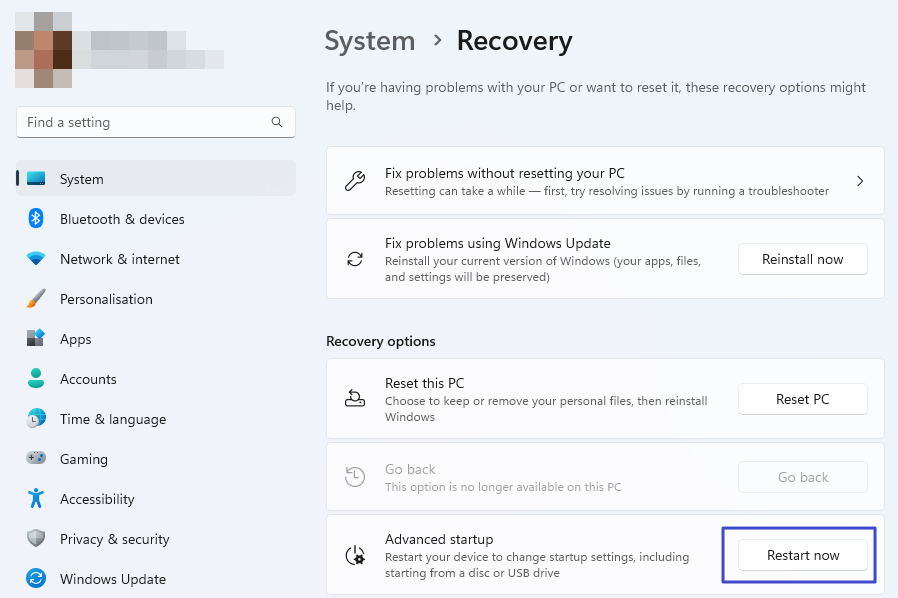
Your computer will now restart and take you to the Advanced Boot screen. Click on Troubleshooting and go to Advanced Settings > Command Prompt. Type the following command in this window and press ENTER:
sfc /scannow /offbootdidr=C:\/offwindir=C:\Windows
NOTE: In the command above, C is where Windows is installed. You can replace it on your end if needed.
Allow the SFC utility to run for a few minutes. When completed successfully, exit the Command Prompt and restart your machine.
Read: How to Run System File Checker sfc /scannow in Windows
4] Perform a System Restore
When system changes are made, the Windows System Restore creates snapshots of your computer (called a restore point). If you have a restore point before the hid.dll problem starts, you can fix it by rolling back your machine to that point.
To use System Restore, you must have previously enabled Protection. If you have, search for Create a restore point in the Start menu and press ENTER. Then, go to the System Protection tab and click System Restore.
We hope this post helps you.
How to manually install DLL files in Windows?
Installing and registering DLLs are the same. To manually install the DLL files in Windows, you must use the RegSVR32 program to register the DLL with Windows. Any program that calls the DLL will be able to find it. The same command can also fix Windows or any other program that cannot find a DLL file on your PC.
How do I unblock DLL files in Windows?
If you download a DLL file from the Internet or another source, your PC will block it unless you mark it as safe. To unblock the file, right-click and select properties. Here, you can choose to unblock the file.