If you want to add a border or frame to an image in Canva, here is how you can do that. Although there is no direct option to add a border to the picture, you can do that with the help of the Elements option. Following that, you can edit the border or frame as per your requirements.
Canva is one of the best photo editing and graphics designing tools you can use to create covers, business cards, etc., like professionals. If you have recently started using Canva, you might not be familiar with all the options it offers. Let’s assume that you need to add a frame to an image to highlight it. Although Canva includes so many options, it doesn’t have the option to add a border or frame. However, you can add that with the help of the Elements section.
How to add Border or Frame to Image in Canva
To add a border or frame to an image in Canva, follow these steps:
- Open an image in Canva.
- Switch to the Elements tab.
- Search for border.
- Select a border you like to use.
- Scale the frame and customize it.
To learn more about these steps, continue reading.
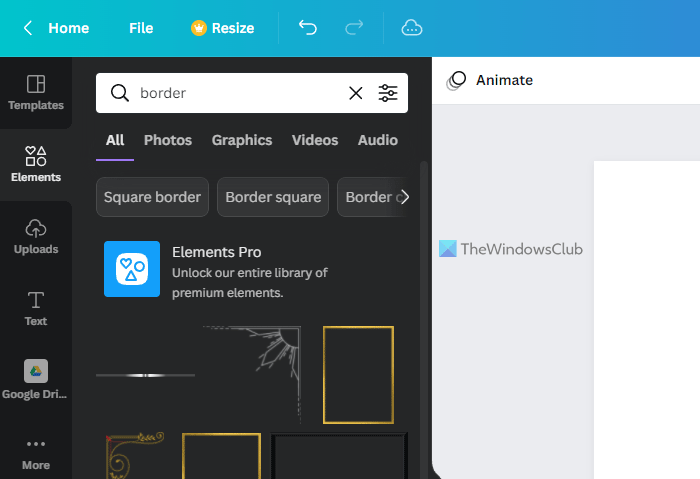
To get started, open the Canva website and open an image in Canva. In case you do not have it saved, you can upload it from your computer. Once done, switch to the Elements tab on the left-hand side and search for the border in the respective search box.

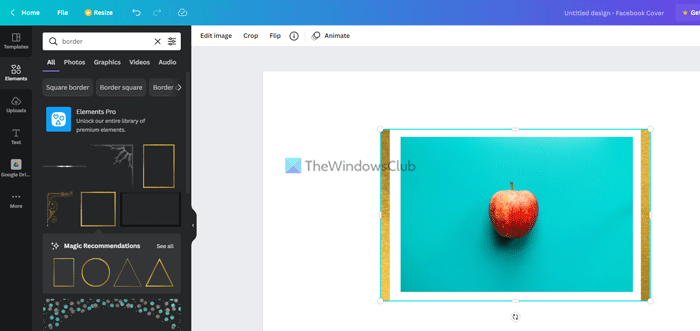
You can find tons of frames in the search results. You need to choose one according to your requirements and click on it to select.

After that, you can change the position of the frame or border according to the original subject. The best thing about this functionality is that you can edit the frame like any other regular image.
For example, you can do these:
- Adjust brightness, contrast, and saturation
- Apply filters
- Add photogenic effects
- Apply pixelate effects
- Change the transparency level
- Flip the border
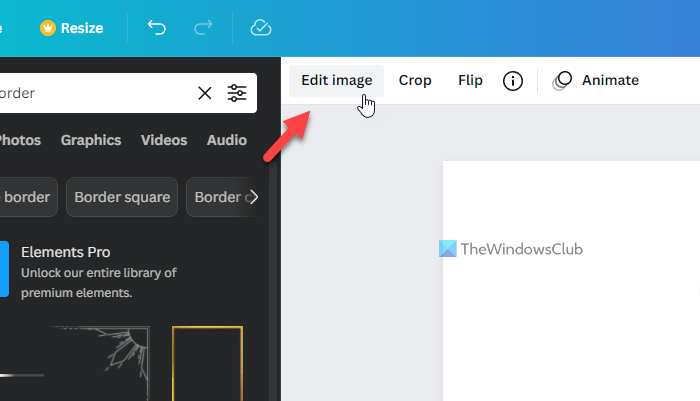
You can adjust brightness, contrast, saturation, etc., from the image editing panel. For that, you need to click on the frame to select it and click the Edit image button.

Next, you can find all the aforementioned options on your screen. It is possible to change any setting you like.
However, you cannot find the Flip or Crop options here. For that, you do not need to open the Edit image panel. Instead, you can click on the frame and find those options in the top menu bar.
If you want to change the opacity level, you need to click on the frame or border to select it and click on the Transparency button visible in the top menu bar.
Then, you can choose the transparency level as per your requirements.
Once you are done with all the editing, you can download the image on your computer from Canva. For that, click the Download button and select a file format.
Read: How to remove background from image using Canva Background Remover.
How to put a border around a picture in Canva?
To put a border around a picture in Canva, you need to use the Elements section visible on the left-hand side. Here you can search for border or frame and add it to the subject in Canva. It is possible to edit the frame like a standard image. For example, you can apply filters, change position, adjust brightness/contrast, etc.
How to add a border in Canva?
As there is no direct option, you can use the Elements to add a border in Canva. You can search for the border in the search box, find the search result, and click on any of them to add it to the image. Then, you can place it wherever you like, change the opacity level, apply effects, etc.
That’s all! Hope it helped.