Photoshop has tools and features that will allow you to create attractive artwork. Learning how to add a glow to images and text in Photoshop can help you create cool presentations. A glow can add a shiny outline to representations of gold or other materials that should glow.
Adding a glow to images and text in Photoshop
Photoshop has the Outer glow layer style in the Layer style menu. The Outer glow layer style adds an automatic glow around the image or text. You can adjust the Outer glow to options to enhance it. You can also use the Stroke layer style along with the Outer glow layer style to make the glow more outstanding.
You can make text glow by adding a neon effect. To create the glow around the image or text in Photoshop, follow these steps:
- Open and prepare Photoshop
- Add image or text in Photoshop
- Remove the background
- Add Outer glow to image/text
- Change Outer glow properties
1] Open and prepare Photoshop
The first step is to open Photoshop and create a new canvas to work on. Click on the Photoshop icon and open it. when Photoshop opens go to File then New or press Ctrl + N.
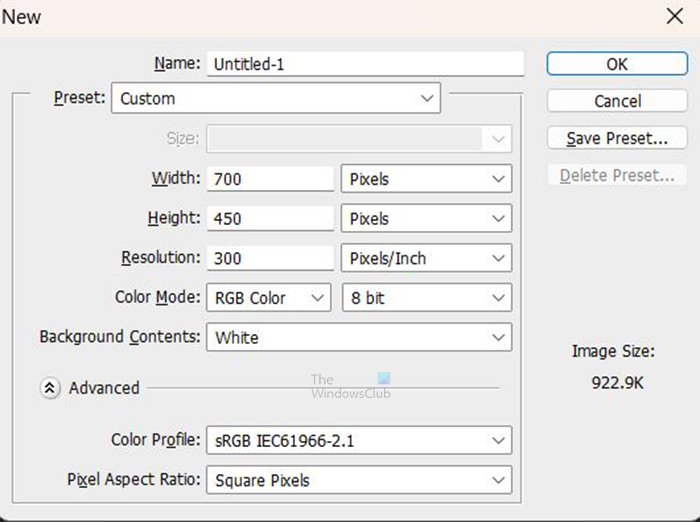
The New document options window will open for you to choose the options that you want for your document. when you have chosen the options that you want, press Ok to create the document.
2] Add image or text in Photoshop
It is now time to add the image or text to Photoshop. You may already have the text or image in Photoshop. You can also open already created images or text in photoshop. To open the image or text in Photoshop find it on your computer then click and drag the image or text onto the new document that you created. You can also go to File and then Open to bring up the Open file window. You can then search for the file select it and press Open.

This is the image that will have the glow added to it. you can see that there is a background behind the subject of the image,
3] Remove the background
If you want to add the glow to an image, you may have to remove the background depending on what you want to do with the image. Some images will look ok with a background behind the image. you may want to remove the background so that the glow will be around the subject of the image. In this article, the background will be removed.
To remove the background, you can use the Magic wand, the Quick selection tool, the Polygon lasso, the Magnetic lasso tool, or the Pen tool. The easiest ones to use are the Pen tool and the Quick selection tool, however, the Pen tool is the most accurate.
To make it easier to remove the background, change the canvas color to a color that is contrasted with the image. This will make the image easier to see as you delete the areas. This article will show you how to remove the background from images.
If the text has no background to remove, you can skip this step for the text.

You can then change the background color to black or a dark color so that the glow will show much better. The background here is the background layer that was placed below the image layer. The background layer was converted to a layer then the color changed to black,
4] Add Outer glow to image/text
In this step, the Outer glow layer style will be added.
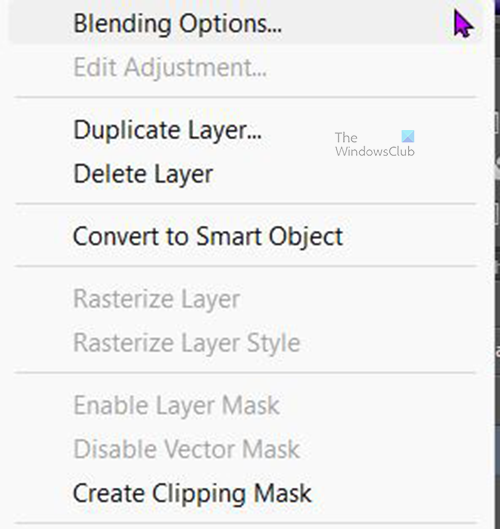
To add the outer glow to the image or text, right-click on the image or text layers and choose Blending options. When the Layer style options window appears click on the word Outer glow.
Keep the Opacity at 75%, you can adjust the Noise a little, observe the result, and stop when you are satisfied with the outcome. You can change the color of the Outer glow or keep it as the default. You can change the Size and Spread of the Outer glow to match your preference.
Under the Quality heading, click on the drop-down arrow beside the thumbnails (Contour picker) and choose the Half round contour. To see the names of the contour, hover over any of them and the name will show. Click anti-aliased to correct any distortions in the glow. When you are finished choosing, click Ok to keep the changes. And close the Layer style window.
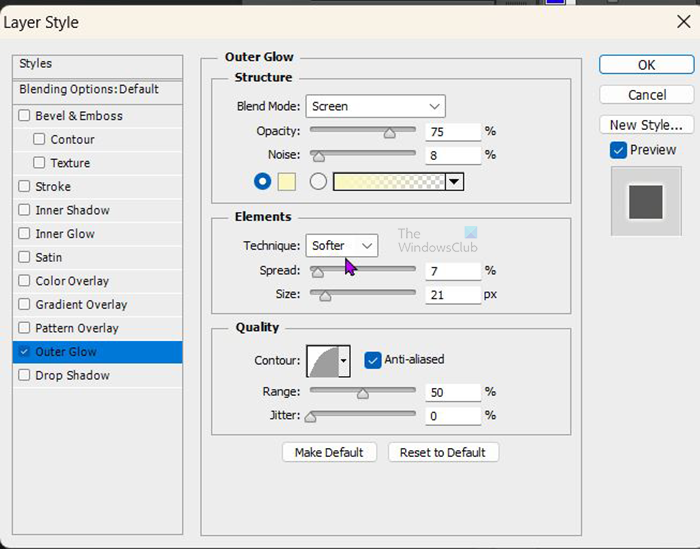
Here are the Layer style options used for the Outer glow. You can adjust to what fits your image.

This is the image with the default glow color.
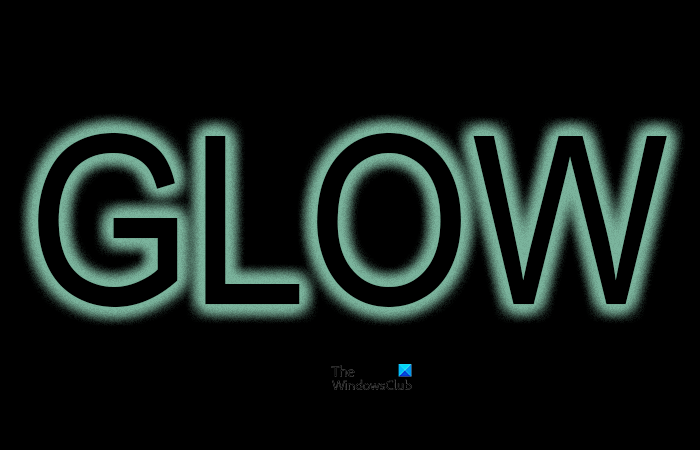
This is the text with the color of the glow changed.
Read: How to turn a Photo into a Collage in Photoshop
How do I change the background layer to a regular editable layer?
You can change a background layer to a regular editable layer in a few ways. The first method that you can try is to go to the top menu bar and click Layer then New then Layer from background. The New layer options window will appear, you can give the new layer a name then press Ok to confirm and close. The background layer will be converted to a regular editable layer.
The other way to change the background layer to a regular editable layer is to double-click on the background layer. The New layer options window will appear, you can give the new layer a name then press Ok to confirm and close. The background layer will be converted to a regular editable layer.
You can also right-click on the background layer to bring up a menu, and from the menu click Layer from background. The New layer options window will appear, you can give the new layer a name then press Ok to confirm and close.
Can I add a glow to an image without removing the background?
A glow can be added around an image without removing the background, however, the glow will go around the background. The glow will not take the shape of the image but will take whatever shape the background is.
Leave a Reply