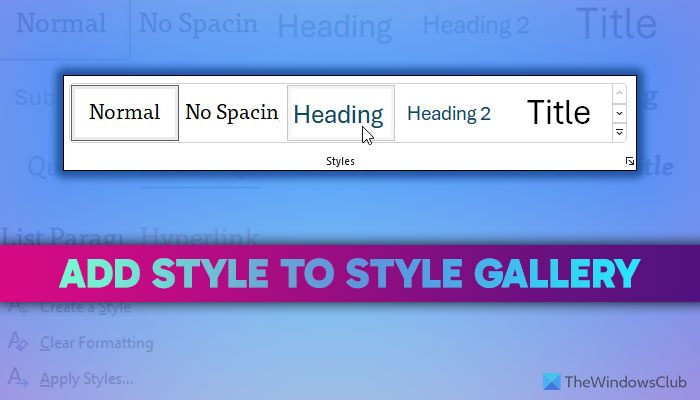
Microsoft Word displays a dedicated panel, allowing you to choose a predefined style as per your requirements. However, if you want to add a new style to the Style Gallery in Word, here is how you can do that. As in-built options are enough to get the job done, you do not need a third-party add-in to add such a custom style to the repository.

When you open Word to create a document, you can find a Styles section in the Home tab. This panel showcases a few preset styles, such as Heading, Heading 2, Title, Subtitle, etc., so that you can add a style to your paragraphs quickly. However, at times, you might want to create or edit style and add it to the Style Gallery so that you can use it swiftly. If you do so, you do not need to open the repository every time you want to use the custom style.
How to add a new style to Style Gallery in Word
To add a new style to Style Gallery in Microsoft Word, follow these steps:
- Open Microsoft Word on your computer.
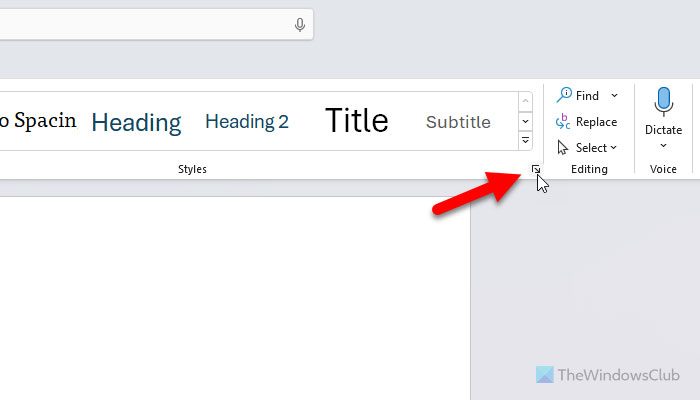
- Head to the Styles section in the Home tab.
- Click on the arrow icon.
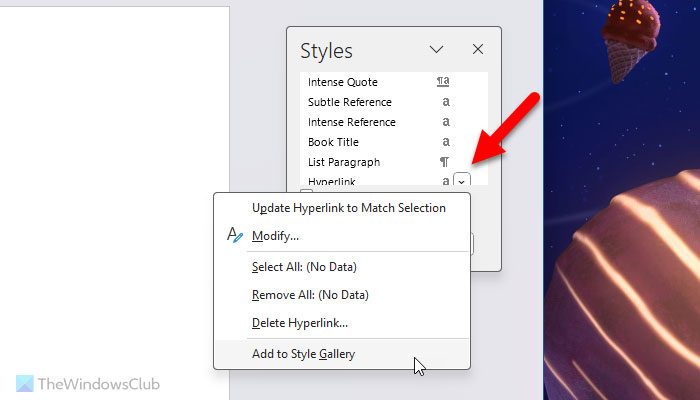
- Choose a style you want to show to the gallery.
- Click on the arrow icon.
- Select the Add to Style Gallery option.
To learn more about these steps, continue reading.
To get started, you need to open Microsoft Word and find the Style section in the Home tab. You can find an arrow icon visible in the bottom right section of this panel. Click on this arrow icon.

It opens a wizard where you can find all the styles in one place. You need to choose a style you want to show in the Style Gallery.
Hover your mouse over the style and find the arrow icon. Click on this icon and choose the Add to Style Gallery option.

Once done, your selected style will be visible in the Style Gallery immediately.
Note: Even if you want to add a custom-made style to the Style Gallery, you need to follow the same steps as above.
That’s all! I hope it helped.
Read: Create a Table within a Table in Word and Google Docs
How do you add a style in Microsoft Word?
To add a style in Microsoft Word, you need to click on the arrow icon in the Styles section and choose the Create a Style option. Next, enter a name and click on the Modify button. Then, you can make all the changes as per the requirements of how you want to show the style or what you want to change when applying the style and clicking the OK button. You can do the same by opening the Styles wizard as well.
Read: Best Fonts on Microsoft Word
How do I open a style set gallery?
To open the Style Gallery, you need to open Microsoft Word first. Make sure that you are in the Home tab. If so, you need to head to the Styles section. Here, you can find some commonly used styles. However, if you want to find them all, you need to click on the down arrow icon.
Leave a Reply