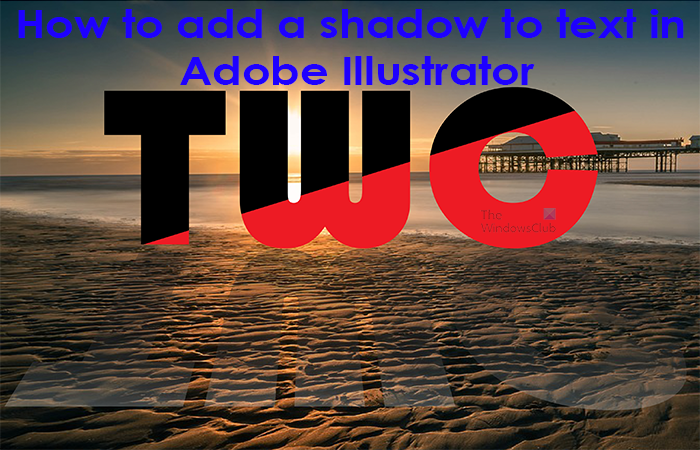
Adobe Illustrator has many effects that can be added to the text to make the surroundings look more realistic. For example, you can make a text look like it has lighting by casting a shadow. These effects can also be added to objects as well; however, this article will show you how to add a hard or drop shadow to text in Adobe Illustrator.
How to add a Shadow to Text in Illustrator
Adding hard or drop shadows to text can be used to enhance their effect and also make the surroundings more realistic. Shadows can also add perspective and depth to a text. This article will take you through the easy steps of adding shadow to text in Illustrator.
- Open and prepare Illustrator
- Write and prepare the text
- Expand the text
- Cut the text diagonally with the Knife tool
- Use the Direct selection tool to select the lower part of the text
- Change the color of the lower part of the text
- Use the Reflect tool to reflect a copy of the word
- Unite the reflected text
- Change the perspective of the reflected text
- Add a gradient to the shadow
- Lower the opacity of the shadow
1] Open and prepare Illustrator
The first step is to open and prepare Illustrator. Click on the icon for Illustrator to open it. When Illustrator opens up, go to the top menu bar and click File then New, or press Ctrl + N. The New document options dialogue will open for you to choose the properties that you want for the new document. When you have chosen the options click Ok to create it.
2] Write and prepare the text
In this step, you will write the text that you want to add the shadow to in Illustrator. To write the text go to the left tools panel and select the Type tool or press T on your keyboard. With the type tool active, click on the artboard and type the text that the shadow will be added to. Be sure to make all the changes to the text that you want, and make sure that the spelling is correct. After a few other steps that will follow, you will not be able to edit some aspects of the text. note that the shadow effect will look much better on certain font types.

This is the text that will be used.
3] Expand the text
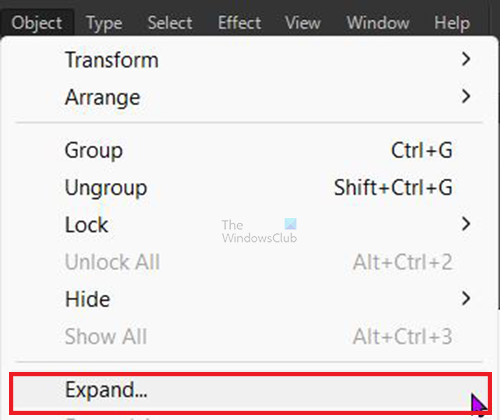
The next step is to expand the text, you expand the text by selecting it and going to the top menu bar and pressing Object then Expand.
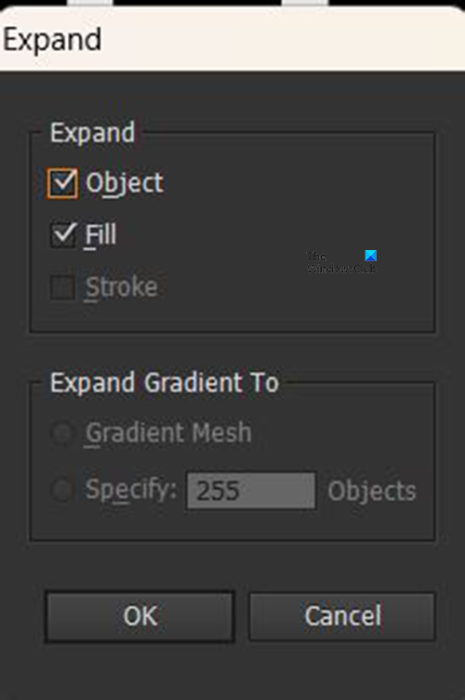
The Expand options box will appear, just press OK. You will notice that there is a red outline around the text with some handles.
4] Cut the text diagonally with the Knife tool
Now that the text is expanded, it is time to cut the text, the cut will be diagonal from the lower left to the upper right. The cut will allow you to give a different color to the lower part of the text.
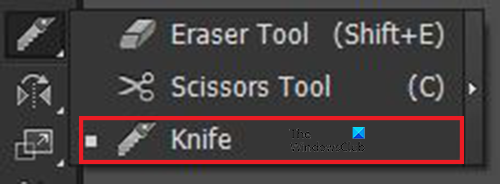
To do the cut, select the text then go to the left tools panel and select the Knife tool. the Knife tool is in the same group as the Eraser tool and the Scissors tool.
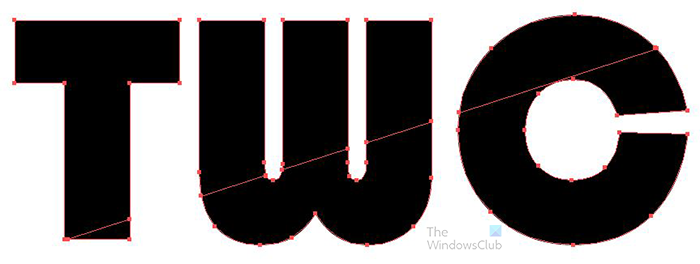
With the text selected and the Knife tool active, hold Alt while you click and hold the mouse left button and drag from the lower edge of the text to the top right. You will see a line along the path where you dragged the mouse. Release the mouse and the Alt key. If you are not satisfied with the cut press Ctrl + Z to undo the action then try the cut again.
5] Use the Direct selection tool to select the lower part of the text
Now that the text is cut into two pieces, it is time to select the lower part of the text. go to the left tools panel and click the Direct selection tool. With the Direct selection tool active, click the left edge of the lower part of the text, click, and drag to the lower right of the text. You want to select just the lower part that is cut.
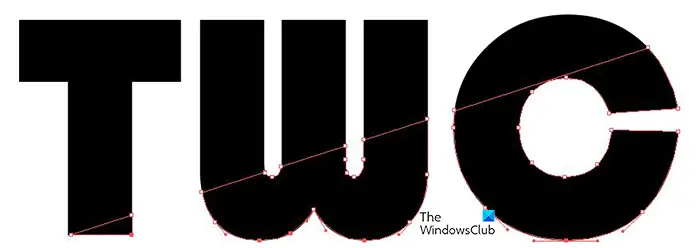
You will see the selected part of the text surrounded by the red outline and the handles.
6] Change the color of the lower part of the text
With the lower part of the text selected, go to the color swatch on the right and click red.

You will notice that the color of the selected part is changed and the shadow effect is beginning to show.
7] Use the Reflect tool to reflect a copy of the word
In this step, the shadow will be created. To get a perfect copy of the text that will be the shadow you should reflect the original text.

To create the reflection for the shadow select all of the text then go to the left tools panel and click the Reflect tool or press O on your keyboard. The Reflect tool is in the same group as the Rotate tool.
With the text selected click the reflect tool and then hold the Alt key and click below the text where you want the bottom of the reflected text to be. This should be as close as possible to the original text.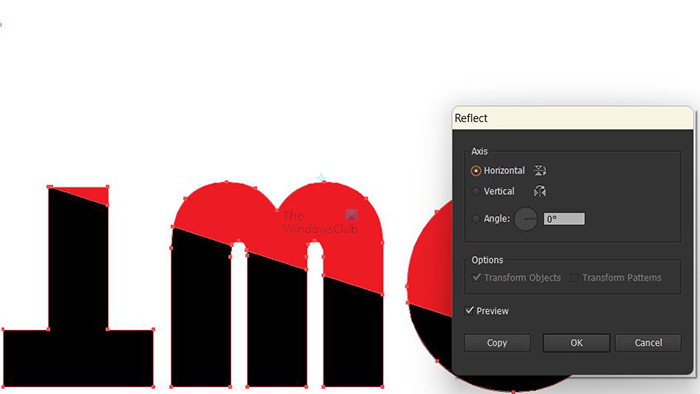
The Reflect options box will appear, press Preview if it is not selected so that you can see a live preview of the actions. You then click Horizontal because you want the text to be reflected horizontally under the original text. When you have made the choices that you want, press Copy to make the reflected text a copy of the original. If you press Ok instead of Copy, the original text will be rotated to the reflected point. You would not have a shadow to work with. Pressing copy duplicated the text and reflect it where you clicked.
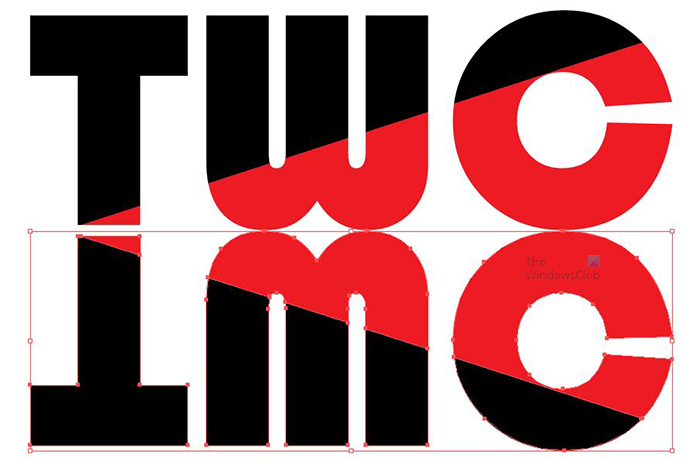
This is the text reflected under the original text. If they are too far apart, you can move them closer together, being closer gives the shadow a more realistic look. Looking at the shadow and the reflection you can see other uses for them in other projects.
8] Unite the reflected text
Now that the shadow text is reflected below the original text, it is time to unite both pieces of the text. you will need to unite the text because in earlier steps the text was cut into two pieces.
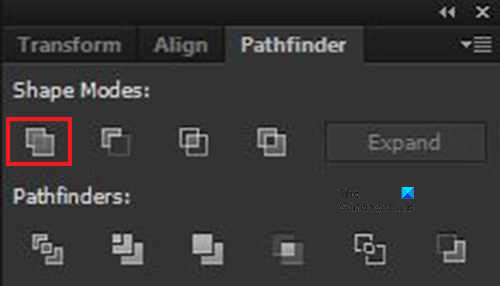
To unite the text select the reflected text then go to the Pathfinder panel and click Unite.
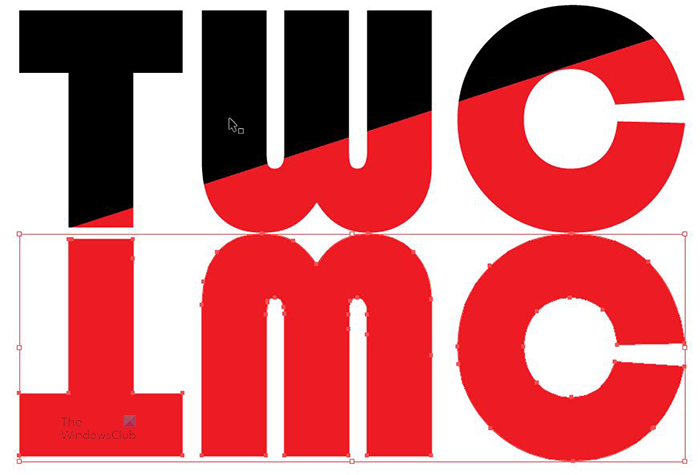
You will see the colors of the rotated text merge into one. This reflection could work in cases where you want to reflect in some water. However, to reflect on a surface, you would need to angle the shadow to make it more realistic.
9] Change the perspective of the reflected text
To make the reflection look more realistic, the perspective needs to be changed. Depending on the version of Illustrator that you have, you can find the Perspective Distort tool on the left tools panel. You would click on the text then click on the Perspective Distort tool then adjust the image.
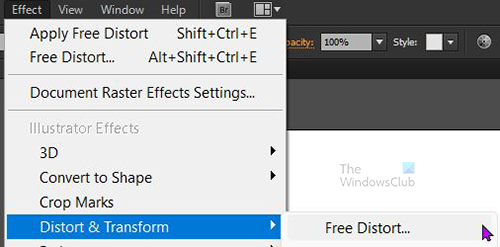
The method that will be used in this article to change the perspective is the Free distort effect. Click on the reflected text then go to the top menu bar and press Effect then Distort & transform then Free distort.
The Free distort window will appear showing the text as it is. You will have to then select and drag the parts of the text that you want to distort. If you want to do it over, press Reset to undo the changes, then you can start over. Remember to distort the text based on where the light source is shining.
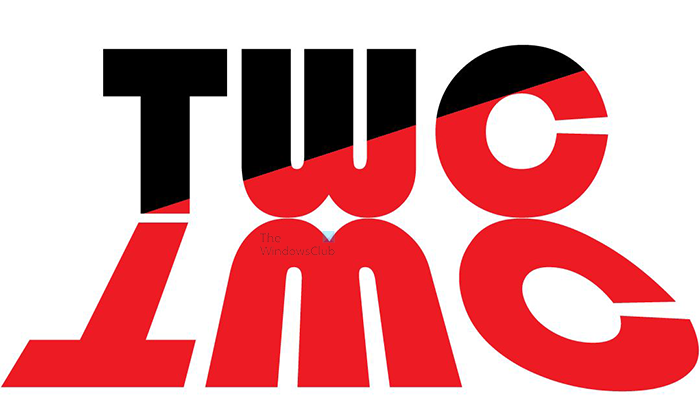
When you have finished distorting the text, click Ok to close and accept the changes. The above image is the result of the distortion. The two top edges were dragged to the side giving the top a wider look.
10] Add a gradient to the shadow
To make the shadow more realistic, you can add a gradient to it. you would make it darker where the two texts are closest and gradually get together as the shadow moves away from the original. To add the gradient, select the reflected text and go to the color panel and select a gradient. The gradient to use would be Black to White so that it looks more like a shadow.
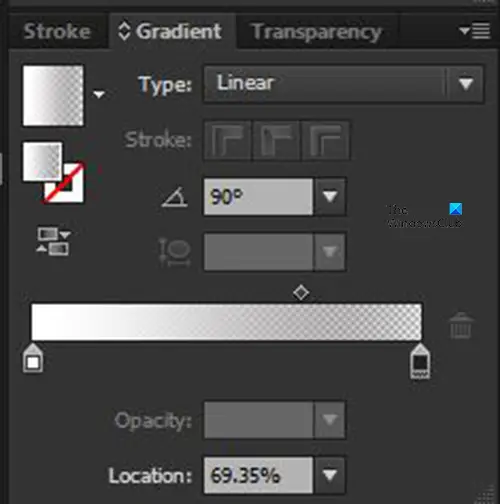
These are the properties used for the gradient for the shadow in this article. You can tweak it to fit your preferences.

This is the text with the shadow added to it.

You can enhance the overall artwork by adding anything else that you want to add.
Read: How to use Envelope Distort Tool to reshape Objects in Illustrator
How do I add a drop shadow in Illustrator?
A drop shadow can be easily added to text, images, or shapes in Illustrator. To add the drop shadow to the desired object follow the steps below.
- Select the object
- Go to the top menu bar and press Effects then Stylize and then Drop shadow
- When the Drop shadow options window appears select the properties that you want for the drop shadow. Make sure to select Preview so that you can see the live changes on the object.
- Press Ok to close the Drop shadow options window and accept the changes.
How do you obscure or blur in Illustrator?
You can obscure or blur in Illustrator with the Gaussian blur effect. You would select the object that you want to blur then go to the top menu and click Effect then Blur the Gaussian blur. The gaussian blue options window will appear. Select preview so that you can see the changes on the object as you make the. Adjust the Radius slider and observe the changes to your object, when you are satisfied, press Ok to close the options window and keep the changes.
Leave a Reply