We’ve discussed in the past out how to create a border around images in Microsoft Word, but we have yet to do the same where Google Docs is concerned. And yes, it is possible to do this in Docs, and guess what? It is not hard at all.
Still, we should point out that adding a border around a photo in Google Docs, while not hard, is not as easy as using Microsoft Office tools, but that’s not a terrible thing. Once we have explained how to do the job, you will have the chance to determine which method is better.
Adding photos into a document
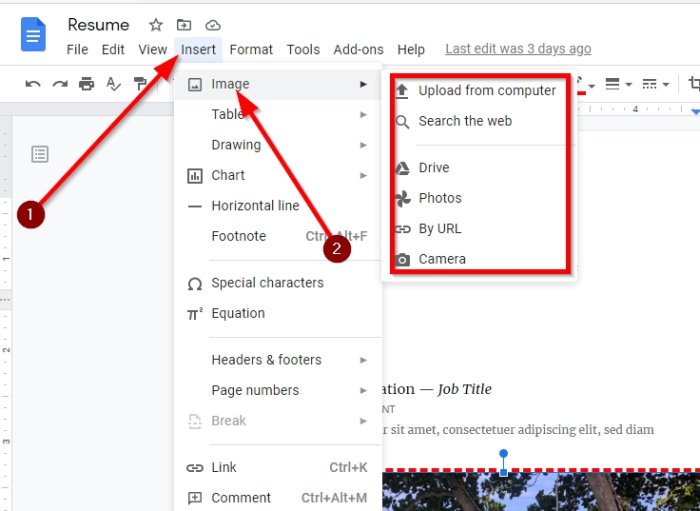
When it comes down to adding photos to Google Docs, go on ahead and click on Insert > Image. From there, select one of the options available to add an image to your document.
How to add a Border to an image in Google Docs
OK, so adding borders to a photo in Google Docs is quite simple. When an image is added to the document, users should immediately see additional buttons visible on the toolbar.
Two, in particular, are all about borders, so let us discuss how to make use of them in order to spice up your image.
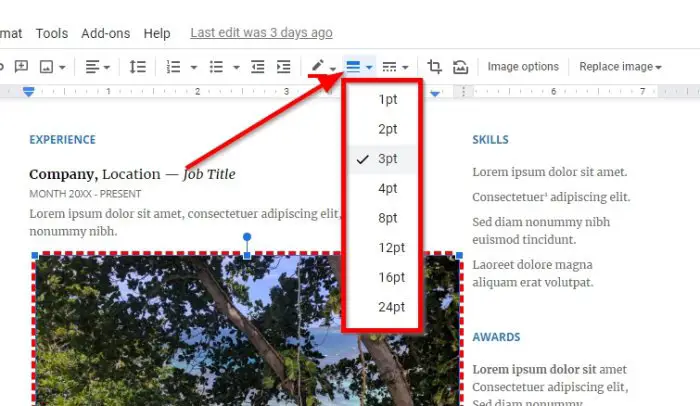
First, click on the photo to have it selected, then click on the icon that is called Border Weight. From there, select the preferred weight of the border.
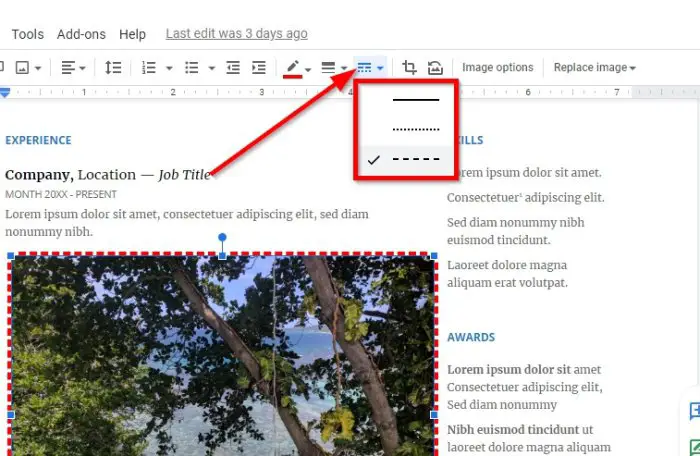
Once that is done, you can choose to add a dash to the border if you want to. Do this by selecting the Border Dash button and choose from the list of options available to you.
Read: How to add Borders in Google Docs
Add colors to your border

By default, the border color is black, but for many, that color is too bland. To add some spice, click the Border Color to reveal a list of colors to choose from.
You can select any one from the list, or make your own by going the Custom route.
I hope this helps.
Now read: How to Install and Uninstall Add-Ons in Google Docs.
Leave a Reply