There may come a time when you’re required to give a Microsoft PowerPoint presentation from a remote location. In this post, we will show you how to use your Webcam as a live Camera feed in PowerPoint. There is an easy way to accomplish this task in PowerPoint, and we are going to discuss how to get it done. Now, we are going to use a feature called Cameo. We can place the camera feed anywhere on the selected slide. Users can even size it to their liking among other things.

Things to do before enabling Cameo
Before you can take advantage of the Cameo feature, you must first grant Microsoft PowerPoint permission to use the camera on your computer, whether it be Windows or Mac.
Grant permission on Windows 11
We will begin by explaining how to grant permission to Microsoft PowerPoint to access your device’s camera via the Windows 11 operating system.
- Open the Settings app by pressing the Windows key + I.
- Scroll down to Privacy & Security, then click on it.
- Next, you must scroll to App Permissions and select Camera.
- From the list of apps, please allow Microsoft PowerPoint right away.
In some situations, you may not see PowerPoint on the list. If that is the case for you, just ignore it and move on to the next steps.
Grant permission on Mac
For those who are using an Apple Mac computer, you should worry not because a similar option is available there as well.
- Please open the System Preferences section from the Dock or from the Apple icon located on the menu bar.
- After that, please select Security & Privacy.
- Right away, go ahead and open the Privacy tab on the left.
- Select the Camera option, then check the box for Microsoft PowerPoint to the right.
Add live webcam video to a PowerPoint presentation
Follow the steps below to add live webcam video to a PowerPoint presentation:
- Select Cameo from the Ribbon
- Drag and drop Cameo to the preferred spot
- Navigate to Camera Styles
- Change Camera Style
- Activate the live feed webcam
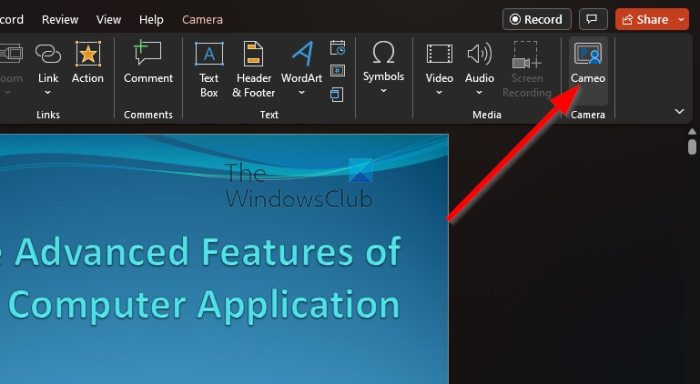
1] Select Cameo from the Ribbon

OK, so after granting PowerPoint permission to use your integrated or external webcam, it’s now time to get to the meat of the matter. The first thing we need to do here is to insert the Cameo object directly into your presentation.
- First, you must launch Microsoft PowerPoint from your computer.
- After that, open a blank presentation or one that has already been pre-made.
- Select a slide from your presentation.
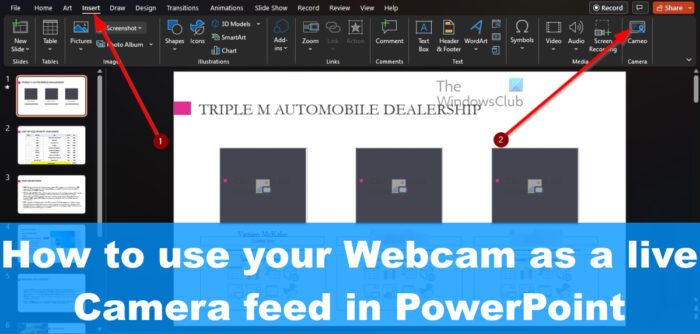
- Next, you are required to click the Insert tab.
- Look to the Ribbon and click the Cameo icon located to the far-right.
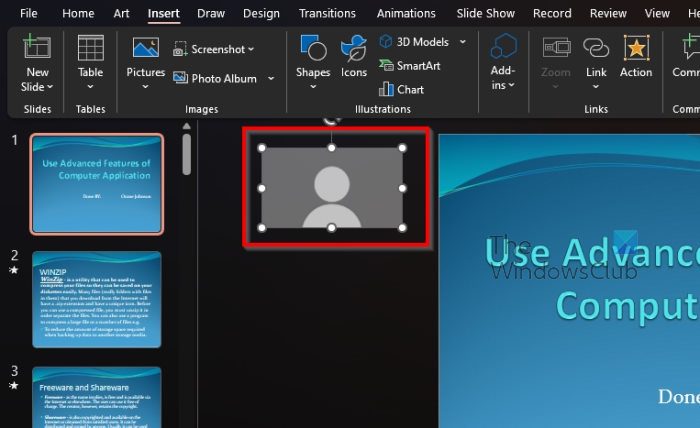
The Cameo object should now appear on your screen.
2] Drag and drop Cameo to the preferred spot

If you’re not pleased with where the object is added, then you can easily move it to somewhere else in the presentation.
- You can do this by placing the mouse cursor in the middle of the object.
- Press and hold the left mouse button.
- Finally, drag the mouse to move it to the preferred section.
- Release the left-mouse button, and that’s it.
You can perform this trick on any object you want to move from one location to the next.
3] Navigate to Camera Styles
Before activating your webcam, the option is there to customize the look of the Cameo object. This is easily done, so let us explain.
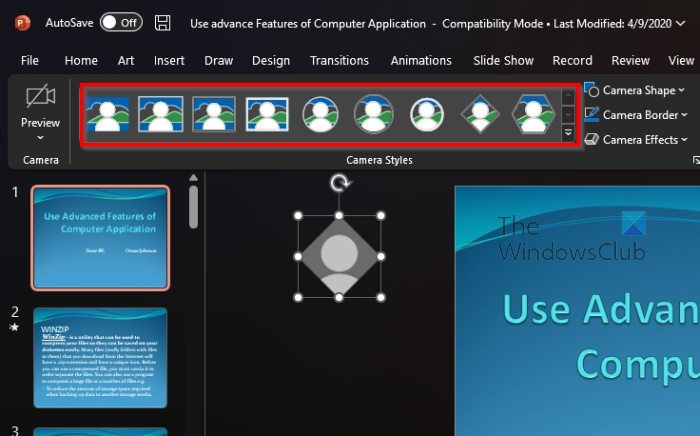
- Begin by clicking on the Cameo object you’ve added to the presentation.
- Look to the Ribbon for Camera Styles.
4] Change Camera Style

From here, you can change the style and shape of the camera. The ability is also there to change the borders and add camera effects. Once the Cameo object is customized to your liking, we can now move on to the next step.
5] Activate the live feed webcam
Finally, we must now get the presentation up to speed. If this is your first time, we suggest following the steps below:
- Click on the Slide Show tab without delay.
- After that, you can either select From Beginning, or Current Slide via the Ribbon.
- While the Slide Show is active, you can go ahead and click on the Camera icon to turn on your webcam. Click on it again to turn it off.
READ: How to make a background with Chalk or Marker effect in PowerPoint
How do I embed my webcam camera during a PowerPoint?
To embed your webcam camera during a PowerPoint presentation, you need to attach your camera first. Then, you must grant permission to access the camera and microphone to PowerPoint. Next, you can find the Camera option in the toolbar. For your information, the Cameo option inserts a small window of yourself with the webcam.
How do you record a webcam video of yourself narrating a presentation in PowerPoint?
To record a webcam video of yourself narrating a presentation in PowerPoint, you need to insert your live footage into the slides. For that, you can make use of the Cameo option that is visible in the top menu bar. Following that, you can record the slide as usual.
What are the main features of Microsoft PowerPoint?
PowerPoint comes with a host of features, but to be honest, most users will only use a handful of them throughout their lifetime. With that said, let us look at some of the main features of PowerPoint you should consider using:
- Audio features.
- Bi-directional text features.
- Collaboration features.
- Design and layout features.
- Keyboard features.
- Object insertion features.
- Picture features.
- Print features.
If you play around with Powerpoint long enough, we are certain you’ll come across other useful features that can be used more often than not. Furthermore, Microsoft is always updating the program with new possibilities, so there will always be something for you to like.
Leave a Reply