If you want to change or adjust Webcam brightness in Windows 11, here is how you can do that. You don’t need any third-party software since Windows 11 includes an option in Windows Settings and the Camera app to change the brightness of your webcam. Whether it is an integrated or external camera, you can find the option for both.

Your webcam uses the same brightness as your computer’s screen. If you change the brightness of your monitor, the brightness of your camera changes accordingly. However, what if you want to use a different brightness level for your camera? If so, you can use this feature in Windows 11 to adjust the webcam brightness differently.
How to adjust Webcam Brightness in Windows 11
To adjust the webcam brightness in Windows 11 using the Camera app, follow these steps:
- Search for the camera in the Taskbar search box.
- Click on the individual search result.
- Click the settings gear icon.
- Toggle the Pro mode button to turn it on.
- Click on the brightness icon.
- Use the lever to change or adjust the brightness.
To learn more about these steps, continue reading.
To get started, you need to open the Camera app on your computer. For that, you can search for camera in the Taskbar search box and click on the individual search result. After opening the app, click on the settings gear icon visible on the top-left side.
It opens up the settings panel of your Camera. Here you can find an option called Pro mode. You need to toggle the corresponding button to turn it on. However, if it is already enabled, there is no need to change the setting.

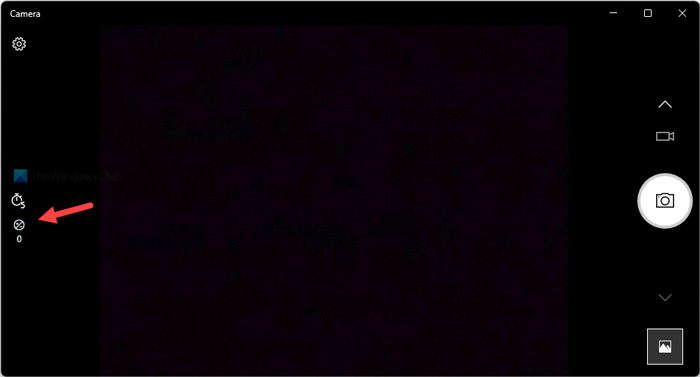
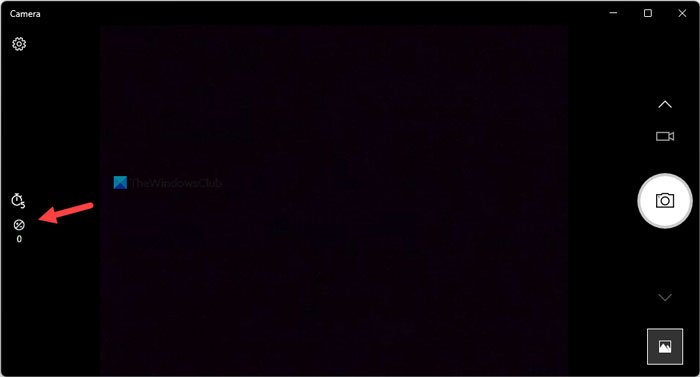
Next, return to the home screen of your Camera app and find out the brightness icon. You can find it on the left side and under the timer option.

You need to click on this icon and use the visible lever to change the brightness as per your requirements.
For your information, if you want to reset the brightness, you need to set it to 0.
How to change webcam brightness in Windows 11
To change webcam brightness in Windows 11 using Windows Settings, follow these steps:
- Press Win+I to open the Windows Settings.
- Go to Bluetooth & devices.
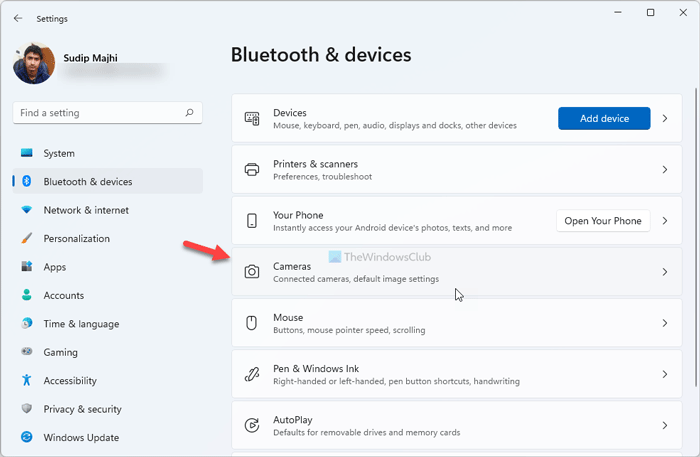
- Click on the Cameras menu.
- Click on the camera under the Connected cameras heading.
- Find the Default image settings section and expand it.
- Use the plus or minus signs to change the brightness level.
Let’s check out these steps in detail.
First, you need to open the Windows Settings panel by pressing the Win+I keyboard shortcut. Once it is opened, switch to the Bluetooth & devices section on the left side.
Then click on the Cameras menu on the right side and click on the desired camera under the Connected cameras heading.

Next, you need to find the Default image settings section. Here you can find two options – Brightness and Contrast. You need to use the plus and minus signs to adjust or change the webcam brightness level.
How do I adjust the brightness on my webcam?
To adjust the brightness on your webcam, you need to find the brightness icon in your Camera app. It is visible on the left side of your Camera window. After clicking on this icon, you can change the lever to adjust the brightness of your camera.
How do I adjust brightness on Windows 11?
To adjust brightness on Windows 11, you need to open the Action Center. Alternatively, you can change the brightness of your screen from the Windows Settings panel. It is recommended to go through these steps to know how to change the brightness on Windows 11.
Hope this guide helped.
Leave a Reply