Hyper-V, without a doubt, is one of the most popular Virtual Machine software in the market. The best thing about Hyper-V is that you don’t learn all the technological theatrics to configure and change its settings. In this post, we will see how to change Hyper-V Display Resolution in Windows 11.
Change Hyper-V Display Resolution in Windows 11
We will change Hyper-V Display Resolution using the following methods:
- Configure Hyper-V Display Resolution from Virtual Machine Settings
- Configure Hyper-V Display Resolution from PowerShell
Let us talk about them in detail.
1] Configure Hyper-V Display Resolution from Virtual Machine Settings

The most obvious way to change the display resolution in Hyper-V is by configuring its settings.

To do that, you first need to enable Enhanced session mode. You can follow the steps mentioned below to do the same.
- Open the “Hyper-V Manager” app by searching it out from the Start Menu.
- Once the app has launched, right-click on your machine and select Hyper-V Settings.
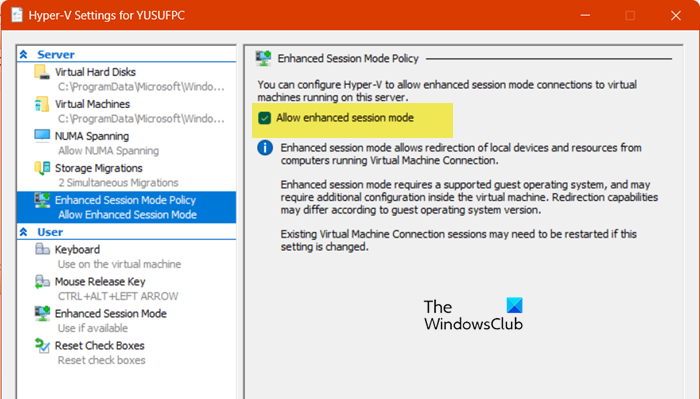
- Go to the Enhanced Session Mode Policy tab and tick the box next to Allow enhanced session mode.
- Now, navigate to the Enhanced Session Mode tab and tick the box next to Use enhanced session mode.
- Finally, click on Apply > Ok.
After enabling the feature, follow the steps given below to configure the display resolution.
- In the Hyper-V Manager app, right-click on your machine and select Settings.
- Now, go to the Integrated Services and then make sure that all the services are checked.
- Click Apply > Ok.
- Now, you need to start the virtual machine.
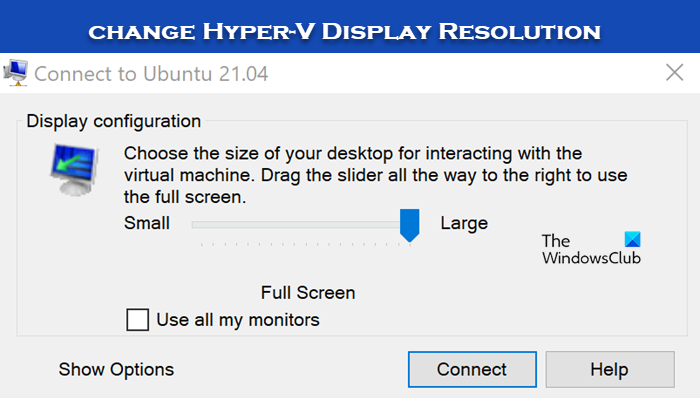
- When your machine boots up, you will get a slider to change the display resolution.
You can use that slider to change the display resolution.
Read: How to set up Hyper-V USB Passthrough on Windows 11
2] Configure Hyper-V Display Resolution from PowerShell
You can also enable Enhanced Session Mode from the Windows PowerShell and then make the changes to the Settings of the virtual machine. To do the same, open PowerShell as an administrator and run the following command to check if the feature is enabled.
Get-VMHost | fl -Property EnableEnhancedSessionMode
If Enhanced Session Mode is disabled, run the following command to enable it.
Set-VMhost -EnableEnhancedSessionMode $True
After doing so, you can just change Screen Resolution in Windows 11/10 from Windows Settings. To do the same, start your Virtual Machine, go to Settings > System > Display and then select a screen resolution of your choice. This should do the job for you.
Hopefully, you will be able to change the screen resolution of your Hyper-V Machine.
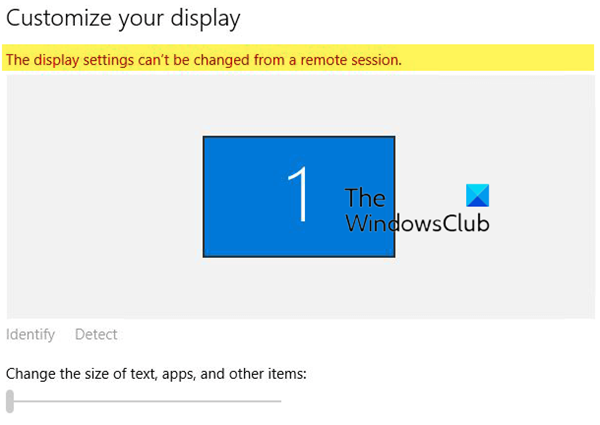
The display settings can’t be changed from a remote session

You cannot change Remote Desktop screen resolutions, Color depth, etc., during an RDP session. You can only change the size of text, apps, and other items. If you see The display settings can’t be changed from a remote session in Windows Settings, you may be required to exit the RDP\G session and then make the changes via Settings > System > Display > Advanced display settings.
Read: How to change Remote Desktop Resolution in Windows
How do I change the resolution of my Hyper-V screen?
In order to change the resolution of your Hyper-V Screen, you need to enable Enhanced Session Mode. Once done, you can either change the settings by going into the VM settings or just open the VM and change the resolution from Windows Settings. You can check the guide mentioned above to do the same.
Read: How to change Display Resolution using CMD or Script in Windows?
How do I force 1920×1080 resolution in Windows 11?
In order to set 1920×1080 resolution, you need to first update your Graphics Drivers. Outdated drivers might not support Full HD. You can then go to Settings > Display and then select 1920×1080 from the drop-down menu. Check our guide on how to get 1920×1080 resolution on 1366×768 screen, if your system doesn’t support that resolution.
Read Next: Fix Screen Resolution problems in Windows.