Simulation Distance is something new or not talked about topic for Minecraft users. A lot of users are confused about Simulation Distance, and how it is different from Render Distance, and such sorts. In this article, we will talk about Simulation Distance in detail.

What is Simulation Distance in Minecraft?
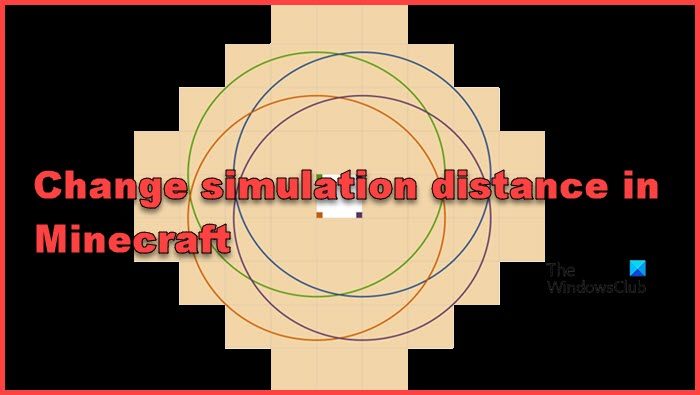
In Minecraft, Simulation distance is one of the settings that help users to get a better gaming experience. It determines the distance at which the game, to an extent, simulates or processes activities happening in the gaming world. Simply put, Simulation distance decides how much of the game’s actions and movements it needs to keep track of. The setting controls things like the smooth movement of entities such as mobs, animals, and players, updates, and various game mechanics.
A lot of time, Simulation Distance is overlooked; however, this setting is known to impact the performance and gameplay experience significantly. It has been there in the Minecraft Bedrock Edition for a long time but has recently been added to the Java Edition of Minecraft 1.18 update.
Users can adjust the simulation distance from the minimum range of 4 chunks to a maximum of 12 or more if the hardware can handle it. It’s necessary to remember the computer’s capabilities, as increasing this distance can lead to higher CPU and memory usage, leaving a greater impact on the gamer’s performance.
Difference between Simulation distance and Render distance
Let’s clarify one thing so that no one will get confused. Before the recent launch of the Minecraft 1.18 update in the JAVA version, the Render distance was used to do the same work.
Now, the Render distance determines how many chunks will be visible on the screen. For instance, if a user has opted for four chunks, only four chunks from the current location will make the radius. There will be no update, or processing will take place. On the other hand, Simulation distance detects the range within which everything will be actively simulated and updated.
There’s another very relevant word, i.e., Ticking area. A ticking area is like a special zone in the game that stays active constantly, getting regular updates. However, this area doesn’t have to be close to where the gamers are in the game, and these are specifically set using commands. In a way, simulation distance is a built-in ticking area that happens around the game as you play.
Read: Minecraft Launcher won’t open on Windows PC
How to change Simulation Distance in Minecraft
In the Java Edition, users can tweak the setting at any given time in the game. However, the methods are quite different in Bedrock Minecraft. Here, users can only set the simulation distance while generating a world. Once a world is created, there can be no changes.
When playing in the multiplayer mode, the difference in this setting of players can cause a lagging and completely unresponsive game in some players. Hence, it’s necessary to take an immaculate distance when it comes to this aspect. That is why we will see how to change simulation distance in the following versions of Minecraft.
- Bedrock Edition
- Java Edition
- Multiplayer Mode
Let us talk about them in detail.
1] Bedrock Edition

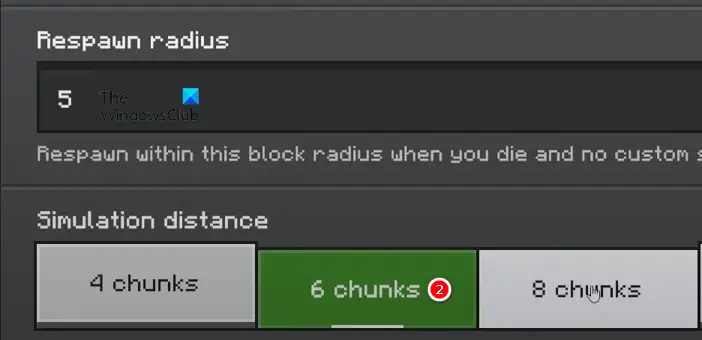
In the Bedrock edition, you can only change the simulation distance when creating a world. To change simulation distance in the Bedrock edition of Minecraft, follow the steps mentioned below.
- Go to the Create World menu, and from the left side of the screen, select the Advanced button.
- Navigate to the bottom of the list to find the Simulation Distance option.
- Now set it as per your requirement.
Hopefully, you are able to configure Simulation Distance.
2] Java Edition

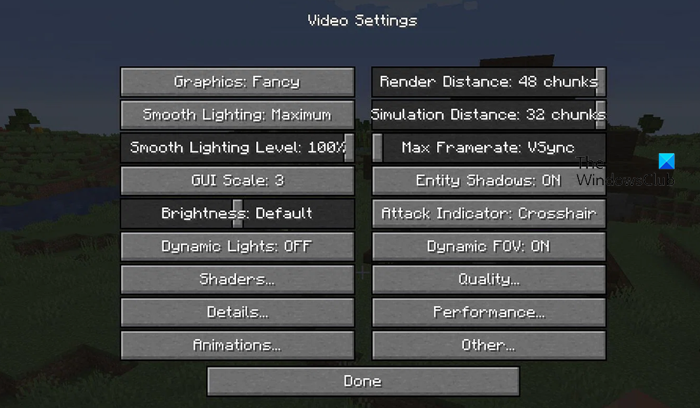
If you are using the Java edition of Minecraft, follow the steps given below to configure Simulation Distance.
- Click the Esc button and then select Options from the menu bar on the screen.
- Click on the Video Settings, and slide the Simulation Distance bar as per your choice.
- Lastly, hit the Done button.
This will configure Simulation Distance for you.
3] Multiplayer mode
If you are a server owner, you can configure the Simulation distance for all players. Follow the steps mentioned below to do the same.
- For gamers on local servers, go to the Server’s file, and one on hosting service, can navigate towards their website and then to the File Manager.
- Click and open the Server.properties file, and scroll down to find the simulation distance.
- Now, tweak the numbers, and save the file.
- Once done, reboot the server.
Enjoy the game with tweaked simulation distance and no lagging or unresponsiveness.
Read: Where are Minecraft Worlds saved on Windows PC?
What is the best simulation distance in Minecraft?
The best simulation distance depends majorly on the computer’s muscle power. Working a normal computer with maximum simulation distance can lead to various consequences, such as lagging or complete unresponsiveness. However, the single-player and multiplayer modes also need to be considered.
Users in single-player mode can crank up the simulation distance; however, enjoying with pals in multiplayer mode, might want to rein it a tad bit to keep the load away from the server.
Leave a Reply