InDesign is one of Adobe’s answers to desktop and digital publishing. InDesign is used in the design and layout of printed and digital books and magazines. Just like I taught myself Photoshop and Illustrator, some people will want to learn about InDesign on their own. Learning how to change stroke style in InDesign is important to know. Strokes can be lines or shapes, shapes are made up of strokes that enclose a space. Line strokes can be arrows, and lines, etc. strokes that enclose space can be rectangles, squares, triangles, etc.
In InDesign, a stroke is a drawn line. Using InDesign means that there will be a lot of reasons to work with strokes, especially when you design from scratch. Learning how to manipulate and change the properties and style of strokes is important.
How to change Stroke Styles in InDesign
By default strokes (lines) that you draw are solid. However, based on your design goal you may want to make the stroke thinner, thicker, dotted, or dashed. Changing the style/properties of the stroke gives you the ability to create custom artwork and designs in InDesign. This article will show you how to change from the default solid stroke to your custom stroke.
- Using Default strokes
- Edit default strokes
- Create custom strokes
- Edit custom strokes
1] Using default strokes
The default strokes that are available in InDesign are lines and shapes. Lines can be modified with other tools to look different but they would essentially be lines. These can be used as they are for your project. The default stroke weight on the lines and shapes is 1 pixel. The default stroke is a Line and this can be modified to create arrows, waves, etc. The default shapes are Rectangles, Ellipse and Polygon. The stroke and shape are available on the left tools panel. Just click and drag to place it on the canvas. You can use the stroke as it is, color, weight (thickness), and all other default attributes.
2] Edit default strokes
The default strokes in InDesign can be changed to create other styles for whatever project you have.
Straight line (stroke)
The line can be changed to an arrow or can be made to have dots or dashes and many other modifications. The line can also be made into a wave with pointy edges or smooth edges. The line can also be given different starting and finishing points.
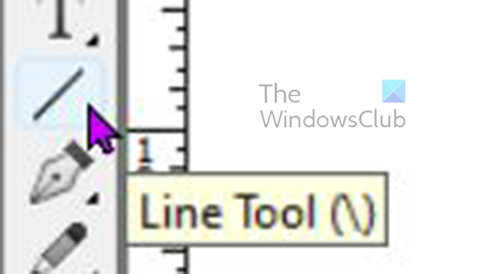
To draw a straight line you can click the Line tool then hold the Shift key then click and drag to the desired length. The default line weight is 1 point and the default color is black.
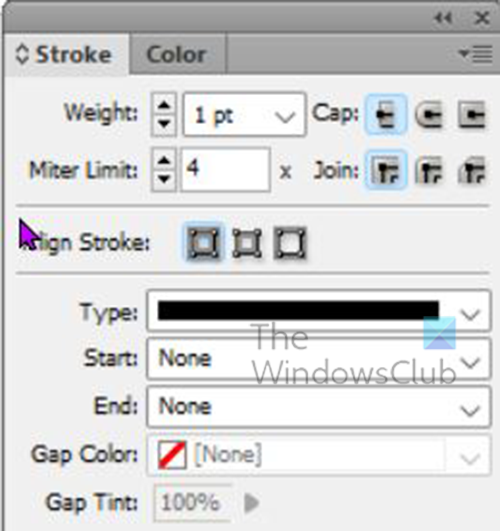
You can change the line’s (stroke) properties in the stroke properties box. You can also change some properties from the top menu bar.
You can also change the color of the stroke on the same properties box by pressing the color tab.
Note that some changes you make will be specific to some strokes or shapes so it will not show on all.
To change the stroke, select it and go to the Stroke properties box and see what the options are.
Weight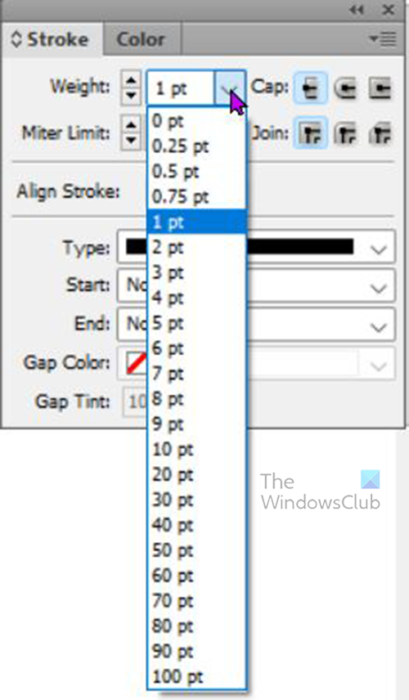
To change the weight (thickness) of the line press the up or down arrow beside the Weight, which will increase or decrease the weight. You can also type in the number in the value box or click the drop-down arrow to see the preset weight numbers.
Cap types
The cap is how the ends of the line will look, there are three options for the cap. If you draw a stroke and click on any of the three cap types you will see the line change. The different cap types are Butt cap, Round cap, and Projecting cap.

In this image, all three lines are of different lengths even though they all started on the same length. The different cap styles made the difference in the lengths.
Butt cap
The butt cap will end the line at the exact start and end point. this means that mathematically the line is the exact length it is measured to be.
Round cap
The Round cap gives the ends of the line a round softer finish, it is not square and sharp like the Butt or Projecting cap. This cap type makes the line project pass the start and finish measurement, this means that mathematically the line is longer than it is measured.
Projecting cap
The projecting cap and the butt cap look identical, however, the projecting cap is longer. The Projecting cap goes pass the points at the exact start or end point. this means that mathematically it is longer than the stated length. When you draw a stroke and click on the projecting cap you will see the line extend a bit.
Stroke type
The body of the stroke can be changed to have various looks. When the stroke is drawn you can then go to the property options and choose what you want the stroke to look like.
Draw the stroke then select it and go to the options box and click Type and a dropdown menu will appear. you can then choose the look you want for the stroke.

Here the White diamond type was chosen from the Type drop-down menu in the Stroke properties option box.
Start and End (stroke/line)
The Start and End of the stroke refer to what is at the end of the stroke. The Start is where the stroke originated. It is the spot that was clicked when you were going to start the stroke. The End refers to the part where the stroke ended. For example, you clicked on the right and dragged to the left to complete the stroke. The Start would be the right side of the stroke and the End would be the left end of the stroke. This concept is important because when adding arrows or dots to the ends of a stroke, you will add to Start, End, or both.
You will choose what you want to be at one or both ends of a stroke. Maybe you are pointing a word to its matching object and you want an arrow. You would then add the arrowhead to the stroke.
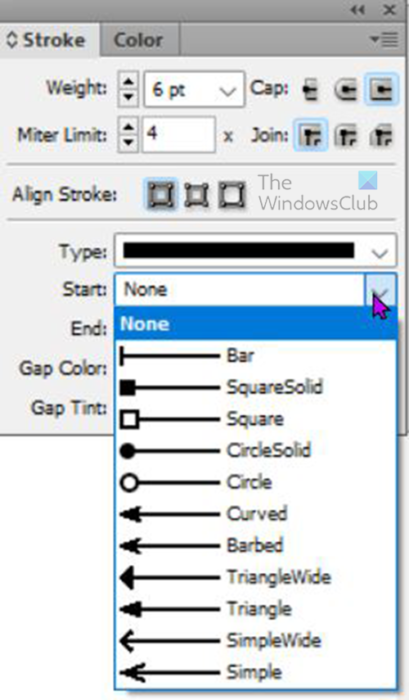
To add the arrow or anything else to a stroke, select the stroke and go to the Stroke properties option box and click the drop-down arrow at Start or End, depending on where you want it to be added.

This line started from left to right, thus the arrow was automatically placed on the left when the Start option was selected.

This arrow was drawn from left to right as well so the arrow was automatically placed on the right when the End option was clicked.
3] Create custom strokes
Custom strokes are the strokes that you make using other tools, merging strokes, or any other method that will make a stroke that is not in InDesign.
One way to create custom strokes is by using the Pen tool. The pen tool is located on the left tools panel. The Pen tool allows you to make curves or bends that are not present by default in InDesign.
To draw a custom stroke with the Pen tool, select the Pen tool from the left tools panel then click on the canvas. Click in different places and the line will join. This stroke will not be straight. The weight of the stroke will be increased so that it can be easily seen.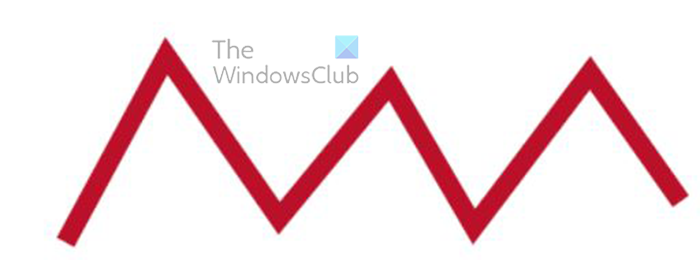
This is the Pen tool stroke, it has a stroke weight of 7 and a stroke color red.
Other changes from the Stroke properties option box can be added to this stroke. Some options would not work on a straight stroke.
4] Edit custom strokes
Changing the Joints of strokes
You will notice there are three joint options Miter joint, Round joint, and Bevel joint. Joints are where the strokes meet or bend. The joints are sharp by default but there are joint options that can cut them off or make them curve smoothly.
Miter joint
When you select the stroke and then click Miter joint, nothing happens. When you click the miter joint on strokes with bends nothing will happen until you change the value to 1. The above image shows the curvy stroke with a miter joint value of 1.
Round joint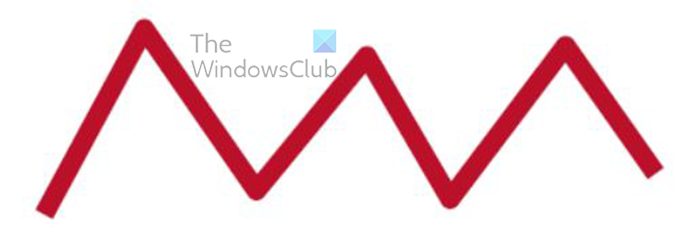
The next joint option is the Round joint. The Round joint will make the pointed joint round and smoother. To use this option click on the Stroke then go to the Stroke properties option box and click the Round joint option. You notice in the image above that the joints are round.
Bevel Joint
The Bevel joint is the last joint option, it looks like the edges of the joint have been cut off.
Gap color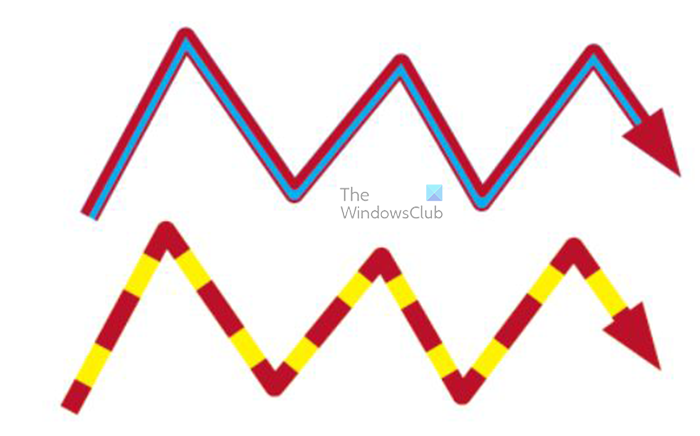
The second to last option you will see in the stroke properties option, you will see Gap color. This is used in cases where you have chosen an option for the stroke that breaks the line into multiple parts. This can be as dots. two or more lines, dashes, etc.
Gap tint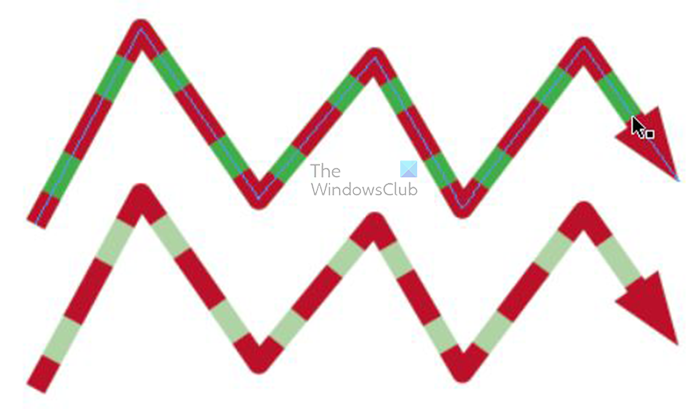
Gap tint is the last option, this controls the brightness of the color in the gap. The default is 100% but you can write in the value you want or click then use the slider to move until you are satisfied with the color. The image above shows the gap color at 100% and then at 44%.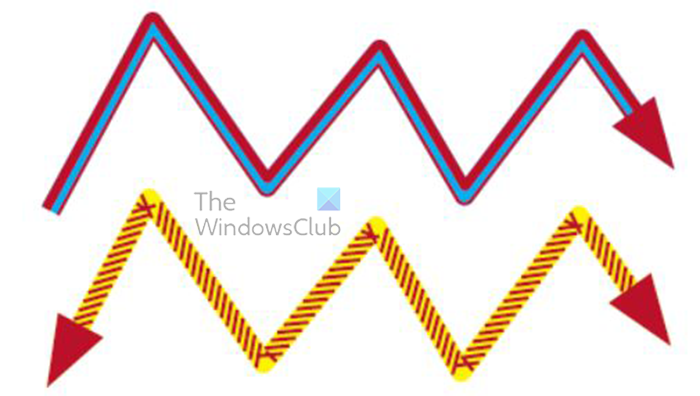
You can use multiple options on a stroke. You can change the type of lines, add an end or start option add joint options, and add gap colors.
Read: How to convert InDesign document to grayscale
Can you make a custom stroke in InDesign?
A custom stroke is any stroke that is not preset. Custom strokes can be made in InDesign. One way to make a custom stroke in InDesign is to use the Pen tool to draw any stroke. That stroke would be a custom stroke since it was not already in In Design. The pen tool can be used to draw complex and unique strokes in InDesign. With the ability to create custom strokes, your artwork can be unique.
What is the difference between a Butt cap and a Protruding cap in InDesign?
A butt cap will remain the exact measurement from point to point. a Protruding cap will not keep the exact measurement from point to point. As the name suggests, it protrudes over the start and end points. This means that two lines can start out being the same measurement, however, if one is made to have a Butt cap and the other a Protruding cap, the one that is a protruding cap will automatically become a little longer than the one that is a butt cap.