With time, dust accumulates on the electronic devices and components, which decreases their efficiency and performance. A graphics card is a hardware that increases the video memory of your computer. It is responsible for rendering images. A graphics card is one of the most essential PC components, especially for gamers. Therefore, it is important to do its maintenance timely. In this article, we will talk about how to clean a Graphics Card.
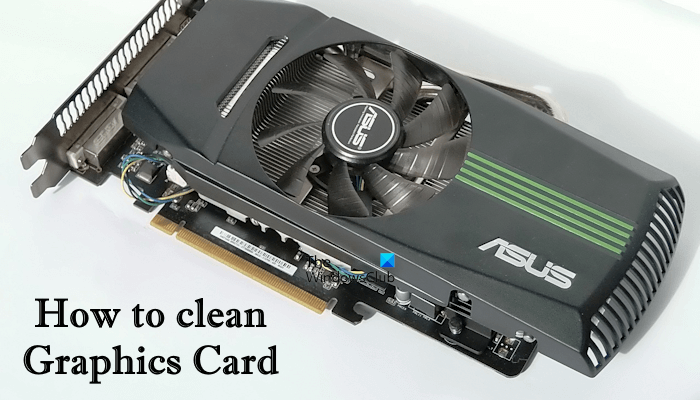
How to clean a Graphics Card
It is important to keep your graphics card clean. Dust not only reduces the efficiency and performance of the graphics cards but also increases the heating issues. Overheating can damage your graphics card.
To clean a graphics card, you must unmount it from your PC and disassemble it. If your graphics card is under warranty, we do not suggest you disassemble it; doing this will void the warranty. Instead of doing this, you should contact the support for assistance.
Things required to clean a graphics card
You should have the following things to clean your graphics card:
- Microfiber cloth: A Microfiber cloth is made up of a microfiber material that makes it soft. Soft cloth is ideal for cleaning electronic parts as it does not scratch and damage them. In addition to this, microfiber cloth has a good absorption capacity. The cloth should also be lint-free.
- Isopropyl Alcohol: Isopropyl alcohol is widely used to clean hardware and electronic parts. Isopropyl alcohol contains isopropanol diluted with a certain percentage of water. For example, 70% isopropyl alcohol contains 70% isopropanol diluted with 30 percent purified water by volume. You can use 70% or more isopropyl alcohol to clean your graphics card. If possible, use a 99% isopropyl alcohol solution. The higher percentage means that the solutions contain less percentage of water. Hence, it will dry faster.
- Cotton swabs: Cotton swabs are soft on electronic parts. Hence, they will not damage your GPU while cleaning it.
- Compressed air can: You will need the compressed air can to blow air through your graphics card so that you can eliminate the maximum amount of dust easily.
Do not blow high-pressure air to remove dust from your graphics card, as it can damage its components.
Precautions to follow before cleaning a graphics card
You have to follow some precautions before cleaning a graphics card. First of all, make sure that your computer is completely powered off and all the cables and peripherals are disconnected. Disconnect the power cord to avoid any damage and electric shock.
Clean the space where you put your graphics card for cleaning. If there is a water bottle or any other container holding water, put it away from the space where you clean your graphics card.
The human body is intended to develop an electrostatic charge. This electrostatic charge can pass to the electronic components when you touch them. Some electronic components can be damaged by this static electricity. Therefore, it is mandatory to discharge the electrostatic charge from your body before touching any internal components of your computer. One way is to touch any metal surface, like your computer case. You can also use an ESD wrist strap to drain the static electricity from your body.
Process to clean a graphics card
You should follow the right process to effectively clean your graphics card without causing damage to its components. Follow the steps one by one.
- Turn off your computer and disconnect all the cables and peripherals
- Open your computer case
- Unmount the graphics card from the motherboard
- Start cleaning your graphics card
1] Turn off your computer and disconnect all the cables and peripherals
First of all, turn off your computer properly. After turning it off, remove the power cable and other cables. Also, disconnect all the peripherals connected to your computer.
2] Open your computer case
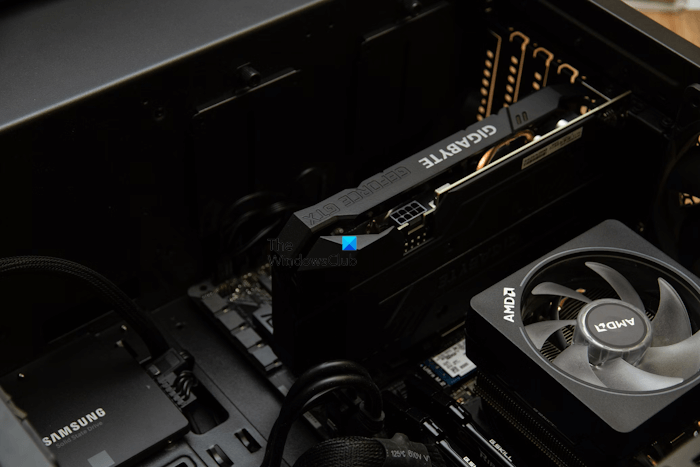
After disconnecting all the peripherals and cables, open your computer case carefully. The correct method to point your computer case might be mentioned in the manual. Keep all the screws in a safe place so you can find them easily at the time of closing the computer case.
3] Unmount the graphics card from the motherboard
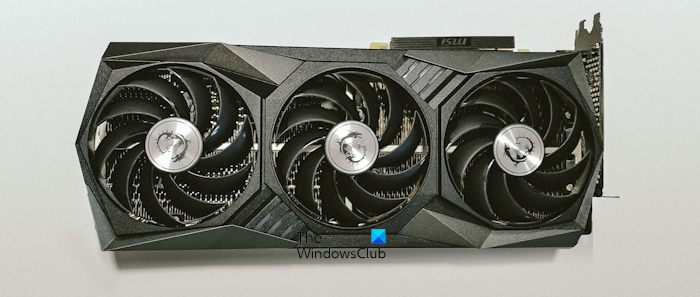
Now, the next step is to unmount the graphics card from the motherboard. Again refer to your user manual to know the correct procedure to unmount the graphics card. Carefully take the graphics card out of the computer case and put it in the clean space to start the cleaning process.
4] Start cleaning your graphics card
To properly clean your graphics car, you have to disassemble it. First, clean your graphics card from the outside without disassembling it. After that, disassemble your graphics card. Some graphics cards have a cover mounted on the backside. You should remove that cover first.
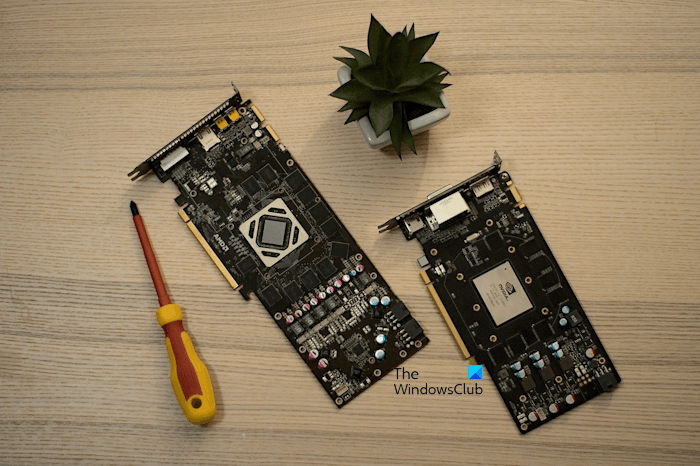
Now, remove the screws one by one to separate the cooling system from the PCB board of the graphics card. Carefully remove the cable connecting the cooling system with the PCB board of your graphics card. Now, you can clean your graphics card and its cooling system properly. Do not proceed towards further disassembling your PCB board, as it will get you in trouble. You can clean the graphics card effectively without disassembling the PCB board.
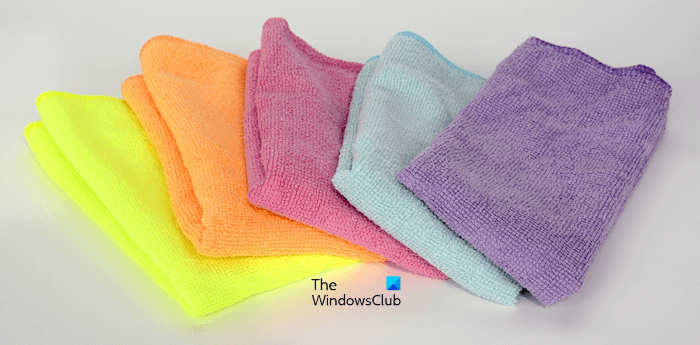
Dip the microfiber cloth in the isopropyl solution and clean your graphics card gently. Remove as much dirt as you can from the graphics card PCB board and cooling system with the help of microfiber cloth. After that, use the compressed air can to blow air through the vents of your graphics card cooling system. This will remove the dust accumulated between the vents.
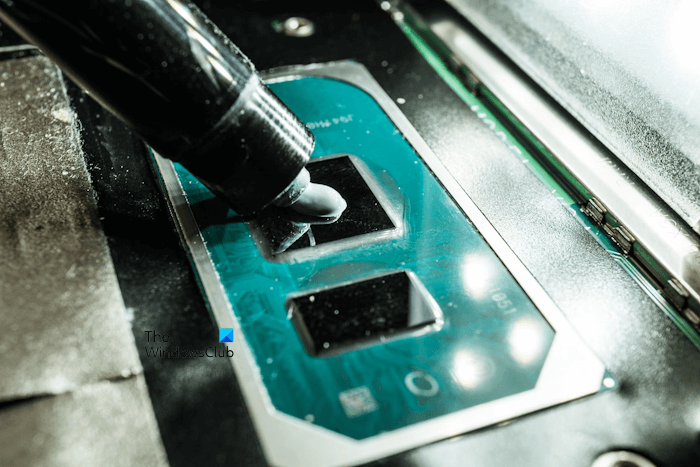
Take a look at the thermal paste. If it is dried or worn out, you have to remove it and apply a new thermal paste. Dip the cotton swab into the isopropyl solution and gently remove the dried thermal paste with the help of the cotton swab. After removing the thermal paste, apply a new thermal paste to your GPU.
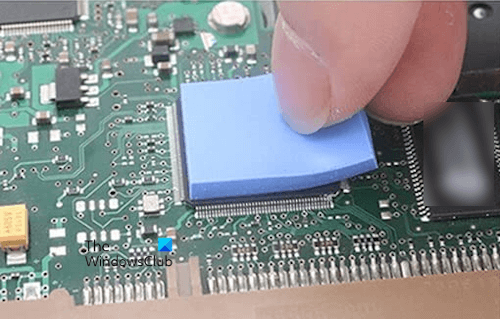
If your graphics card has thermal pads, take a look at them. If they are worn out, you should also replace them. Before removing the thermal pads, make sure that you have the thermal pads of the same thickness. Remove the thermal pads one by one, clean the surface with a microfiber cloth or cotton swab (dipped in isopropyl alcohol solution), and apply new thermal pads.
Clean the fans of your graphics card’s cooling system. You can use a soft brush for this. But be careful while cleaning the fans, as their blades can break if you apply more pressure on them. Move your hands gently to clean the fans.
That’s it. You have cleaned your graphics card. Now, it is time to reassemble it. Carefully place its parts in their place and reassemble the graphics card. When you are done, connect your graphics card to your computer.
Read: How to clean your keyboard and keep it free from bacteria and viruses.
Benefits of cleaning a graphics card
There are a lot of benefits to cleaning the graphics card.
- Less heat: Dust traps heat due to which the temperature of the graphics card increases. Cleaning a graphics card will help lower your graphics card temperature.
- Increases lifespan: Regular cleaning of a graphics card also increases its lifespan. Overheating can damage a graphics card. Regular cleaning helps maintain the temperature of the graphics card. Hence, its lifespan increases.
- Boosts performance: Proper cleaning of a graphics card also results in high performance.
I hope this helps.
Is it safe to clean a GPU with water?
No, it is not safe to clean a GPU with water. Water is the enemy of all electronic devices and electronic parts. Water can cause damage to your graphics card and its components. You should avoid using water to clean the GPU and all other electronic devices.
Can dust damage GPU?
Dust can damage your GPU in the long run. Dust impacts the performance of a graphics card. It acts as an insulator due to which heat gets trapped inside the graphics card and heat sinks do not work efficiently. Due to this, your graphics card becomes too hot and its performance decreases. If you do not clean your graphics card, it will be damaged permanently due to heat.
Read next: Tips to physically clean your Windows computer.
Leave a Reply