WinRM, or Windows Remote Management, is a Microsoft protocol that enables remote management of computers. It is an implementation of the WS-Management Protocol for managing Windows desktops and servers remotely. In this post, we will discuss how you can configure WinRM via GPO on Windows computers..
Configure WinRM via GPO on Windows computers
If you want to configure WinRM via GPO, follow the steps mentioned below.
- Change your connection to Private or Domain
- Check if WinRM is enabled on your system
- Configure WinRM using Group Policy Management Console
- Force Windows to refresh GPO Settings
Let us talk about them in detail.
1] Change your connection to Private or Domain
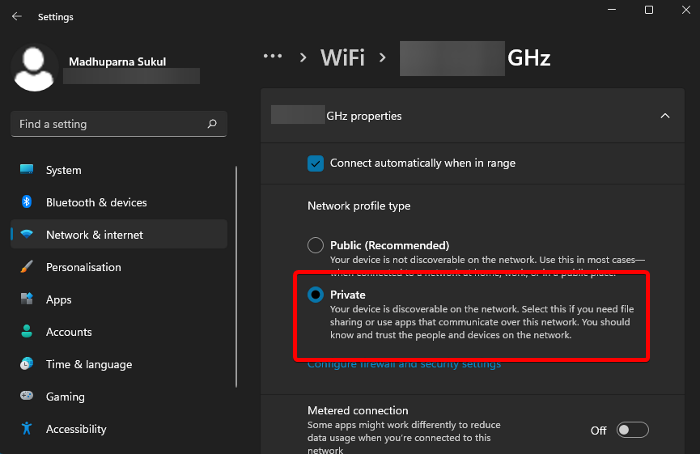
If you are connected to a public network, you won’t be able to enable WinRM. So, in order to access it, we first need to change our network to Private or Domain. To do so, follow the steps mentioned below.
- Open Windows Settings by Win + I.
- Go to Network & Internet.
- Now, click on Wi-Fi and then head to your WiFi.
- Select Private network.
If you are connected to an ethernet, you have to do the same to it as well. Once done, move on to the next step.
2] Check if WinRM is enabled on your system
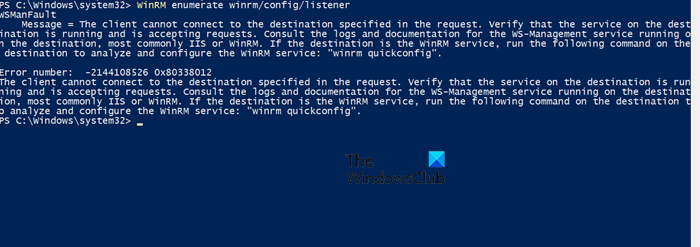
Next up, we need to check if WinRM is already enabled on your system. If you are on a Windows Server, there is a high chance, that the feature would already be installed on your system, however, on a Windows client, the feature is not installed pre-installed. To do so, open PowerShell as an administrator and then run the following command.
WinRM enumerate winrm/config/listener
If it throws the following error, the feature is not enabled.
WSManFault
Message = The client cannot connect to the destination specified in the request. Verify that the service on the destination is running and is accepting requests. Consult the logs and documentation for the WS-Management service running on the destination, most commonly IIS or WinRM. If the destination is the WinRM service, run the following command on the destination to analyze and configure the WinRM service: “winrm quickconfig”.Error number: -2144108526 0x80338012
To enable it, we can just run – winrm quickconfig. However, this will just enable the feature for that particular system, whereas, configuring through GPO allows us to enable it for all the users connected to the domain.
3] Configure WinRM using Group Policy Management Console
Group Policy Management Console is an interface for managing all aspects of Group Policy across multiple domains and forests. Any changes you made to GPO, will get applied to all the users connected to your active directory. To do so, follow the steps mentioned below.
- Open the Group Policy Management Console by searching it out of the Start Menu.
- Select the Active Directory container (Organizational Unit) and then create a new GPO corpEnableWinRM.
- Now, open the policy to edit, then navigate to Computer Configuration > Policies > Windows Settings > Security Settings > System Services.
- Look for Windows Remote Service (WS-Management) service and in the Select service startup mode, to Automatic.
- Now, go to Computer Policies > Preferences.
- Then, click on Control Panel Settings and then on Services.
- We need to create a new service, for this, go to New > Service, type WinRM, and then click on Restart the Service on the Recovery tab.
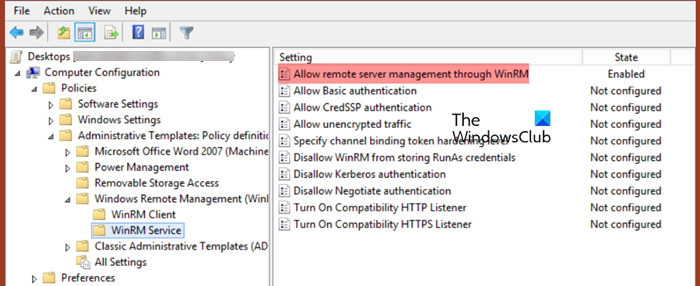
- Navigate to Computer Configuration > Policies > Administrative Templates > Windows Components > Windows Remote Management (WinRM) > WinRM Service.
- Look for Allow remote server management through WinRM and double-click on it to open.
- Click on Enabled and in the IPv4/IPv6 filter box, you can specify IP addresses or subnetworks on which WinRM connections must be listened to. If you want to allow WinRM connections on all IP addresses, leave * here.
- Now, we have to create a role in Windows Defender Firewall to allow WinRM connections on the default ports that are TCP/5985 and TCP/5986. For that, go to Computer > Policies > Windows Settings > Security Settings > Windows Firewall with Advanced Security > Inbound Rules.
- Click on Windows Remote Management predefined rules and then create the rule.
- Finally, go to Computer Configuration > Policies > Administrative Templates > Windows Components > Windows Remote Shell, look for Allow Remote Shell Access, and enable it.
This way we have created a rule in GPO.
4] Force Windows to refresh GPO Settings
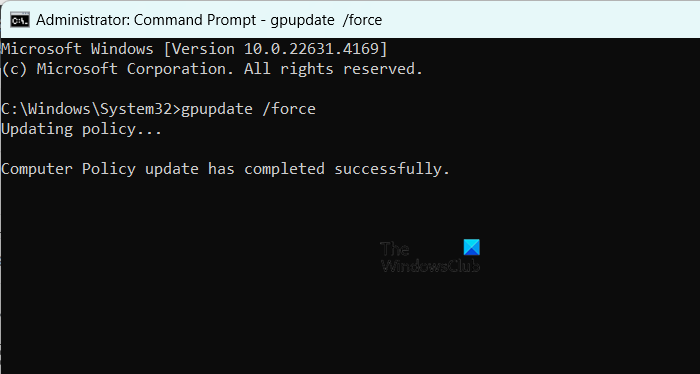
To implement the GPO changes on the client end, we need to run GPUdate.exe on the client device. To do so, open Command Prompt as an administrator and then run the following command.
gpupdate /force
This will force the device to go through all the policies configured on the domain controller and apply them to the system.
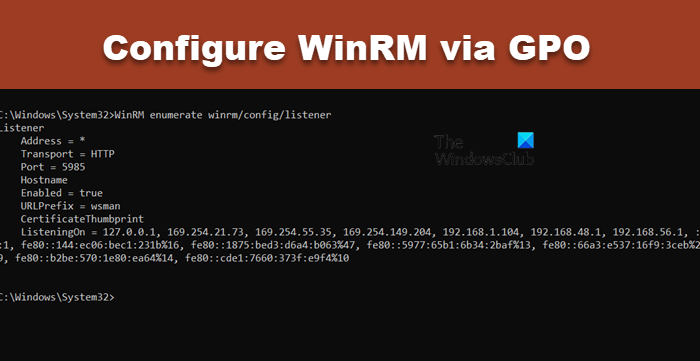
If you want to check if WinRM is enabled, just run WinRM enumerate winrm/config/listener. It will give you the listener information.
That’s it!
Read: How to use Remote Desktop (RDP) in Windows 11 Home?
How to enable WinRM through GPO?
In order to enable WinRM through GPO, you need to configure the policy – Allow remote server management through WinRM. However, there are some prerequisite steps that you need to follow in order to get to it. We have listed down the things that you can do to configure the policy and everything that you need to apply it on to the client system.
Read: Disable or Enable Remote Desktop with Command Prompt or PowerShell
How to enable WinRM via command line?
To enable WinRM through Command Line, open either PowerShell or Command Prompt with admin privileges and then execute winrm quickconfig or Enable-PSRemoting –Force. To check the status of WinRM, run WinRM enumerate winrm/config/listener.
Also Read: Install and configure File Server on Windows Server.
Leave a Reply