Adobe Illustrator has so many tools and features that can be used to create wonderful artwork. Many items had to be created by hand in the past but now they are just a few clicks away. Illustrator can be used to make artwork for projects and mockups, logos, illustrations and so much more. You may love to travel, and you want to create a 3D representation of the earth with a real map of the world on it. Learning how to create a 3D globe with the world map in Illustrator will help with that. This 3D globe with the world may be a stand-alone project or it can be a part of a larger project. It can be a part of a logo, business card, flyer, brochure, or mockup for products.
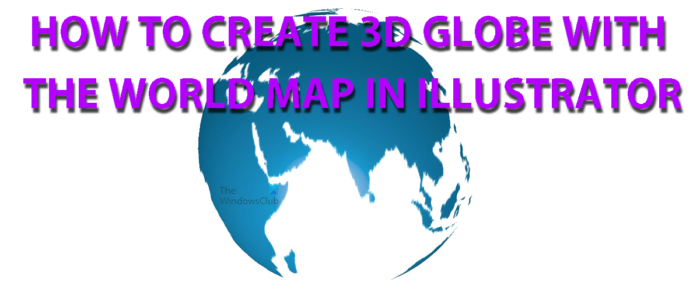
How to create 3D Globe with the World Map in Illustrator
Learning how to create a 3D globe with the world map in Illustrator is quite easy to do and remember. This project can also be the start of another project on how to make this 3D globe revolve. For now, the aim is to create a 3D globe with a world map on it.
- Prepare items
- Open and prepare Illustrator
- Add map image to symbols
- Create a circle with the Ellipse tool
- Cut the circle in half
- Use 3D revolve
- Map art
- Editing the 3D art
- Save
1] Prepare items
Any successful project has a lot of preparation going into it. You can’t get everything right but when there is a lot of preparation, lots of mistakes and delays can be avoided. Decide on what the Globe will be used for, this will help with the resolution, color mode, and size chosen in the beginning. The globe may be created so that it can be easily incorporated into multiple projects like a template. Decide if you want just a map outline, minute details, or full details. Decide on what part of the map you want to show. This is important since the globe will not be revolving so only one side will show. When these are decided, it is time to search and find the image of the map. Find an image that is of a very high resolution and quality. Depending on the plans you have for the finished product, it would be wise to make sure that the license of the image supports the use that you plan for it.
2] Open and prepare Illustrator
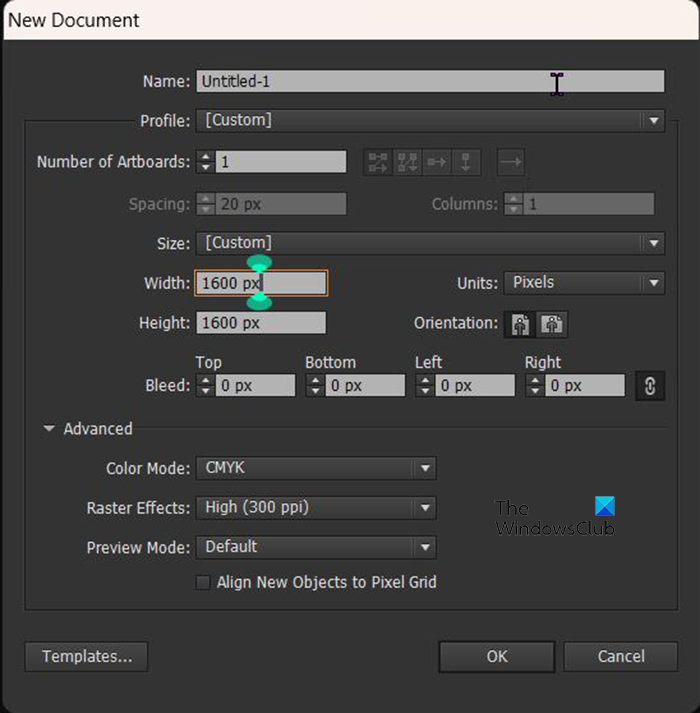
When all the preparation is done, it is now time to open and use Illustrator. Open Illustrator and prepare the canvas. While in Illustrator go to File then New and a New document dialogue window will open. In the new document dialogue box, you will choose the options that you want. The decisions you made in the preparation step will affect what options are chosen in the new document window. A dimension of Width 1600 px and Height 1600 px can be used. You are free to make it bigger or smaller. The resolution will depend on what you want to do with the globe when you are done. A Raster effect (resolution) of 72 ppi is ok for RGB that will be used for screens only. The higher resolutions are better for printing, medium is good for times when it will be both print and screen or when you are undecided. Remember that the higher the resolution the larger the file size.
3] Add map image to symbols pallet
This step will require that you place the map in the symbol pallet so that it can be added to the sphere that will be created. To get the map image into the symbols pallet, you can drag and drop the map image into Illustrator and then drag and drop it into the document you are working on. You may also go to File then Open, when the dialogue box appears, search for the image, then choose the image that you want and press Open. 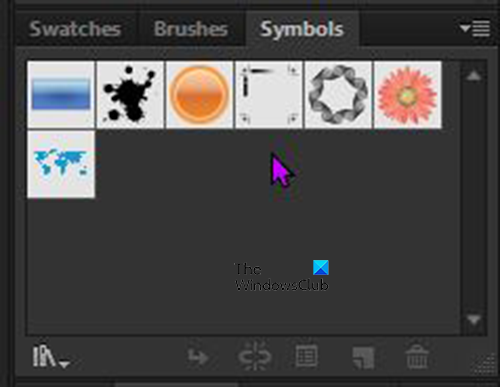
When the image has been placed in Illustrator, go to the right and look for the Symbols pallet tab and click it. This will display the symbols pallet. You then click on the image of the map and drag it into the symbols pallet.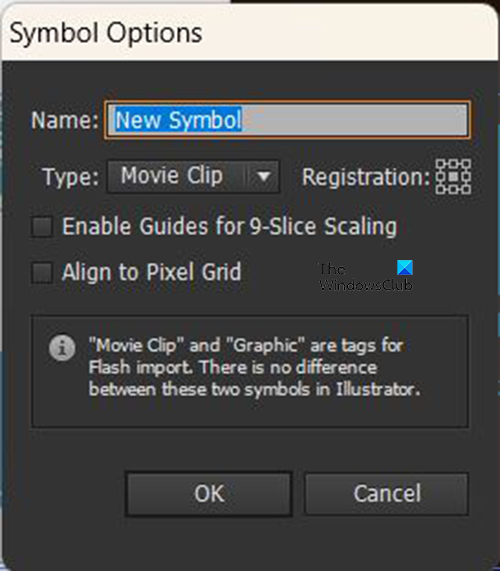
A window will appear for you to name the new symbol. You can choose to give it a name or leave the default name which is the New symbol and press Ok to confirm or Cancel to close without adding it. When that is complete, click and drag the world map image off the canvas. The world map image is attached to the symbol world map in the symbols pallet.
4] Create a circle with the Ellipse tool
Now it is time to create the globe, this will start with the Ellipse tool.
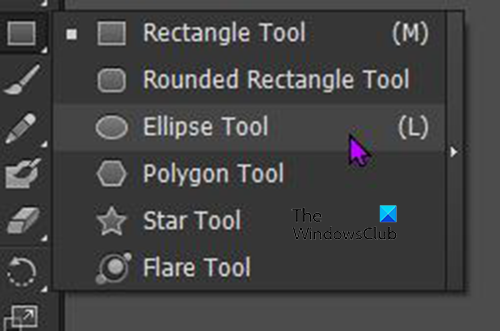
Go to the left tools panel and select the ellipse tool or press L on the keyboard. Click and drag on the canvas while holding the Shift + Alt key to make a perfect circle. You may also click on the screen while the Ellipse tool is selected, a window will appear, and you can put in the dimensions for the ellipse that you want. Since it will be a perfect circle, put in the same dimensions for the Width and Height then press Ok.
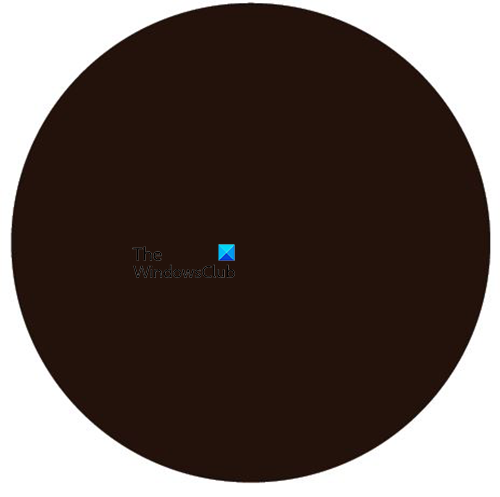
When the circle is created to your specification, give it color so that it is easier to see.
5] Cut the circle in half
Go to the left tools panel and select the Scissors tool or press C. The Scissors tool is in the same group as the eraser. Ensure that the circle is selected and click on the top middle mark on the circle and the bottom middle mark. You then press Backspace twice to delete the pieces.
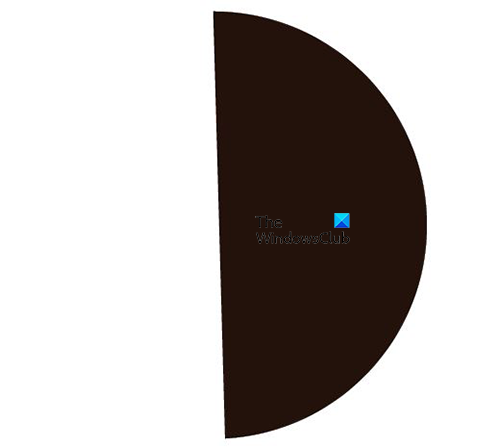
You will be left with half of the circle.
6] Use 3D revolve
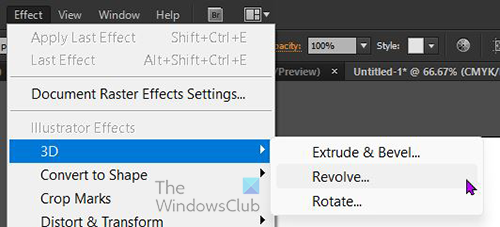
Select the half circle and go to the top menu bar and click Effect then 3D then Revolve. The 3D revolve options window will appear.

Check the Preview option to make the changes happen on the image when you make them in the 3D revolve options window. You will notice that the half circle has become a sphere. That is where the world map will fit, and it will look like a globe.
7] Map art
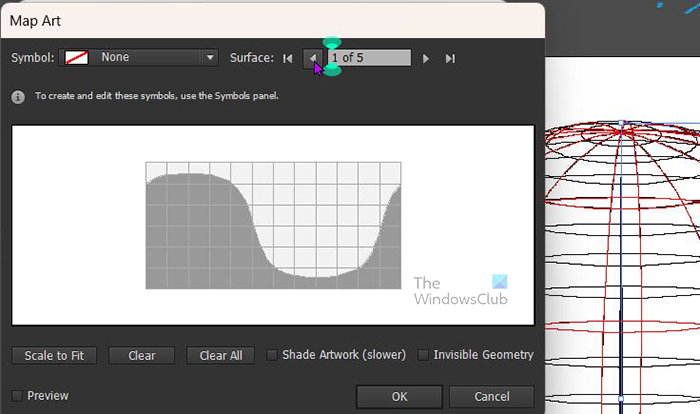
Click the Map art button to bring up the frame where the art will fit. Go to the top of the Map art window where you will see Symbol and, in the box, it will say None.
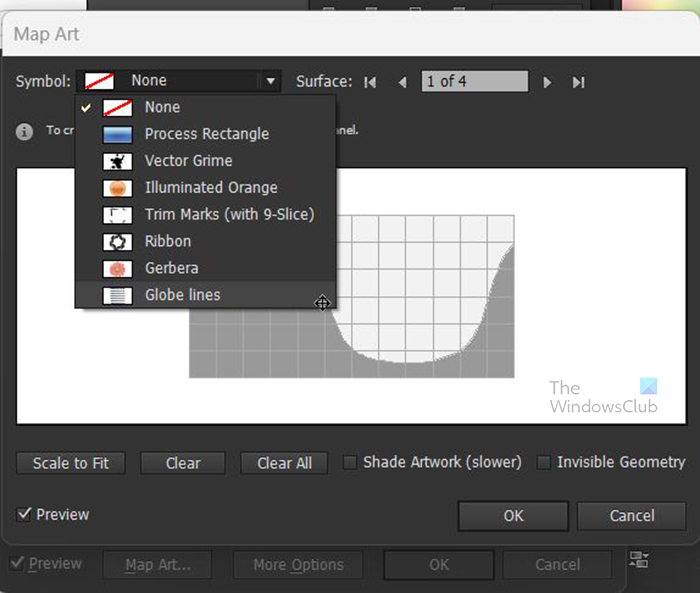
Click the word None or the drop-down arrow beside it. You will see a list of the available symbols. Click on the one that you had placed in the symbols pallet. You will see it appear on the Map art window and the sphere outside.
If you want to fill the visible surface of the sphere with the art click the Scale to fit button at the bottom left of the Map art window. The map image will scale and fit the Map art representation of the sphere.
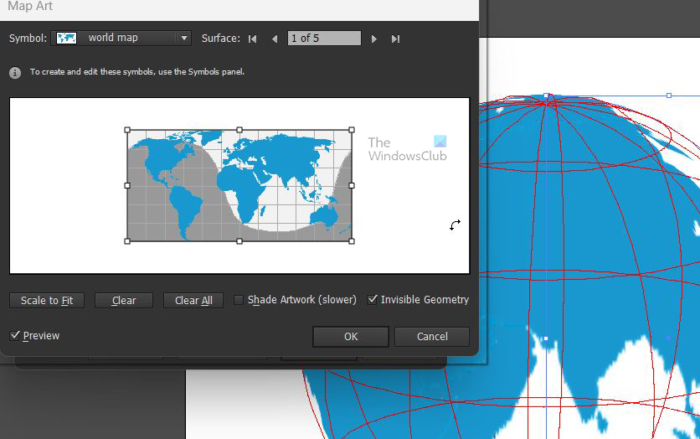
You then check the Invisible geometry option at the bottom right of the Map art window. you will see the world map fill the sphere, but the mapping lines are gone. You can also select Shade artwork, this will make the process slower, but it will give the image a more 3D look with a highlight that you can adjust. When you are finished click Ok to accept or Cancel to close without accepting the changes.
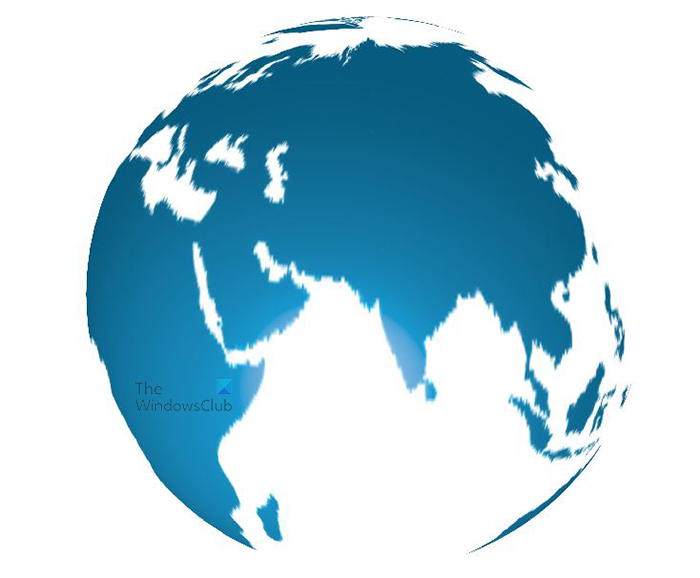
Completed globe with the map of the world.
8] Editing the 3D art
There may be reasons to want to edit the 3D image after you have closed the 3D effects window. to make changes to the 3D effect do not go back to the effects option at the top menu bar. Look for 3D Revolve at the Appearance panel on the right. It is usually above the Layers panel. It will only be visible if the image is selected.
9] Save
The hard work is finished, and it is now time to save. You should have been saving the image periodically while you work. You would go to File then Save as and in the Save as dialogue box choose a name and save the file as an Illustrator .ai file. This will make it editable. To save for other uses when you are finished, go to File then Export, and choose JPEG or another file format that you want.
Read: How to convert Photo to Watercolor Painting in PhotoShop
How do you make a 3D planet in Illustrator?
You can use the 3D Tool in Illustrator to create a sphere in Illustrator draw a circle and cut that circle into a half circle. Then add the 3D revolve effect and the half circle will become a sphere. You even have some control over the surface texture and the light source. You can then choose the Map art option to add a symbol onto the sphere. If you want a map of the world on the sphere, find the image and drag it into the symbols pallet. When you go to the Map art option, go to the Symbol option, and choose the world map. The map will be placed on the sphere.
Read: How to make 3D Vector Globe in Illustrator
How do you make a global sphere in Illustrator?
To make a globe sphere in Illustrator, you can go through the above-mentioned steps. Making a 3D globe and globe sphere are the same thing. Therefore, these steps are more than enough for you to use the 3D tool in Illustrator to get the job done. For your information, you can go to Effects > 3D > Revolve to find the respective option.
Leave a Reply