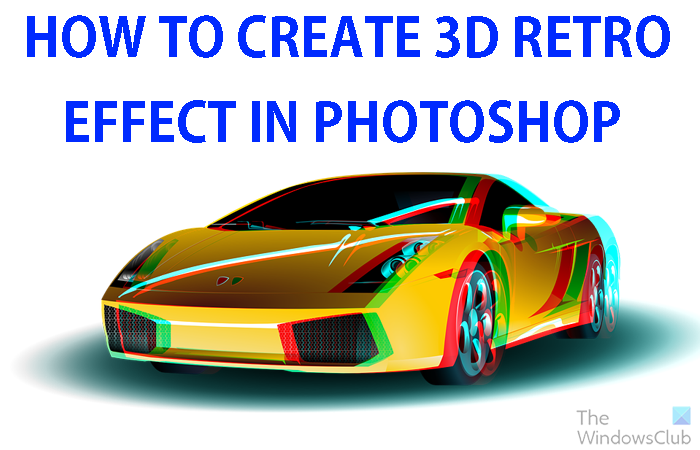
Creating 3D artwork using Photoshop is very interesting and adds interest to your work. In this post, we will show you how to create a 3D Retro effect in Photoshop to add a new spin to your 2D Images.
How to create 3D Retro effect in Photoshop
When you create 3D you add depth to images and this depth makes the image looks real. The 3D retro effect looks like what you would see if you looked at an old 3D movie without the 3D glasses. Learning how to create 3D Retro effect in Photoshop is quite easy to do. The steps are not complicated and you will learn some new tricks that you can do for other projects. Follow the steps below to turn any image into a 3d retro image.
- Open and prepare Photoshop
- Add the image to Photoshop
- Duplicate the image
- Name the duplicated image
- Open the layer style for the duplicated image
- Deselect the Green and Blue channels
- Move the duplicated image
- Crop the images
- Save
1] Open and prepare Photoshop
Your Photoshop icon will be on your desktop or in a folder on your start menu. You will click the Photoshop icon and Photoshop will open up. You will be taken to a blank workspace. You can create a new document by going to the top menu bar and clicking File then New or pressing Ctrl + N. The New document window will open. Here you can choose the options that you want for your document then press Ok to create the new blank document.
2] Add image to Photoshop
You can add the image to Photoshop by finding it on your device. When you find the image, right-click on it and choose Open with then Adobe Photoshop (Version). The image will be opened in Photoshop, and you will see the image also appear in the layers panel on the right. You can use images with a background and without a background. This article will demonstrate the use of both so that you will see the difference.
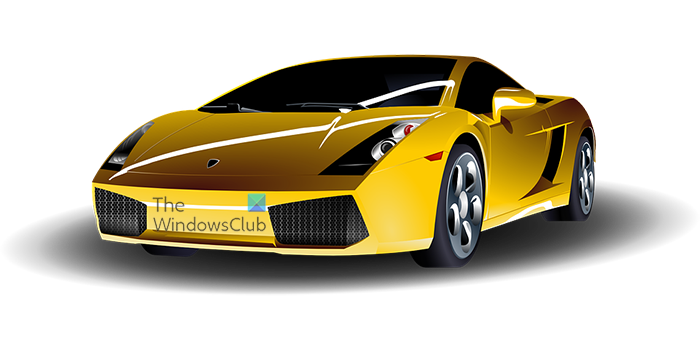
This is the image that will be used for the 3D effect.
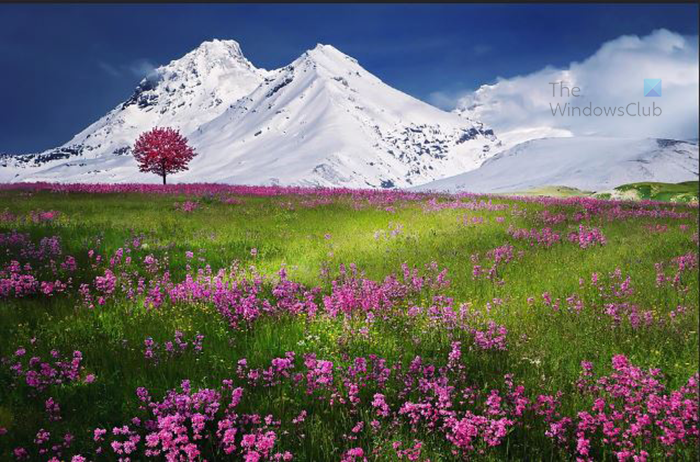
This is the other image that will be used for the 3D effect, this one has a background and more colors. It will be used to show the cropping after the 3D effect is applied.
3] Duplicate the image
The image will be duplicated in this step so that the 3D effect can be created. To duplicate the image click it in the layers panel then drag it onto the Create a new layer icon at the bottom of the layers panel. You can also duplicate the image by clicking on it in the layers panel and then pressing Ctrl + J. The copied layer will go above the other layer.
4] Name the duplicated image
With the image duplicated, you want to make it easy to find in the layers panel, you should name the layer. To name the layer, double-click on the layer’s name and you will get the ability to name the layer. You can then give the layer a descriptive name. In this article, the duplicated layer will be called 3D.
5] Open the layer style for the duplicated image
This step requires that you open the Layer style for the duplicated image (3D).
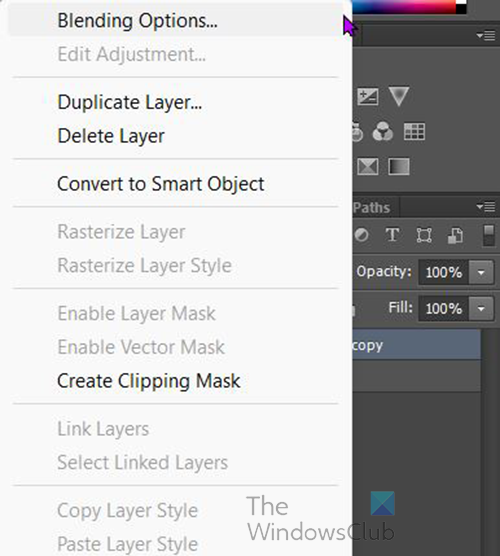
To open the Layer style window, right-click on the image in the layers panel then choose Blending options. The Layer style options window will open.
6] Deselect the Green and Blue channels
In the Layer style window look for the Advanced blending category.
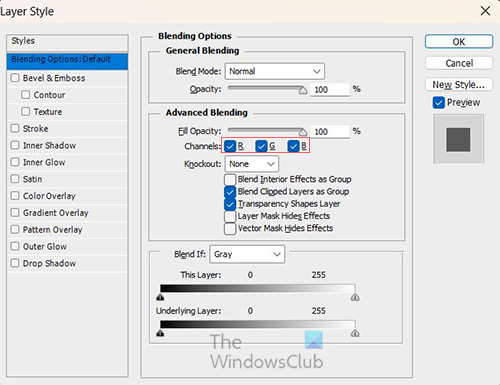
You will see the Channels, R, G, and B. R is for red, G is for green and B is for blue.
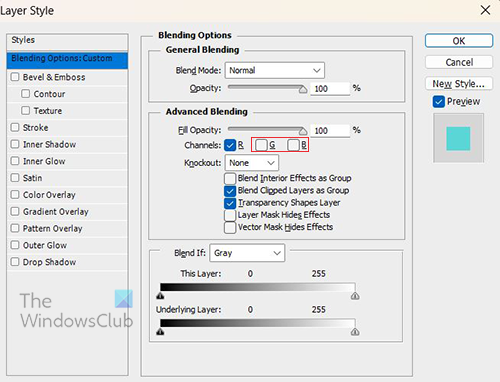
You will deselect the G and the B channels. After you have done this method for 3D, you can try the 3D by turning off other channels and seeing what it looks like.
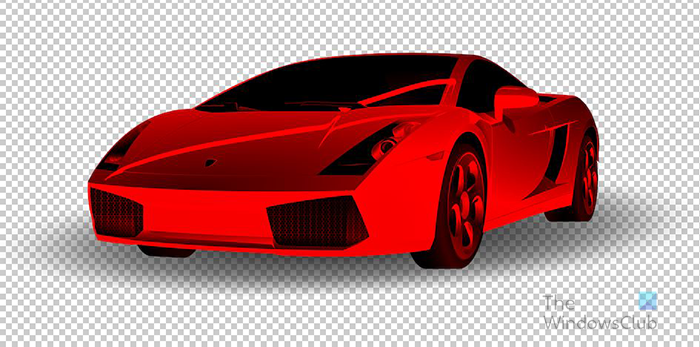
When you look at the images you will not notice any changes. However, if you make the original image layer invisible by clicking the Eye icon on its layer, you will see that the 3D layer (top layer) is now red.
7] Move the duplicated image
In this step you will create the 3D Retro effect by moving the duplicated 3D) image. make sure that the duplicated (3D) image is selected then use the right direction key tap 5 or 10 times. You can move the image further away to create a more colorful look. As you tap you will see the images move apart and the colors start to show.
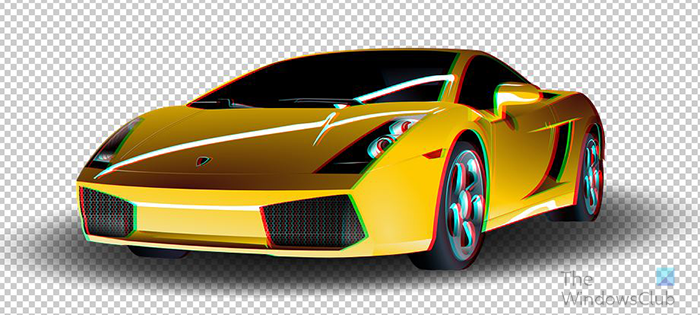
This is the image after 5 taps
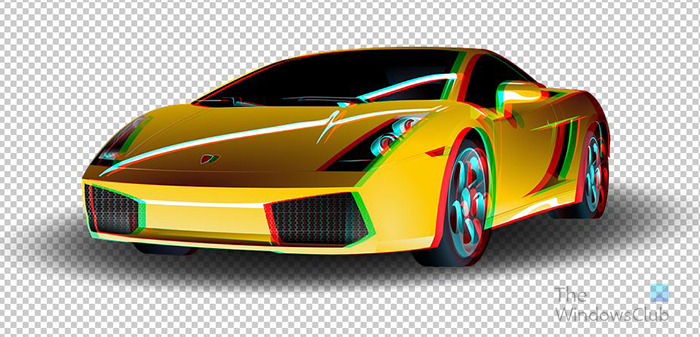
This is the image after 10 taps
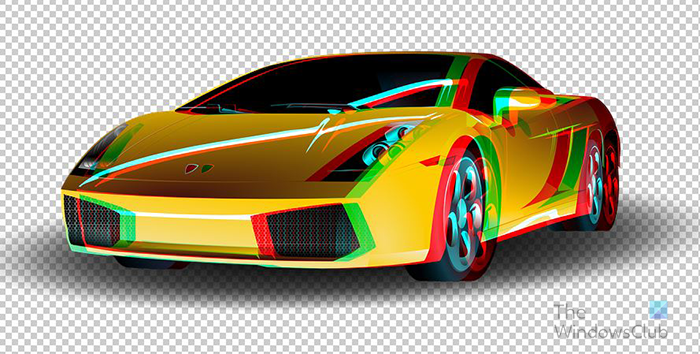
This is the image after 20 taps
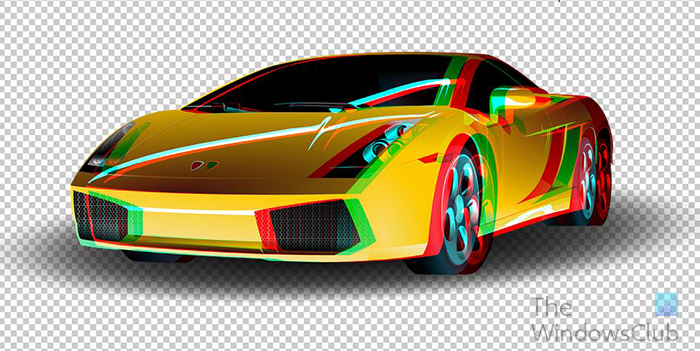
This is the final image, the image had no background so you would not have to crop it as the other step below requires. However, if you notice hard lines at the edges of other objects in the image, you may have to crop.
8] Crop the images
This step is optional and dependent on the image that you used. If the image is a PNG image and has no background then you would not need to crop it. If the image that you used has a background then you would need to crop after the 3D effect. Cropping will remove the uneven edges that were created when you moved the images. This would only be visible when your images have a background.
Cropping the images
To crop the images, go to the left tools panel and select the Rectangular marquee tool. To crop the image use the Rectangular Marquee tool and select the inner parts of the image and leave the edges outside of the selection. Below you will see an image with a background used to create the 3D retro effect.
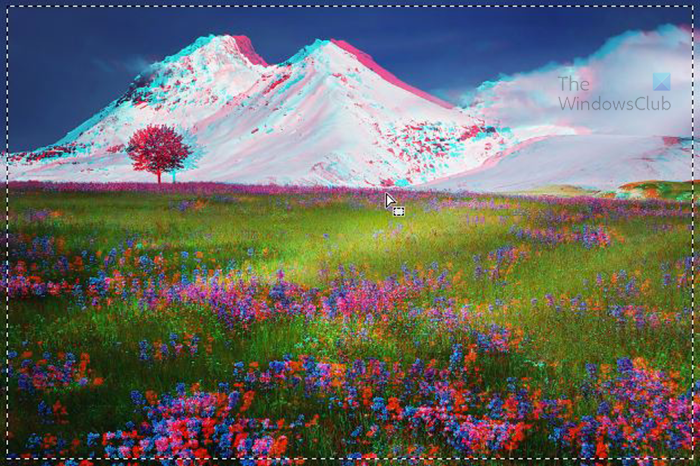
This is the Rectangular marquee selection around the image.
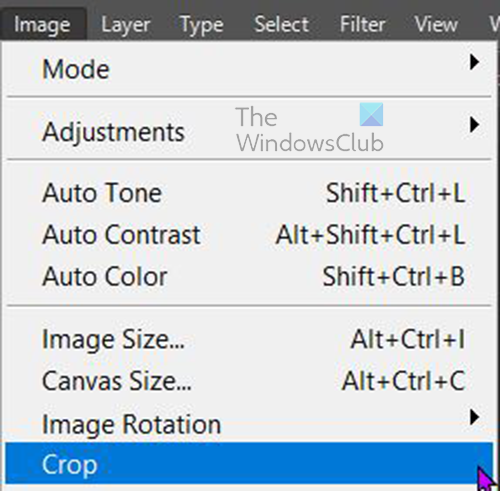
With the selection made go to the top menu bar and click Image then Crop.
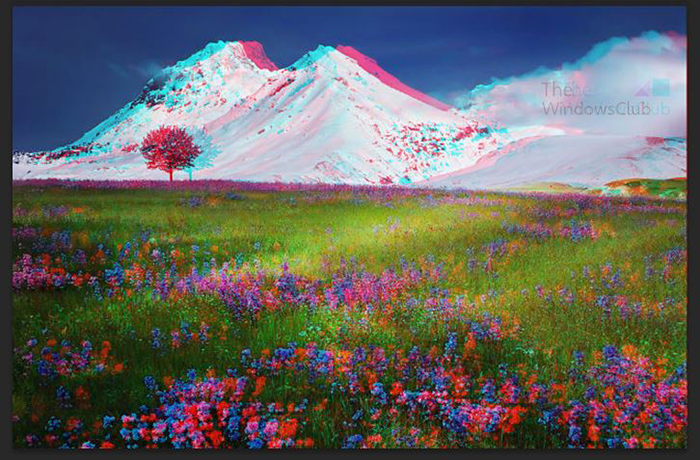
This is the image with the 3D retro effect before it is cropped. You may not notice the line that was created when both the original and the duplicates were moved. The line will be more noticeable in some images.
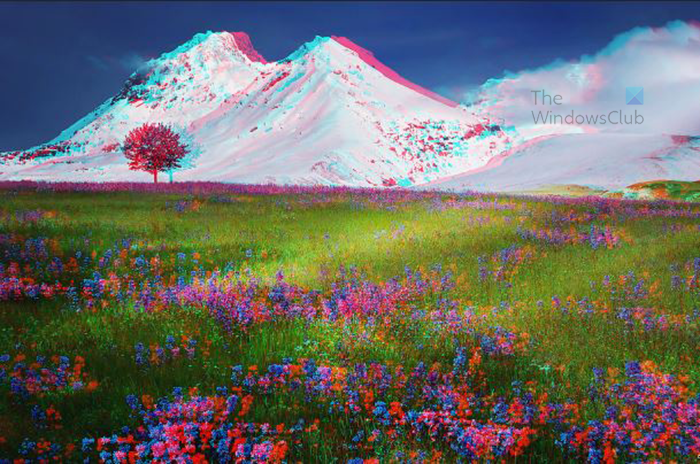
This is the image after it is cropped.
If you have a pair of Red, Cyan 3D glasses you will be able to see the 3D effect in the images.
How do you make retro 3d text in Photoshop?
You can add a retro 3D effect to text in Photoshop, below are the steps to do so.
- Write the text in Photoshop
- Duplicate the text by selecting it and then pressing Ctrl + J
- Right-click the top text and choose Blending mode
- In the Layers style uncheck the Green (G) and Blue (B) channels
- Press Ok to close the Layer style window
- Select the top image then press the left direction key to move it to the left by about 5 – 10 moves, you can move as far apart as you want.
How do you create a 3D Retro effect in Photoshop
Creating a 3D retro effect in Photoshop is quite easy. Follow the steps below to do it.
- Place the images in Photoshop
- Duplicate the image by pressing Ctrl + J
- Select the duplicated image, right-click it, and choose Blending mode
- When the Layer style window appears turn off the blue and green channels
- Press Ok to close the Layer style panel
- Select the top image and using the left direction key, tap 5-10 times to the left. You will see the 3D effect as you tap. You can move the image further away to see the effect more.
Leave a Reply