Learning how to create a 3D Soccer or Football in illustrator can help designers and manufacturers get a look at how a ball will look with certain designs and features before they create it. Adobe Illustrator is a versatile vector graphic app from Adobe. Illustrator has a lot of tools and features that can make just about any artwork. Illustrator can be used by anyone, from beginners to professionals. Illustrator has a lot of ways that it can be applied across a wide range of industries. Illustrator can be used for logo designs, packaging designs, wall, and building mockups, product mockups and so much more.
Create 3D Soccer or Football in Illustrator
The ability to see what a finished product will look like without having to create it from expensive material is very helpful. Illustrator offers the ability to create accurate lookalikes for products. There are several ways to make a 3D Soccer or Football in Illustrator, but the way described in this article is easy to follow and remember.
- Decide on the design
- Create the design
- Place the design in symbols
- Create the circle
- Cut the circle in half
- Use 3D effect
- Customize further
- Save
1] Decide on the design
3D Football can be designed in a lot of interesting ways, from the outer layer design and the color. All are left to the imagination. The outer layer can be made up of a polygon with five sides or six, and a mixture of both can be used. The ball can also have different colors, shading can be turned on or off and there can be a glow that you can adjust.
2] Create the design
When you have decided on the design of the ball, you will then have to use the tools to create it. This ball will use the six-sided polygon tool to design the outer look.
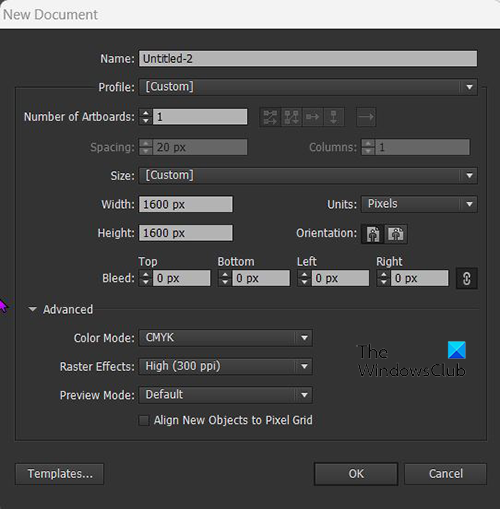
Open Illustrator and go to File then New and then choose the size and other options for the canvas.
Go to the left tools panel and choose the Polygon tool. When you have chosen the polygon tool, click on the canvas and drag. The polygon will be drawn with a pointy edge down, if you want a flat side down, you can rotate the mouse as you drag, or you can rotate after. You can also get the flat side down by holding Shift + Alt while you drag the mouse to create the polygon.
Fill in the color for the polygon and add a stroke if you wish. The color of the stroke and surface can be any color you choose. Your design can also have each polygon of a different color or just two colors.
 When you have designed the first polygon to your preference, you can then, click it and hold Alt and drag with the mouse and place it at the bottom of the first one. Leave a slight gap between them. After the first copy press Ctrl + D to duplicate the action until you have enough. Seven should be enough but you can do as much as you need. Select all the shapes as one and group them. You can hold Shift + Alt and use the mouse to adjust the size. This will ensure that they are all of the same sizes.
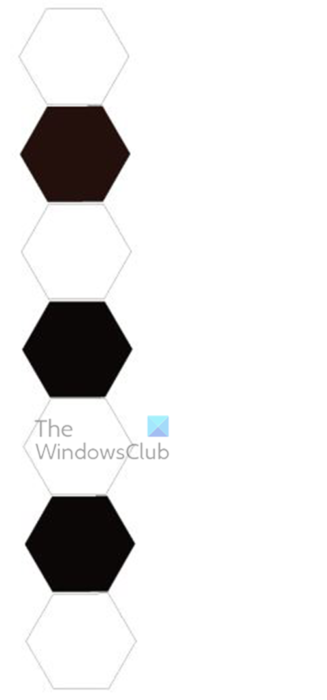
If you decide to use different colors or two colors on the shapes, this is the time to change the colors.
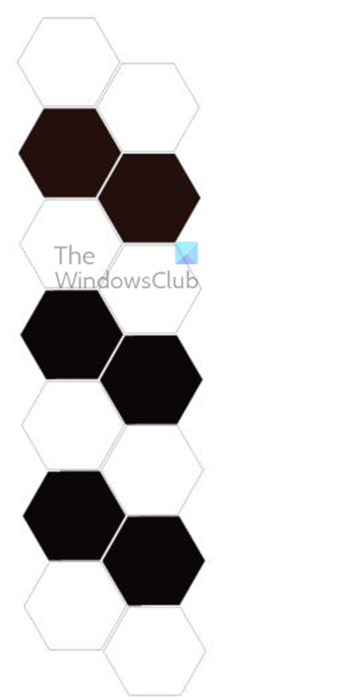
When they are of the same size, colors changed and fit on the canvas. Click and hold Alt and drag to the side to duplicate that line of shapes. Remember they would have all been grouped so they should all copy at once. You can place them exactly side by side with a little space between them, or you can follow the design here to make it interesting.
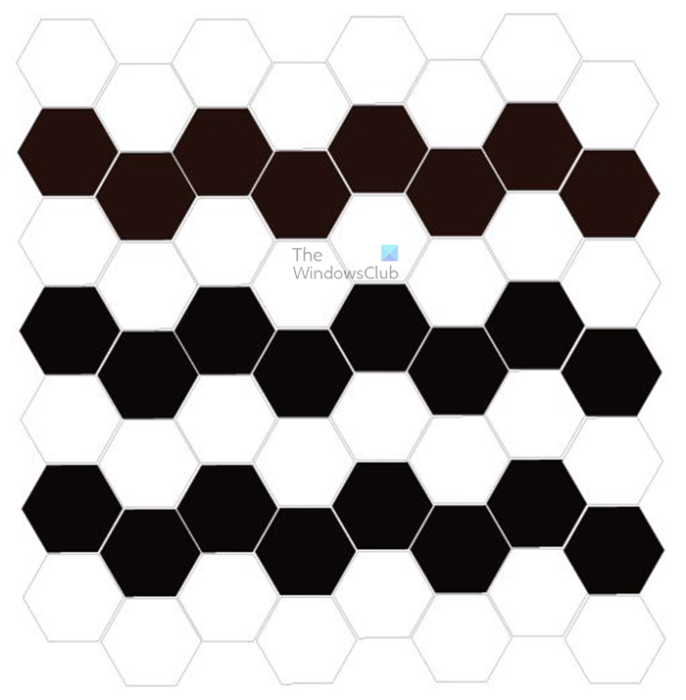
This is the finished shape; all the polygons are placed in rows and columns. Try to make the space between them uniform so that the finished ball can look neat. You may have different numbers of rows and columns but that will not matter much. However. The more you have the better it is if your ball is large. The more polygons you have the less stretching they will have to do to fill the space. This can work in reverse if you have a smaller circle to fill and you have too many polygons.
There is a step that you can try if you want to make the end of the protruding polygons flat. This will help if you want to view the ball from certain angles when you make the sphere. To make the polygons flat or have four sides. Go to the left Tools panel and select the Pen tool. Then select the protruding polygons and click on the two points at the top. These will become flat and the polygon will have four sides. Since the polygons in each row will be grouped, you can right-click on the one you want and choose Isolate selected group. You can then use the pen tool to delete the points. Just select the polygon you want to work on, and the points will appear, select the pen tool then hover over the point you want to remove, the pen tool will have a minus (-) beside it, click when it appears and the point will be deleted.
When you are finished, right-click and choose Exit Isolation mode. You can also accomplish this by selecting the polygon you want using the Direct Selection tool, this will select the polygon clicked and not the whole group, even though they are grouped. You can then use the pen tool to delete the points on the selected polygon. This is the image with the polygons all in one line with none protruding.
3] Place the design in symbols
Now that the shapes are completed for the design, it is now time to place them in the Symbols panel so that they can be used to make the outside of the ball. To place in the symbols panel, select all the shapes and drag them to the symbols panel on the right. If you do not see the symbols panel go to the top menu bar and press Window then Symbols. The symbols pallet is in the same group as the Swatches and Brushes. Just click the tab named Symbols to open it.
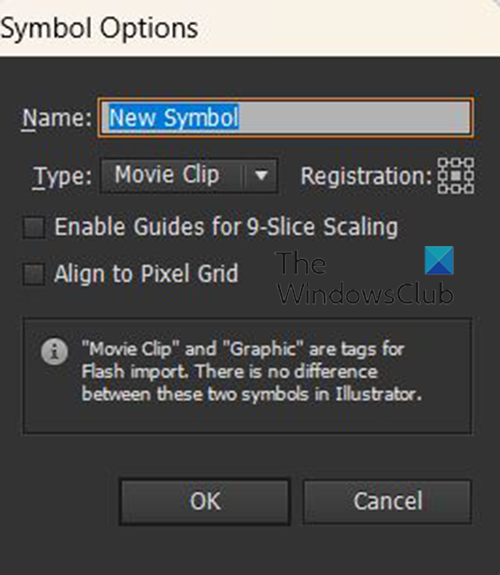
When you have dragged the shapes into the symbols pallet, you will see a dialogue box where you can name the symbol.
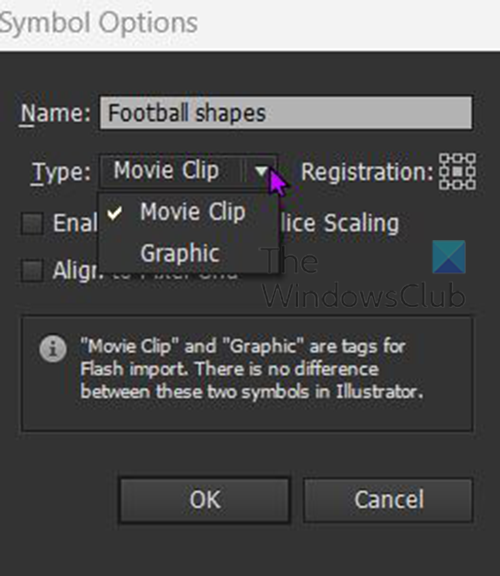
You can also choose the symbol type and choose between Movie clip or Graphic. In this case, it does not matter, but you can leave it as Movie clip or choose Graphic. When you are finished press Ok to confirm your choice.
When the shapes have been placed into the Symbols pallet, you can then remove them off the canvas to make space for the next parts of the project. You can just click and drag the symbols off the canvas preferably at the top or bottom. You can also right-click and unlink them from the Symbols in the Symbols panel and then delete them if you want.
4] Create the circle
The next step is to design the circle which will become the sphere. To design the circle go to the left tools panel and choose the Ellipse tool or click L on the keyboard. You can then draw the circle on the canvas by holding Shif + Alt while dragging the mouse button to the desired size. You can also draw the sphere by selecting the Ellipse tool and then clicking on the canvas, an options box will appear and you can put in the dimensions you want and then press OK. To confirm. You should make the circle easy to see by changing the color if it is white and also adding a stroke if there is none.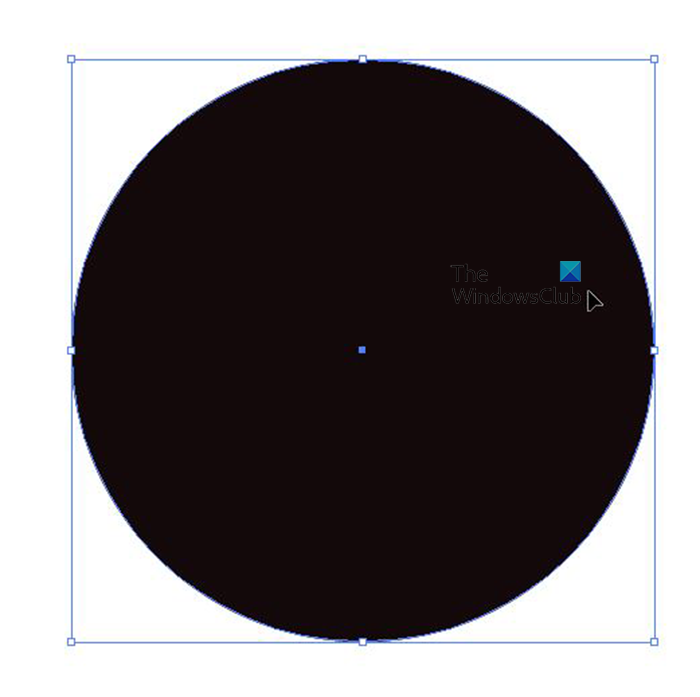
This is the completed circle with black color and a stroke.
5] Cut the circle in half
To create the 3D sphere, you will have to cut the circle in half. You can cut the circle in half with the Scissors tool or the Direct selection tool. To use the Scissors tool o tut the circle, go to the left tools panel and select the scissors. You then click the top and bottom points on the circle then press Backspace twice. This will delete the left half of the circle. To use the direct selection tool to delete half of the circle, select the circle then go to the left tools panel and choose the Direct selection tool. Use the Direct Selection tool to click the left and bottom points of the circle then press Backspace.
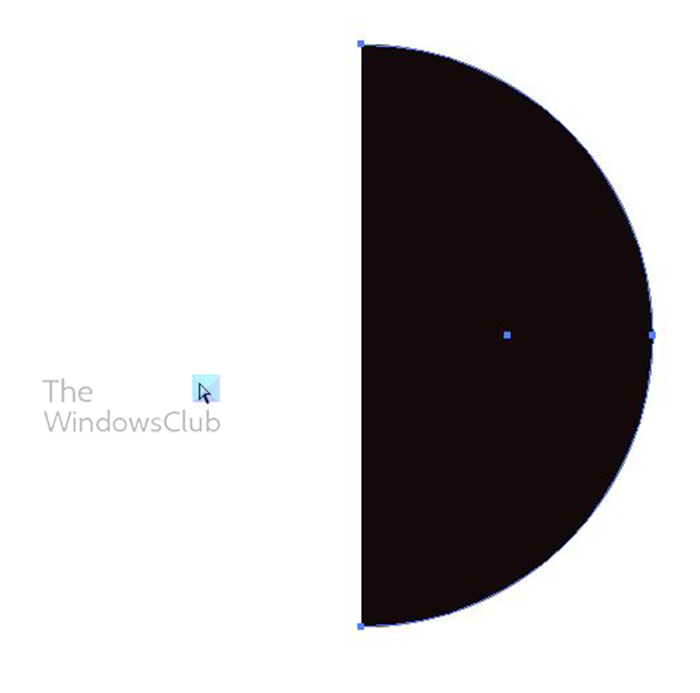 This is the half circle.
6] Use 3D effect
Now to create the sphere from the half circle. To do this select the half circle and go to the top menu bar and click Effect then 3D then Revolve.
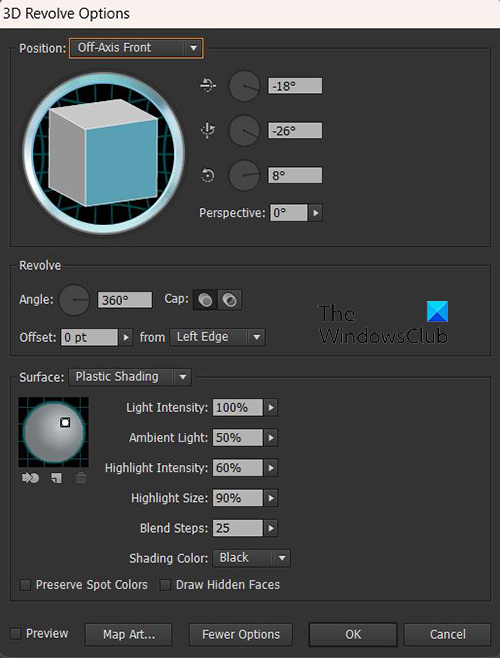
The 3D revolve options window will appear, click Preview to turn the preview and see live changes as they happen.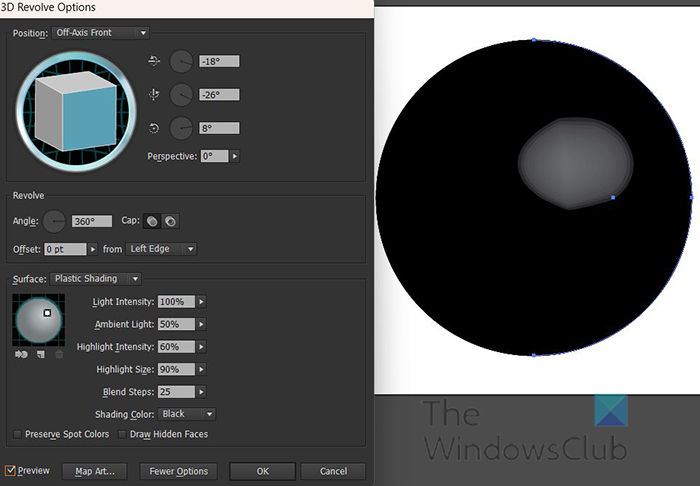
With the preview on, you will see the half-circle turn into a sphere.
You will then click Map art to get the window where you can place the symbol on the sphere.
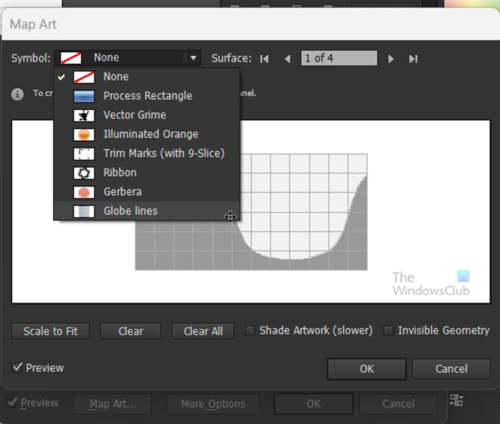
Go to the top of the Map art window where you will see the Symbol option. Click the drop-down arrow and a list of the available symbols will be there and it will include the one you created. Click on the one you created.
The symbol will be placed on the Map art window and will also show up on the sphere. If it does not show up on the sphere, that could mean that your computer is running low on resources (RAM). You can choose Scale to fit at the bottom of the Map art window and the art will scale to fit the sphere. You may also move and adjust the size of the artwork and look at how it fits the sphere, when you are satisfied you can then move on. Scale to fit automatically does not always give the best result so manually scaling and moving is sometimes the best option.
When you have a satisfactory look you can click Invisible geometry to hide the lines of the sphere and show only the artwork in the shape of a sphere. You can also click Shade artwork to give the football a metallic look with a light glow. When you are finished you can press ok to go back to the 3D Revolve options window.
On the 3D revolve options screen you can click on the 3D cube to adjust the visible face of the football. Hold the cube and shift it to different angles to get a different view. You can also go to more options and choose a different color for the shading.
If you want to make more changes to the 3D options after you have exited the 3D revolve, you can go to the right panel and look for Appearance and click 3D revolve (mapped).
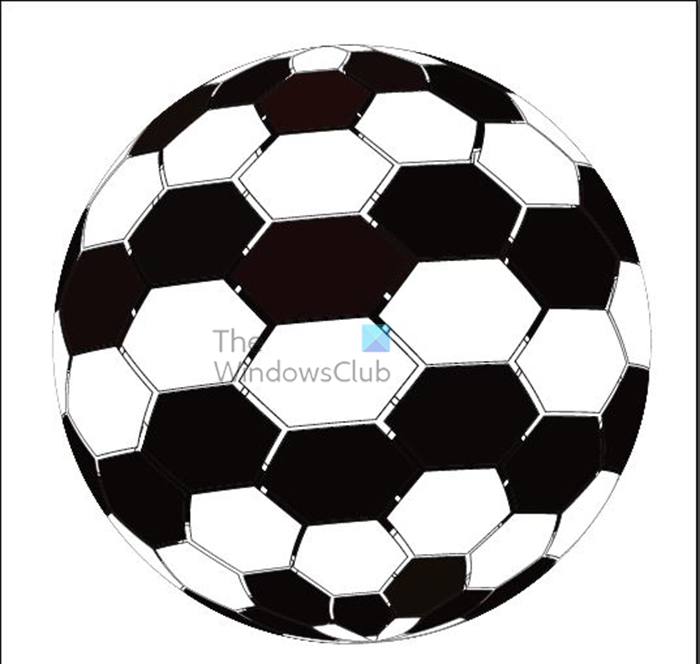
This is the football/soccer ball after the 3D revolve.
When you have closed the 3D revolve options window. go to the top menu bar and click Object then expand appearance. This will break up the colors so that they are movable. You then right-click on the ball and choose to ungroup. You may have to do it twice to get the intended effect.
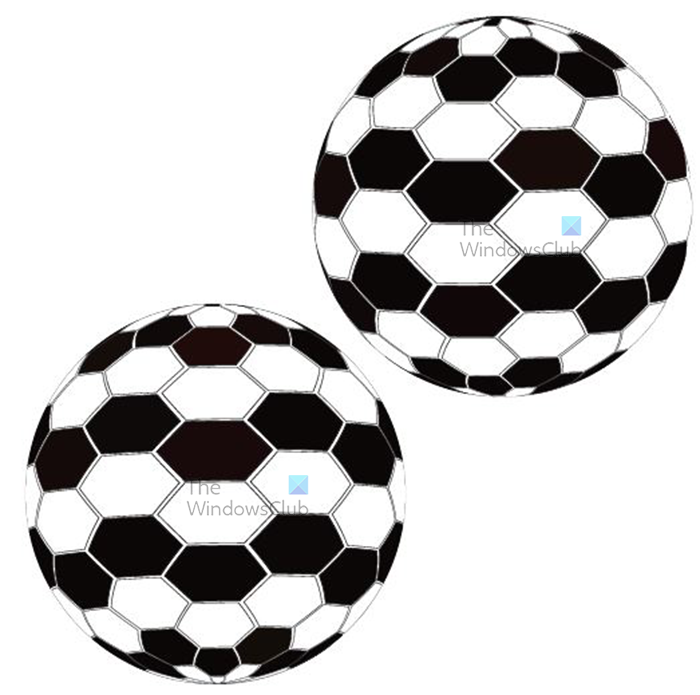
You will then be able to get two soccer balls by clicking and dragging the artwork. You may have to click on the canvas to unselect then click and drag. You will notice that the ball looks less crowded as singles compared to when two are merged. You can choose to put them back together or keep them apart. One can be deleted or it can be customized with colors and one left as original. You can right-click on both and choose Release clipping mask, this will allow you to select each segment of the ball.
7] Customize further
You can choose to add color to one of the soccer balls or to both. In this article, one will be edited. You can also add text to see what it would look like carrying a company’s logo.
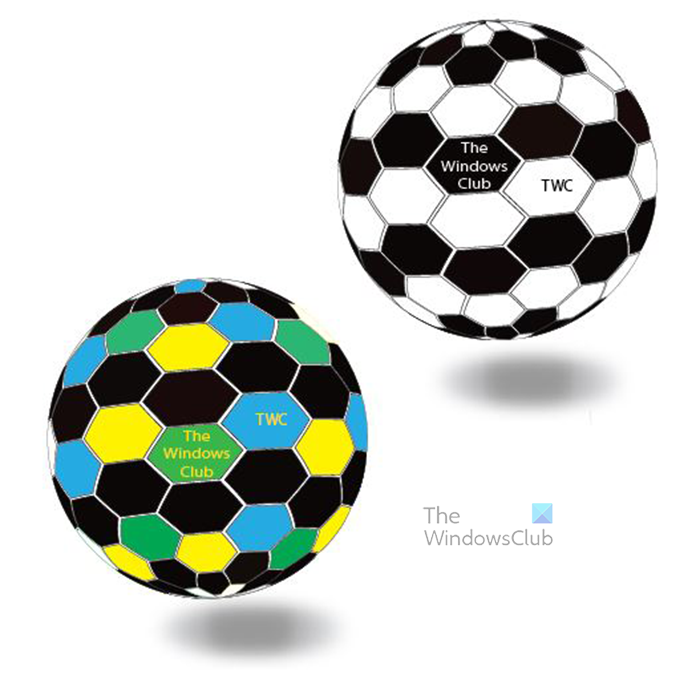 You can also add a shadow to the soccer ball to give it a more realistic look. To create the shadow use the ellipse tool and draw an elongated circle. You can then add a gradient that is darker in the middle and lighter at the edges, you then move it under the ball to give the ball a look like it is suspended in the air. When you are finished you can turn down the opacity of the shadow. You would then add a blur to the shadow to make it more realistic. You should also select the ball and group the pieces so that it is easily moved.
8] Save
After all that hard work you need to save the file. The first save that should be done is as an Illustrator .ai file. This will allow edits after the file is closed. When the work is completed then it is time to choose a file format that will best fit the use of the image. If it is for use on screens only then a JPEG file can be used, if you want to use both online and print then you can save it as PNG, the PNG file will have no background.
For print only save as PNG or TIFF but make sure that the resolution is high. To save as JPEG or PNG go to File then Export. The Export window will appear. choose the file name and the Format then click Use artboards, when you are finished click Save to confirm or Cancel to close the Export window without saving.
Read: How to make 3D Vector Globe in Illustrator
How do you make a football shape in Illustrator?
To make a football shape in Illustrator, you need to go through the above-mentioned steps. In simple words, you need to use the 3D effect to get the job done. Whether you want to make a black and white or colored football shape, the process is almost the same for both.
How do you make a 3D shape in Illustrator?
Illustrator comes with an in-built option to make 3D shapes. You can find the option by going to Effect > 3D. From here, you can choose the effect, size, object, etc. The best thing is that you can find the changes in real time on your screen so that you can get the exact shape you want.