Have you ever thought to create a chalkboard background in your presentation in PowerPoint? A chalkboard is a blackboard that has the writing of chalk on it. In this tutorial, we will explain how to create a chalkboard background in PowerPoint.
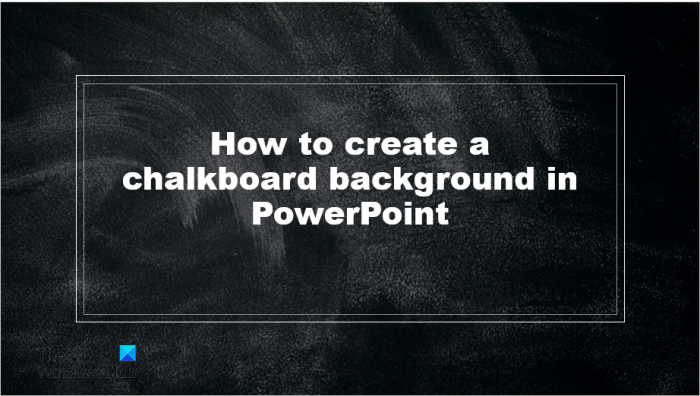
How to create a Chalkboard Background in PowerPoint
Follow the steps below to create a chalkboard background in PowerPoint:
- Launch PowerPoint.
- Insert a few slide layouts for your presentation.
- Click the View tab and click the Slide Master button.
- Click the Home tab, click the Select button, then choose Selection Pane.
- Click the Slide Master tab, click the Background Styles button, and select a color.
- Insert and draw a rectangle shape on the slide.
- Click Shape Outline and select No Fill.
- Press Ctrl D to copy the rectangles and place the rectangles all around the slide.
- Insert and draw a small rectangle on the slide.
- Click Shape Format and change the Shape Fill to white and remove the shape outline from the rectangle.
Now let us see these steps in detail.
Launch PowerPoint.
Insert some slide layouts for your presentation.
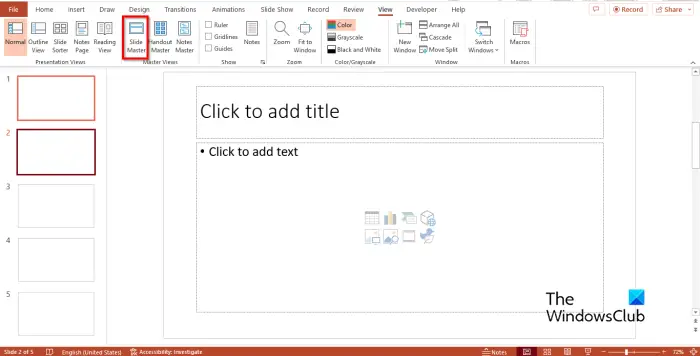
Click on the View tab and click Slide Master in the Master Views group.
The Master View tab will open.
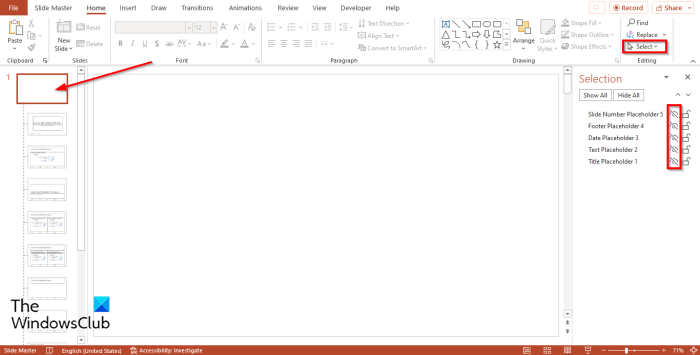
Click the Home tab and click the Select button and choose Selection Pane from the menu.
On the Selection Pane, hide every placeholder on the first slide.
Close the Selection Pane.
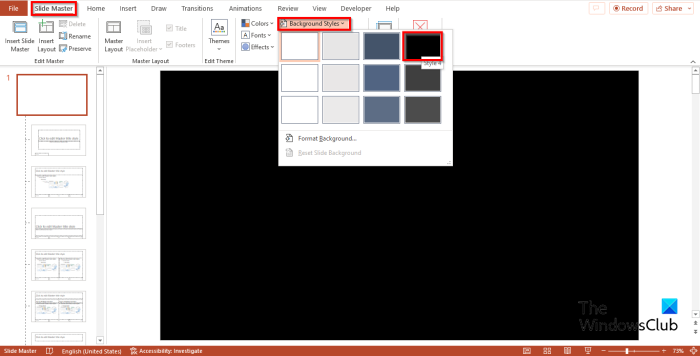
Go back to the Slide Master tab and click the Background Styles button and select a color.
Now click the Insert tab, click the Shape button, and select a rectangle shape from the menu.
Draw the rectangle on the slide.
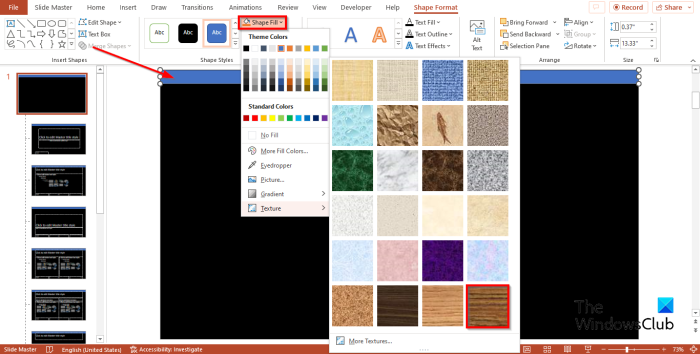
Then go to the Shape Format tab, click the Shape Fill button, hover the cursor over Texture, and choose a board texture fill for the rectangle.
On the Shape Format tab, click Shape Outline and select No Fill.
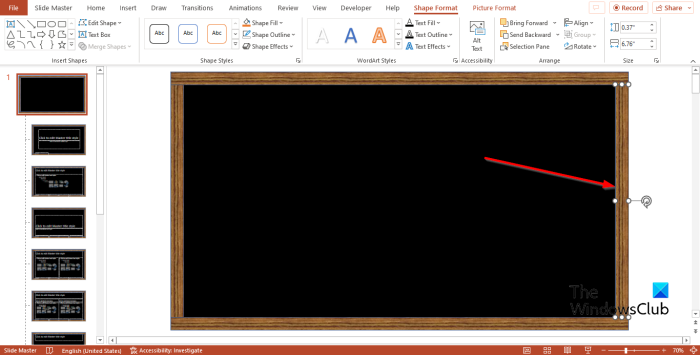
Ensure that the rectangle is selected. Press Ctrl D to copy the rectangle and place the rectangle at the bottom of the slide.
Press Ctrl D again to copy the rectangle and resize it so that it can fit the side of the slide.
Now place the rectangle and place it on the side of the slide.
Copy the rectangle on the side of the slide and place it on the opposite side of the slide.
Now we have a chalkboard border.
Go to Shapes and select a rectangle (optional).
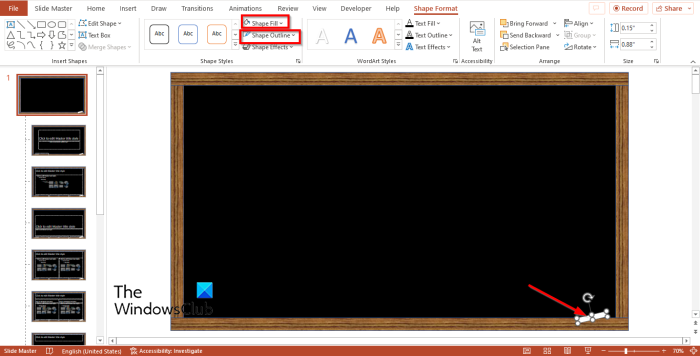
Draw a rectangle small like chalk on the slide and place it at the bottom.
Then go to Shape Format, click Shape Fill and choose a color. We choose the color white.
Click Shape Outline and select No Outline.
Close the Slide Master tab.
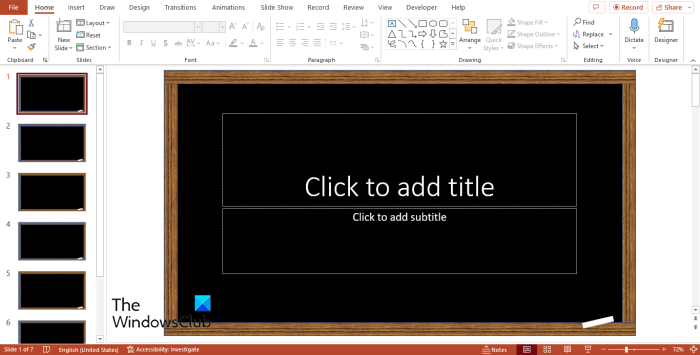
All the slides in your presentation will have a chalkboard background.
How many types of backgrounds are there in PowerPoint?
In Microsoft PowerPoint, there are 4 types of background, namely:
- Solid Fill: This background fill adds basic colors to your background.
- Gradient Fill: This background fill is a graphical effect that produces a three-dimensional look by blending one color with another.
- Picture or texture Fill: Adds a picture or texture background.
- Pattern Fill: Adds a pattern background to your slide.
READ: How to make a background with Chalk or Marker effect in PowerPoint
Which kind of background is often the best for making a slideshow?
When adding a background to your PowerPoint slide, it should be white or other light colors. These colors will make your presentation look clean and appealing, and your data will showcase more to your audience.