InDesign is a desktop publishing and layout software for creating fliers, magazines, books, and digital publications. Shapes in InDesign can be used as they are for artwork, they can be combined and used or they can have their appearances changed and used. The shapes can be changed from their original look into another.
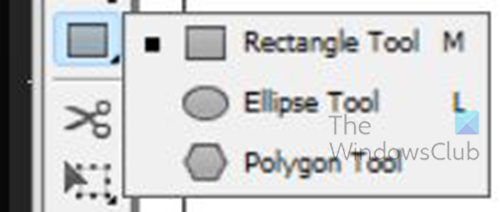
There are three basic shapes in InDesign they are the Rectangle, the Ellipse, and the Polygon. They are found on the left tools panel. You can change shapes by using different corner styles to modify how they look. Shapes can also be changed by merging the existing shapes to make different shapes.
How to create custom shapes in InDesign
You may be looking for shapes but are wondering why you can’t find them or if you want a specific shape that is not available. if you use Photoshop you realize that there are more default shapes available these are not available by default in InDesign. However, this does not mean that InDesign is left out, you can create your own or change one shape into another.
Default shapes in InDesign
The shapes in InDesign are located on the left tools panel. The default shapes are the Rectangle tool, the Ellipse tool, and the Polygon tool. To access these tools, go to the left tools panel of click the shortcut key on the keyboard, to access the Rectangle tool you can press M, to access the Ellipse tool press L, there is no default key assigned for the Polygon tool.
Drawing the shape
To draw a shape select the shape from the left tools panel, click and drag on the canvas to create the tool. You can also click the tool and then click on the canvas to bring up the tool creation option box. Enter the dimensions that you want for the shape then press Ok to conform and create the shape.
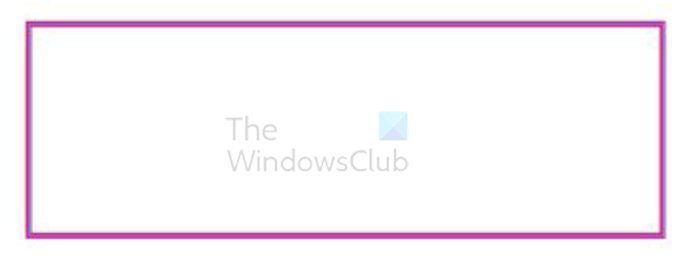 Rectangle
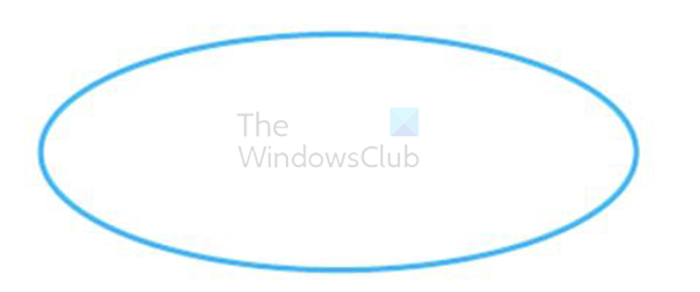
Ellipse
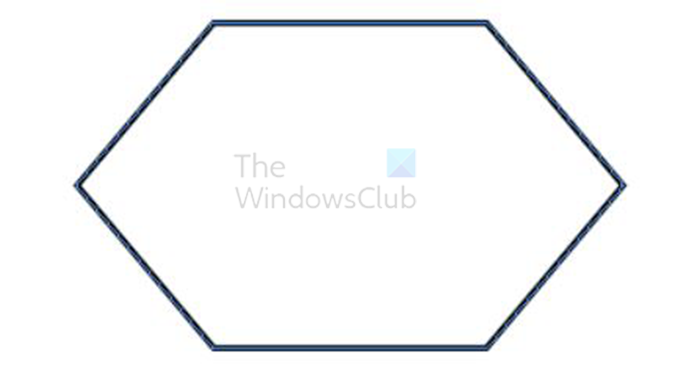
Polygon
Changing default shapes in InDesign
The three default shapes available in InDesign are the Rectangle tool the Ellipse tool and the Polygon tool. These tools are used to create the shapes. You may wonder why InDesign just used three shapes when users would have wanted to use lots of other shapes. Well, this is for good reason, InDesign has built-in features where the users can change one shape into another. The user can create custom shapes using the different tools and features available in InDesign.
Rectangle tool
The rectangle tool can be used to draw rectangles and squares.
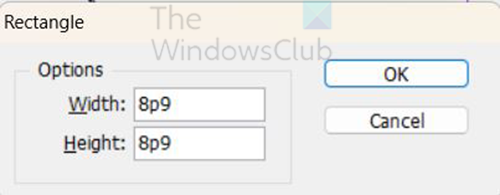
With the rectangle tool, you can draw a square by holding shift as you drag or by clicking and entering similar values in the height and width fields.
You can also change the looks of the edges by adding stylish curves, making them rounded and smooth giving them bevels, etc. When you create the rectangle or the square you can make those changes on the top menu bar.
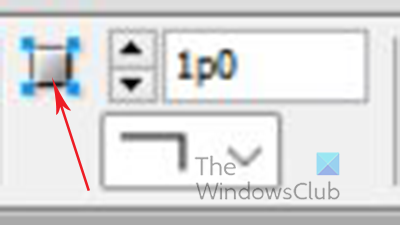
Draw the shape and choose an appropriate line weight and color if you want then go to the top menu bar and hold Alt then click the Corner options dialogue.
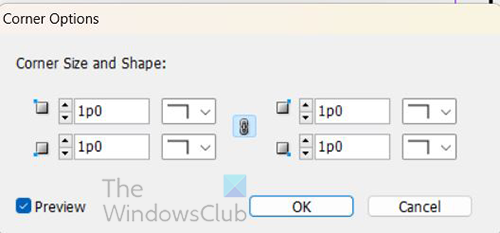
The corner options dialogue box will open, here you can choose the different options that you want for your shape. Note that not all options will work on any shape.
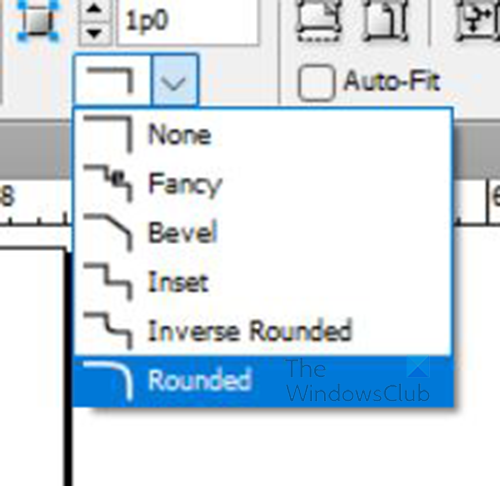
To change the corners without opening the dialogue box, you can just go to the top menu bar and click the drop-down button under the Corner option dialogue button icon. You will see the corner options for shapes.
Click on the type of edges you want and also choose how detailed you want the style to look by changing the number of pixels in the value box.
There are six corner options available if you count none. These corner options are None, Fancy, Bevel, Inset, Inverse round, and rounded. Above is an image showing the different corner options. the rectangle and the square will have the same options available.
Ellipse tool
The ellipse tool looks like an elongated circle. It can be used to draw ovals or circles. To draw a circle you would have to click the Ellipse tool then click and drag on the canvas while holding Shift.
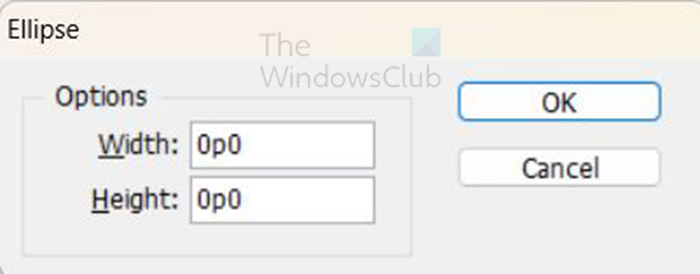
You can also click on the canvas to bring up the Ellipse option, enter the same number for the width and height then press OK to create the circle.
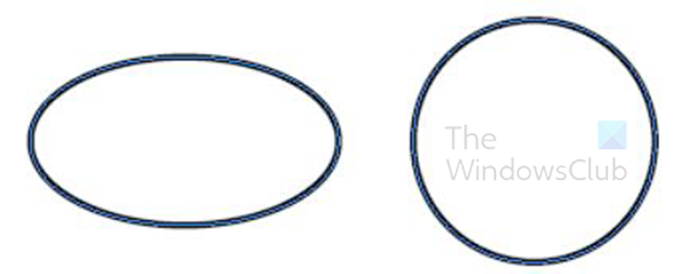
The picture above shows an oval and a circle. The corner options do not work on ellipses.
Polygon tool
The polygon tool may seem like a boring tool but it has some cool features to learn. The polygon tool is the most versatile of all the tools. The polygon tool can be used to draw any of the previous shapes (circle, square, and rectangle). The polygon tool can also be used to draw other shapes ranging from shapes three sides up to one hundred sides. Here is where you can draw the other shapes that you may need including Triangles, Pentagons, Octagons, etc.
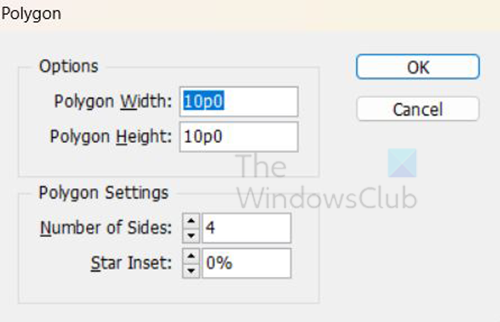
To create these shapes from the Polygon tool, click the Polygon tool on the left tools panel. With the Polygon tool selected click on the screen to bring up the Polygon options box. You will see the Width and Height options like in the other shapes, however here you will find two options that are unique to this tool. The two options are the Number of sides and the Start inset.
The Number of sides allows you to create shapes that have between three to one hundred sides.
The Start inset option allows you to inset the edges of the shapes, you can change the number in the value box to make the inset more or less.
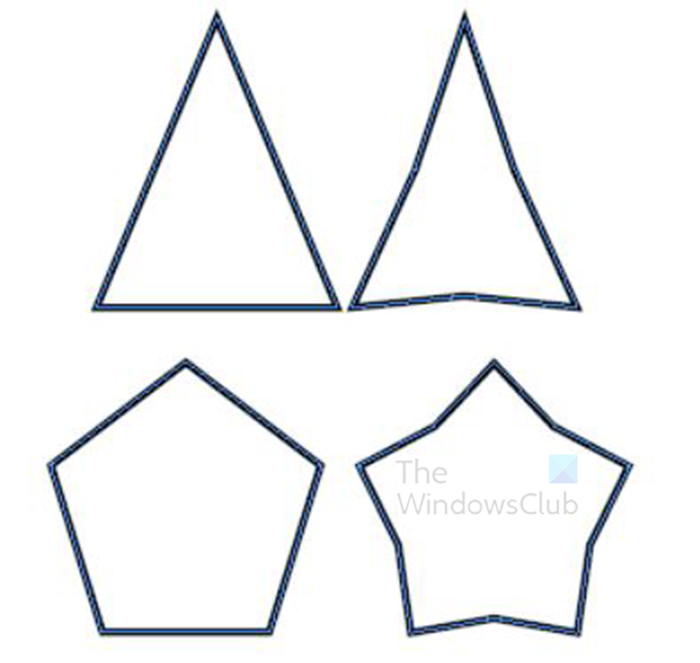
The above image shows the regular shape drawn with the polygon then the same shape with an inset of twelve added in the Polygon options.
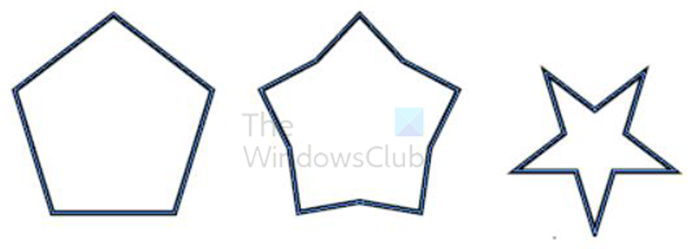
If you create the shape and then change the corners to inset using the option on the top menu, the results will be different. The image above shows the Pentagon then the pentagon with the inset set at 12 from the Polygon creation option then the other one is the Pentagon with the Inset at 12 but chosen from the top menu after it was created.
The examples were created using inset from the Polygon creation options and the Inset corner options from the top menu.
You can explore the different corner options and see what you get when used on different shapes. Below are the different shapes and what they look like when the different corner options are applied to them. The numbers on each show the number of sides they had before the corner options were applied. The corner options applied are the ones on the top menu bar.
 Shapes with no corner styles

Shapes with the Fancy corner style.
Shapes with the inset corner style.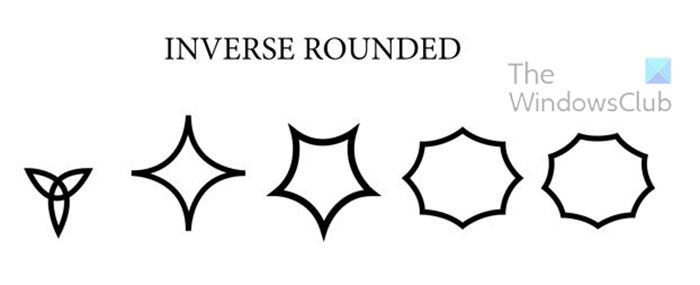
Shapes with the Inverse round corner style.
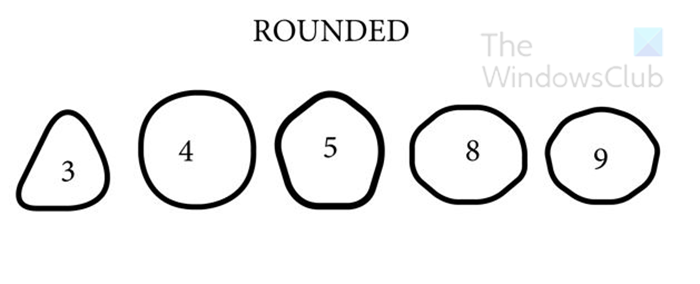
Shapes with the Rounded corner style.

Shape with the Bevel corner style.
Notice how the corner option used affected each shape differently. These shapes can be used in different projects to represent different objects.
Change to rounding corners by dragging
InDesign offers an easy easy way to round the corners of some shapes. You can click some shapes and then drag to round the shape. You do this by clicking on the shape, if you see a yellow handle appear on the shape then it can be rounded by dragging.
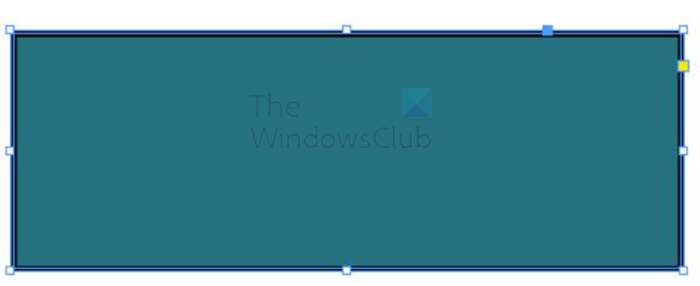
To round by dragging click on the shape, a yellow handle will appear if the shape supports this feature.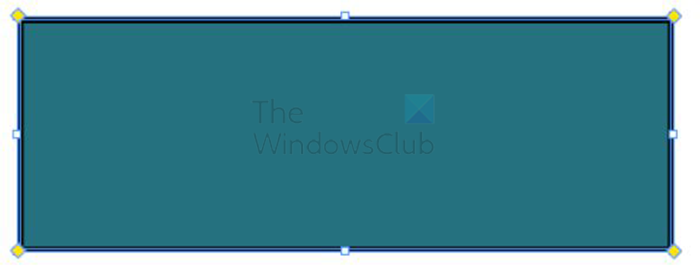
If the shape has a yellow handle, the next step is to click on the handle. When you click on the handle you will see the shape get four yellow handles around it.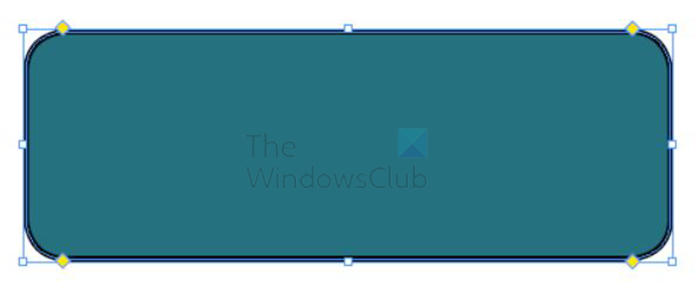
You can click on any of the four yellow handles and drag toward the center of the shape. You will see the four edges of the shape beginning to get round. The further in you draw the rounder the shape gets until it reaches the limit. Note that not all shapes will support this feature.
If you want to return the shape to the original look. Click the yellow handle and the four yellow handles will appear, you can then click and drag any one of them toward the edge of the shape.
Changing selected corners
You can change selected corners while leaving others untouched.
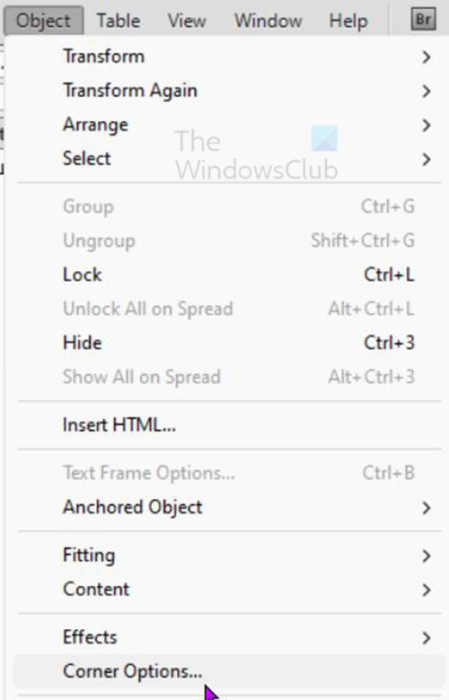
To change selected corners select the shape then go to Object then Corner options.

The Corner options window will open.
You will notice the chain link icon, if you hover over it you will see Make all settings the same. Click the chain link to unlink the settings. This chain link controls all four corners of the shape so unlinking will allow each corner to be changed individually.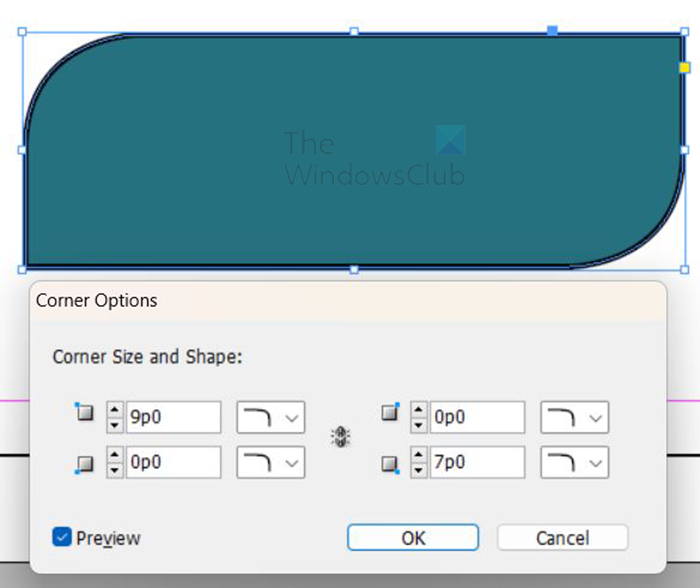
When you have unlinked the edges you can click on the arrows beside each value for the different edges, you can change each edge to a different value.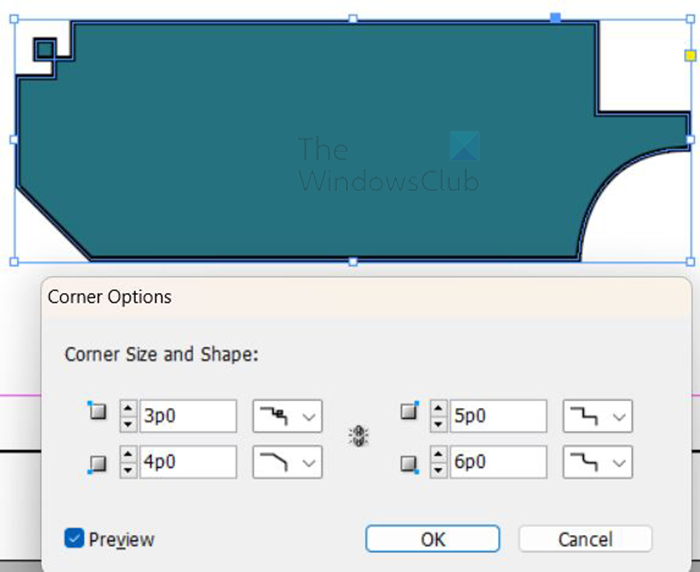
InDesign makes it even cooler, you can make each corner have a different style. While still in the option, with the corners still unlinked, click the drop-down arrow beside each corner’s value box where you have the corner style. You can then choose a different corner style and the size by which it should be changed.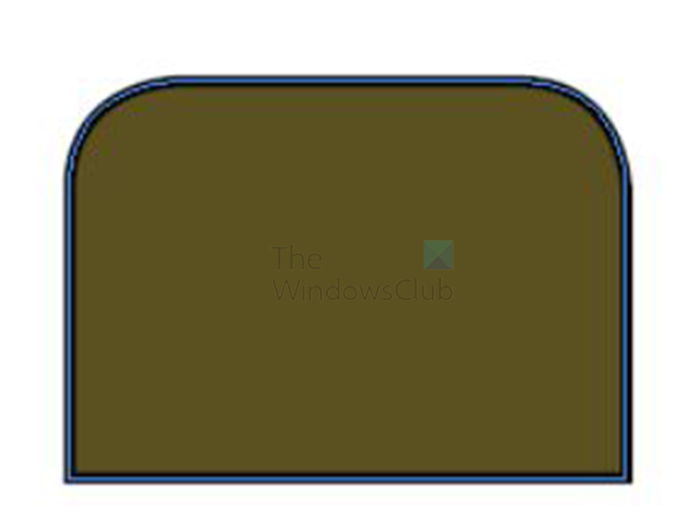
Here is a slice of bread created with this feature.
Tip and trick with shapes in InDesign
InDesign offers another cool feature with shapes, you can make multiple shapes with just a few moves. This is great for creating grids or just creating a lot of the same shapes if you need to.
To use this cool feature just select the shape tool that you want. Click on the canvas and drag to create the tool. Without releasing the mouse button click the Up or Right arrow key. You will notice that the shape is duplicated in the direction that you press. The shapes will get smaller as you go in the direction and it is duplicated. You can use a combination of Up and Right to duplicate the shapes Up and Right thus having a grid effect.
While you are clicking the Up or Right direction button, you will notice that the shapes get smaller as you create more duplicates. You can drag them down to make them bigger.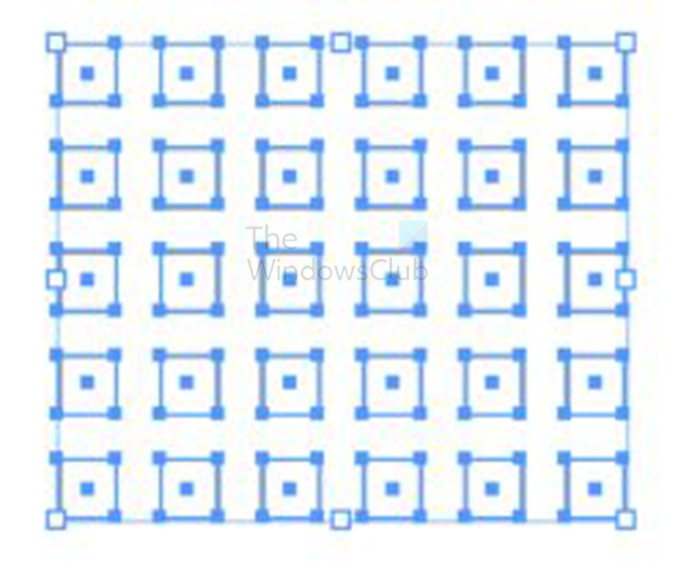
When you release the mouse button you will see the shapes and they will be all selected.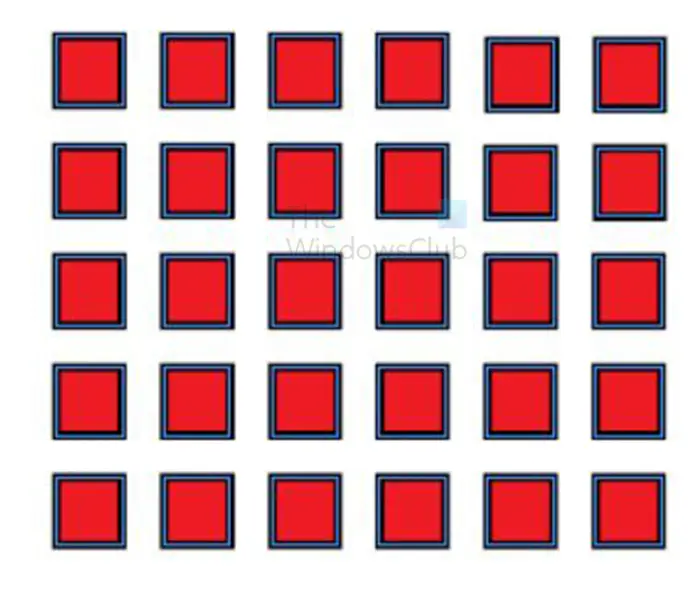
Right here you can change the color and strike size and color of all at the same time while they are still grouped.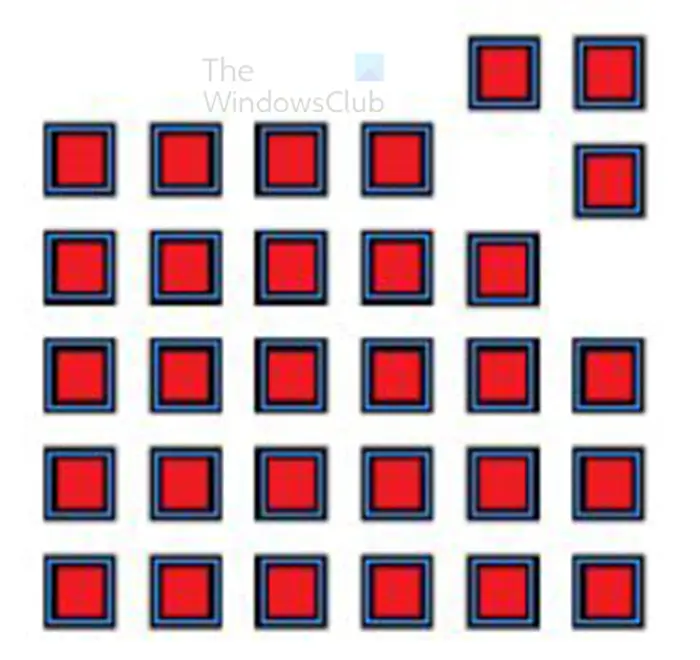
Each of the duplicates is a separate shape that can be moved individually and resized if you wish. If you wish you can then move individual pieces to wherever you want to. the individual pieces can also be resized and colored and the pieces can also have their corners changed Notice how the image looks like a game where pieces can be matched.
Read: How to convert InDesign document to grayscale
Why are shapes important in InDesign?
Shapes are important in InDesign because they can be used for many things. Shapes can be used as placeholders for images and text. shapes can be used to frame images and texts. Shapes can be used to create simple or complex artwork for designs in InDesign.