InDesign can be used to create interactive buttons that can be used in your banners to rotate images, in your presentations to move slides or anything else that you want it for. Learning how to create interactive buttons in InDesign is one skill that will surely boost your design. The InDesign interactive button can be used for your personal or professional applications.
How to create interactive buttons in InDesign
The steps to creating interactive buttons in InDesign are quite easy to follow. This article will show you how to create interactive buttons in InDesign. To make the article more practical, a carousel of images will be created to show one way that you can apply the interactive buttons.
- Open and prepare InDesign
- Place images in InDesign
- Stack images in the order that you want them to appear
- Rename the images
- change the Object state of the images
- Design the buttons
- Set up the buttons
- Add animation (optional)
1] Open and prepare InDesign
The first step is to open and prepare InDesign. To open InDesign simply double-click on the InDesign icon. When InDesign is opened, create a new document to work in. Since you will b doing a presentation, you should make the page landscape so that you have a wider work area.
2] Place images in InDesign
Now that the InDesign document is prepared, it is now time to add the images. The images will be placed on the same layer. You should also place the images in the order that you want them to appear in the interactive presentation. You can place the image in InDesign by dragging them onto the InDesign document. With the images in InDesign, you can arrange them in order. Ensure that you make all the images the same size.
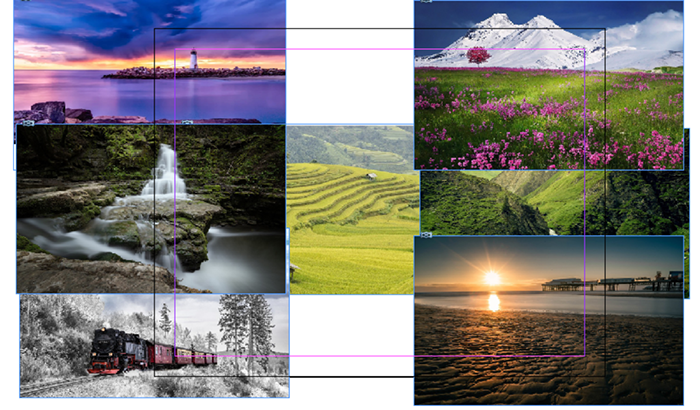
These are the images in InDesign.
3] Stack images in the order that you want them to appear
If the images are not in the order that you want them to be, you can use the Arrange command to place them in order. You would right-click on the image that you want to send to the back or to bring forward. The menu will appear, click Arrange then click any of the options that you want for the image. The options would be Bring to front, Bring forward, Send backward, Send to back. You should then stack the images on top of each other.
This is how the images would look stacked on each other. Since they are all the same size you will only see the one on top.
4] Rename the images
You should also rename the images to make them easier to work with. To rename the images, go to the layers panel and click the arrow beside the layer icon. This will display all the image layers. To rename the images, click on this layer twice. This will allow the default names to be editable. You would then type the name you want for the image then click away.
5] Change the object state of the images
In this step, you are going towards making the images interactive. This means you will need to change the object state of the images.
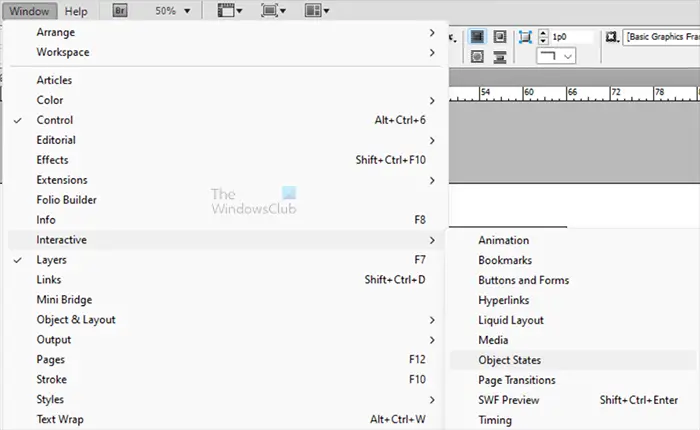
To do this, select all the images then go to the top menu bar and press Window then Interactive then Object states.
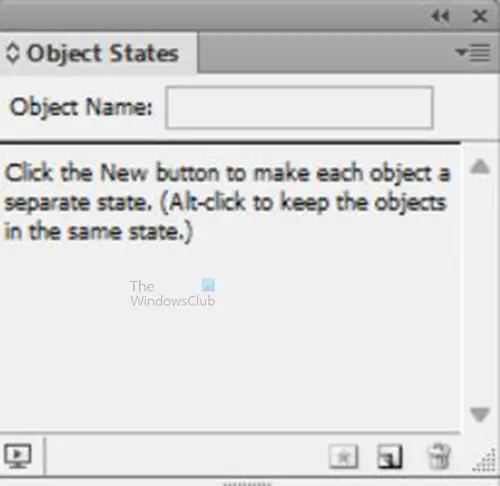
The Object States options window will appear. It will have a message saying that “Click the new button to make each object a separate state. (Alt click to keep the objects in the same state). Since you want each image to be a separate state, just click the Convert selection to multi-state object icon at the bottom right of the Object states window. You can also click the menu button at the top right of the Object States window and click New. You can give the object a name by typing a descriptive name in the Object name value box.
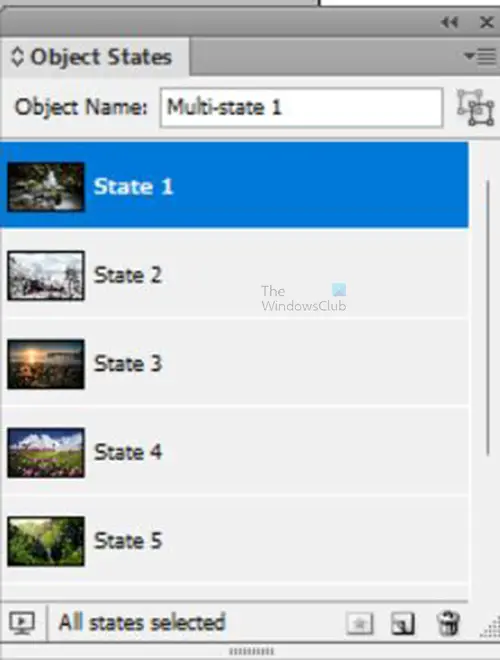
When you have selected the option to make each object a separate state, you will see the images appear in the Object states window.
6] Design the buttons
You can use any shape that you want for your buttons. Since the image carousel will be used, arrows will be used to be the buttons. The same principles will apply regardless of what you are using for your buttons. In this article, the Polygon tool will be used for the buttons.
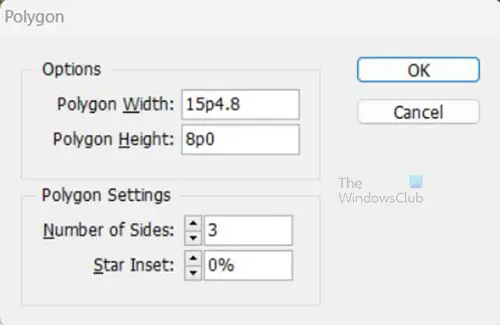
Select the polygon tool and then click on the canvas. The Polygon tool options will appear, choose 3 in the Number of sides. You can then rotate the triangle that is created if it needs to be rotated. You can also add whatever color you want. You can also use the Bevel option to round the edges as shown here. The transparency of the arrows is set to 20% and a drop shadow was added.
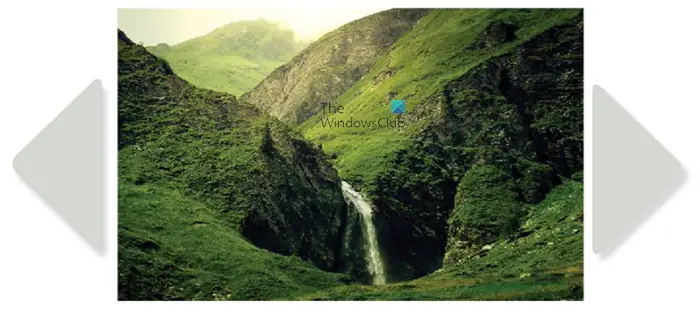
These are the buttons on both sides of the images. You may choose other button designs or other button placements. You could place the buttons on the image and then make them stand out.
7] Setup the buttons
In this step, you will be making the buttons interactive. You will need to have two panels available for this, the panels are the Buttons and forms panel and the Animation panel. The Buttons and firms panel will help in making the buttons interactive. The Animation panel is to help you animate the buttons or other elements in the document. to access both panels go to the top menu then click Window then Interactive then choose Buttons and forms then do the same action and choose Animation.
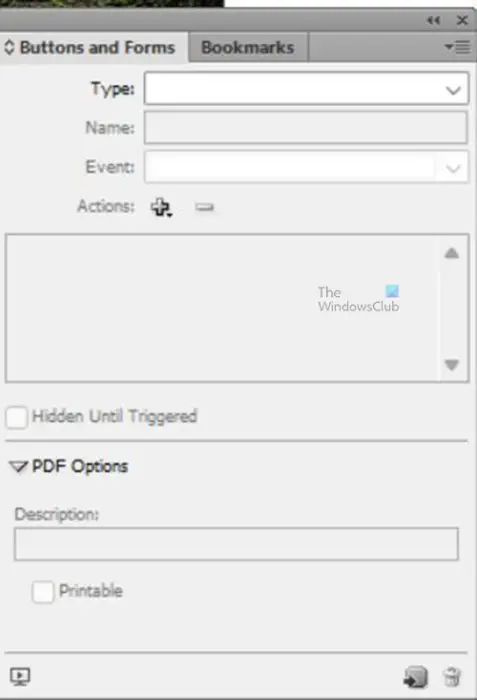
Button and forms panel
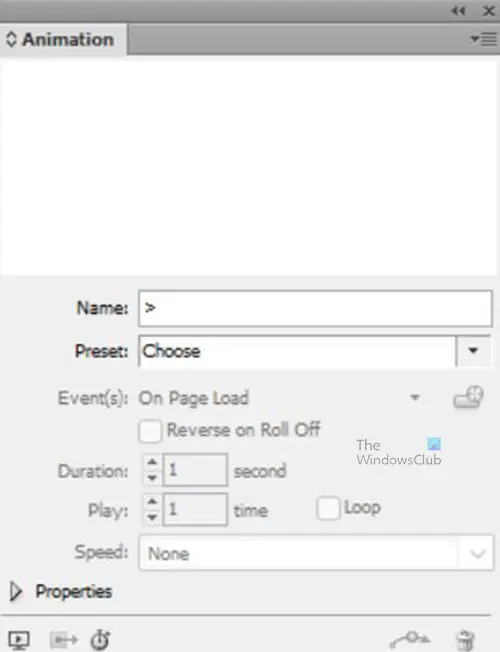
Animations Panel
Make the buttons active
To make the buttons interactive and change the images or whatever else you want them to do, select the button you want to work with first then do the following.
- With the button selected go to the Buttons and forms pallet
- Click in the Type value box to show the types available then choose Button
- Give the button a descriptive name. In this case, two buttons are available so you can name them Right and Left. Since I am working with the right button first, it will be called Next
- Go to Action and click the Plus + and from the dropdown menu choose Go to next state. If you had other objects that you wanted to move when the arrow is pressed you would add another action and then choose that object
- You would then choose the Object that you want it to choose from. In this case, the only object available is the Nature Images object
- Go to the events value box and choose On release or tap if that option is not already there. On release or tap means when you click the arrow it will perform the designated action when you click and release or if you just tap.
- If you want the arrows to stop at the last state instead of repeating when it gets to the end, select Stop at last state
- Repeat steps 1-7 for the other button. The only changes you will make are in the name of the button and you will tell it to go to previous state
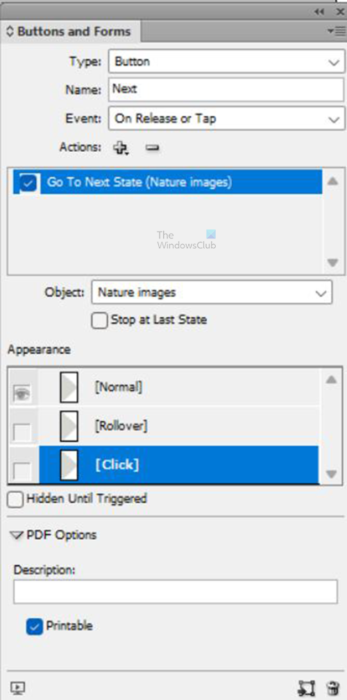
These are the options used in the Button and forms window. Your options may be slightly different.
To see if you have successfully created buttons that work click the Preview spread icon (monitor) on the lower left of the Buttons and forms window.
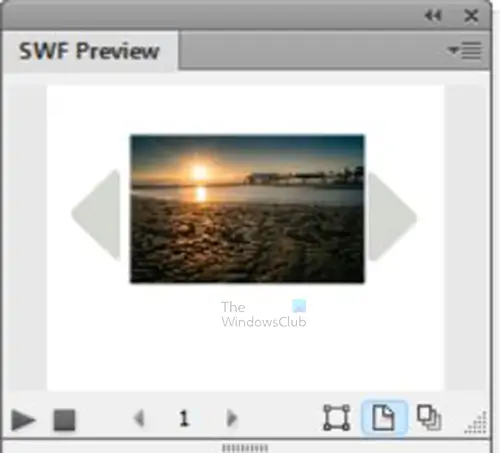
A SWF preview window will appear, click on the buttons you created, and the images should move. To preview the interactive button and other content to see how they would behave, you can preview in your browser. To do this click the menu button on the top right of the SWF preview window then click Test in Browser.
8] Add animation (optional)
This is optional as the slides with the images were there to show that the buttons worked. The images gave a visual reference so that you would know that the buttons are functional. You can add animation to any of the elements, however, for this article, animation will only be added to the images. To add the animation do the following.
- Go to the object states pallet and click on each of the images
- Go to the actual image on the work area and double-click on it
- Go to the Animation pallet and click in the Presets value area. From the menu that appears choose Appear in, or any other animation that you want
- Go to Duration and put 5 or any other duration time that you want
- Click the arrow beside Properties and the window will extend if it isn’t already extended. With the window extended you will see other options
- When the window is extended go to opacity and put Fade in if it is not already there
- Follow steps 1-6 for the rest of the images that you want to animate
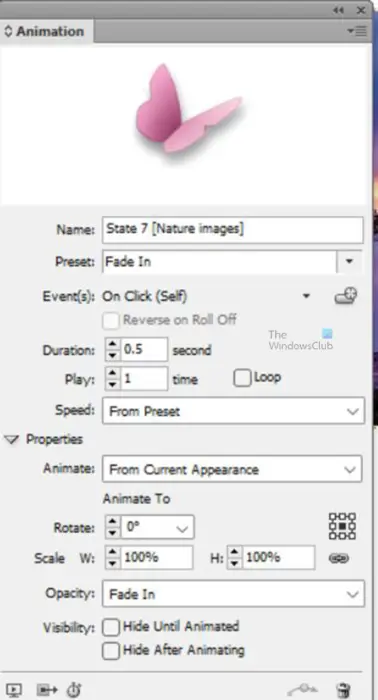
These are the animation options used for the images.
You can test the interactive button and the other components online. To do so click the menu button at the top right corner of the SWF preview window, from the menu that appears, choose Test in browser. Being able to test in a browser is important because certain things such as the transition to new pages (in a multipage document) cannot be previewed in the SWF preview window.

This is the complete interface with the buttons and images. The example created is a digital photo album. The left and right buttons can be used to scroll through the images. You can add a description of the images that will appear with the image as you scroll.
You may wonder why you would want to create interactive buttons in InDesign. InDesign allows you to create interactive content such as magazines, catalogs, and much more. These interactive items can then be uploaded to the internet and viewed on electronic devices. You can also choose to use it as E-pub. Interactive content can make your work more attractive to readers.
Tip: If you are working in InDesign and you want the document to be plain without any of the permanent guides or guides that you added, that can be done. You can press W and everything on the document will be hidden except the things you are working on. You can then press W to turn back the guides on the document. These interactive content will need interactive buttons, which is why knowing how to create interactive buttons in InDesign is important.
How do I make an animated button in InDesign?
You can easily animate your buttons in InDesign, the steps are very easy to follow
- Create the buttons
- Change the Object state of the button
- Select the button and go to the animation pallet and click the drop-down arrow beside presets. From the menu choose the animation preference.
- Go to the duration and choose the duration you want for the button
- Click the drop-down arrow beside properties to get more options
- Change the opacity if you see the need to do so
Can I create buttons in InDesign?
You can create buttons in InDesign using the tools that are present there. You can also use images as buttons. You would then use the Buttons and forms command to convert your shapes, texts, or images to buttons. Because InDesign can create interactive content, these buttons are important.