Interactive PDFs are PDF documents that can take some form of user input. These may include buttons that will perform functions when pressed. Forms that users can fill out. Interactive PDFs can also include option buttons, drop-down menus, etc. In short interactive PDFs include clickable and fillable functions. They can contain audio or video that will play when clicked. These could read or give comments to help the user.
Interactive PDFs are good for e-books, magazines, presentations, contracts, checklists, hyperlinks to internal and external content and so much more. The drawback of interactive PDFs is that not all the features will work across all PDF readers. You may need to use Adobe Acrobat Reader or a web browser to get all the features. This means that to make it more universal you may have to use common interactive features such as hyperlinks. You can add features and save as an interactive PDF and test them to see which will work for the users.
How to create interactive PDF in InDesign
This article will not go through all the steps of creating the document. You will see a few things added to an already-created document. Continue reading to learn how to create interactive PDF in InDesign.
- Open and prepare InDesign
- Open InDesign document
- Add interactive elements to the document
- Save the document as an Interactive PDF
1] Open and prepare InDesign
If you are going to create the InDesign document, you would first open and prepare InDesign. Click the InDesign icon to open InDesign. When InDesign is opened, create a new document. The New document options window will open. Choose the options that you want for your document. when you have selected the options that you want for your document press Ok. If you already have an InDesign document prepared and all you want to do is to save it as an interactive PDF, move to step two.
2] Open InDesign Document
If you already have an InDesign Document that you just want to save as an interactive PDF. You can just open the document. find the document and double-click on its icon to open it.
3] Add interactive elements to the document
As stated before, this InDesign document was prepared before, some videos and buttons that trigger the videos to play.
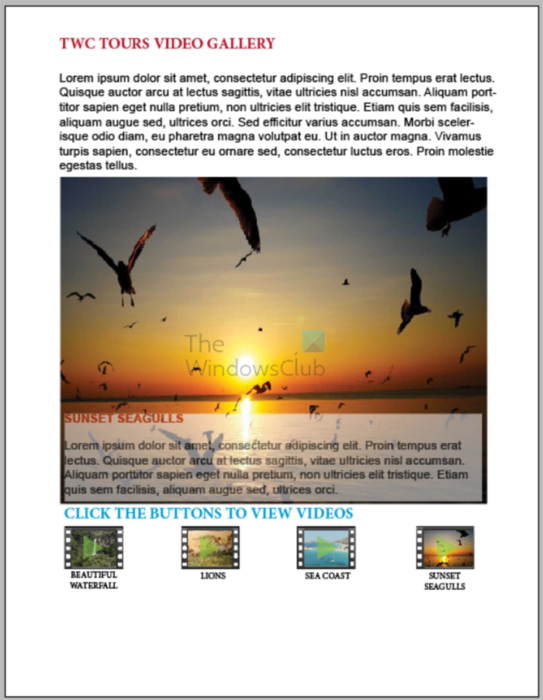
Here is the InDesign document that was previously created. As previously stated, there are interactive elements already there. However, a button will be created that will be hyperlinked to a website and a form will be created to take comments from persons.
Add a link to a website or webpage
The cool thing about InDesign documents is that they can be integrated into your website. This makes it easy to add content without having to know much about coding. You can hyperlink a word, or image or create a button and hyperlink it. To add a button to your InDesign document to take you to a page or website, follow the steps below.
Create a button from a shape
Read: How to create interactive buttons in InDesign

Go to the left tools panel and select the Rectangle tool. Draw a rectangle to the size of the button that you want.
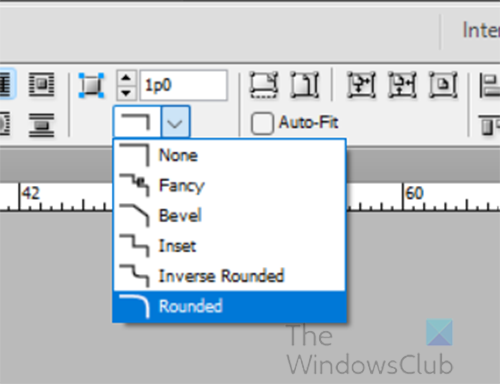
When the button is created you can use the miter tool to round the edges of the square.

You can then write the word Visit Website or whatever other word you want to tell users to click to visit the website or web page.

You can make other changes to the button until you get what you want it to look like.
Add hyperlink
You can now add a hyperlink to the button. You would be applying the hyperlink to the word on the button.
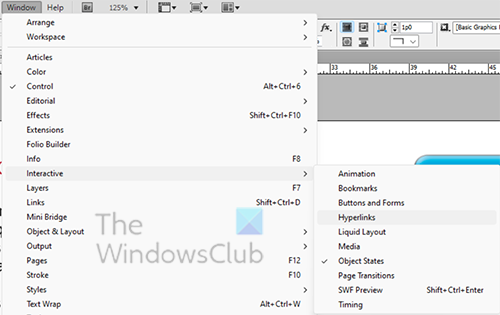
If the hyperlink panel is not visible go to the top menu bar and click Windows then Interactive then Hyperlink. You can also right-click on the word or object that you want to hyperlink then choose Interactive then New hyperlink.
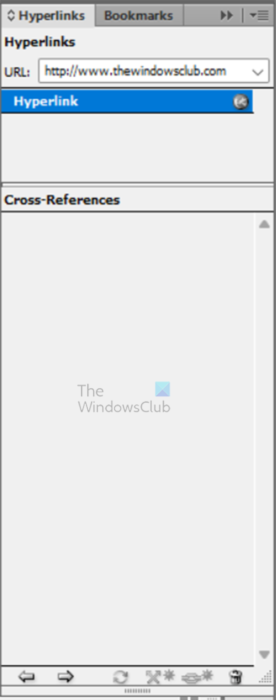
With the Hyperlink panel opened, click on the word that you want to hyperlink. You will see the space where you will enter the web address. Type in the web address that you want the user to be taken to when the button is clicked. When the web address is entered, you can go to the bottom of the hyperlink panel and click the Go to the destination of the selected hyperlink or cross-reference (forward button). This will take you to the website that you had placed in the hyperlink section.
Create an interactive form
You can create a simple interactive form that persons can fill out and submit. The form that will be created is a simple comment that will take the user’s comment and name and the user can then submit the form or clear it.
Use the rectangle tool to create a shape for your comment field. Go to the buttons and forms and choose Text field. Give the box a descriptive name. this will be called Comment. Do not choose an action. At the bottom of the Buttons and forms window, you can choose
Printable if you want the user to be able to print the form
Required if you want that specific field to be required before the form can be submitted
Multiline if you want to allow the user to write content beyond one line.
Scrollable if you want the text box to have a scroll bar when the content goes beyond the viewable area.
Read only is used if you do not want that field to be fillable.
Password is if the field will be for a password.
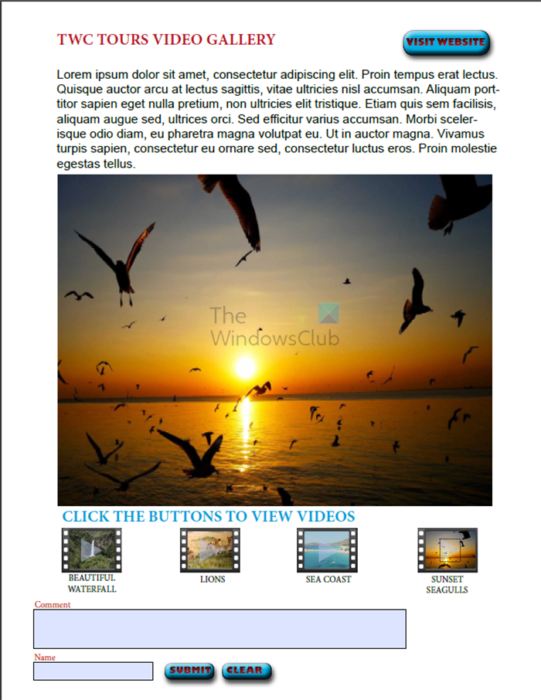
For the submit and clear buttons, you will use the Buttons and forms pallet to give them function. For the submit button you will enter the email that you want the form to be submitted to. You will write the email as: mailto:example@example.com. Whenever the user goes to submit the form they will be directed to their default email application on their device.
4] Save the document as an Interactive PDF
Now that the document is all together, you will now save it as an interactive PDF.
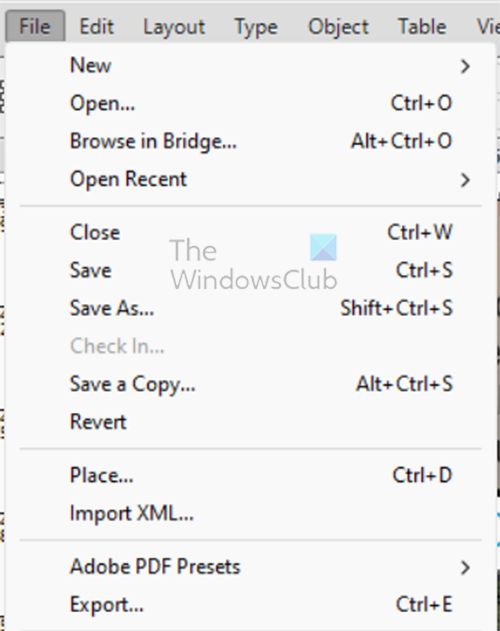
To save as an interactive PDF go to the top menu bar and click File then Export or press Ctrl + E.
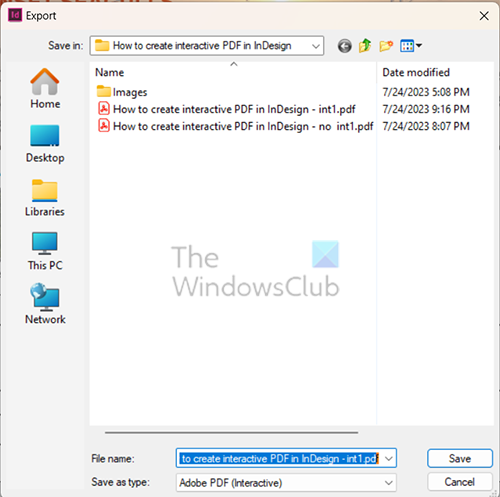
The Export window will appear, here you choose the save location, file name, and the Save as type. Choose Adobe PDF (Interactive) as the Save as type.
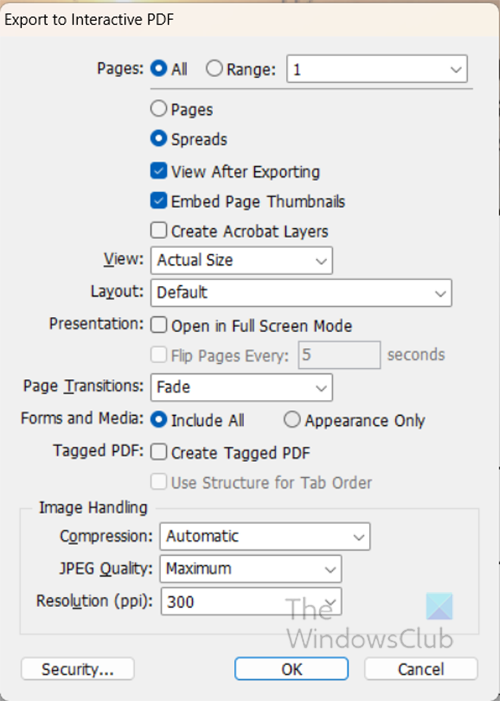
The Export to Interactive PDF options window will appear. These are the options chosen for the Interactive PDF that was saved, you can choose your own options. when you are finished choosing click OK.
Depending on your designs you may get three messages as shown below, just click Ok and continue.
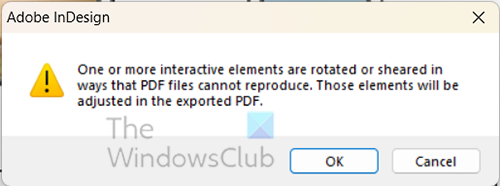
Message 1
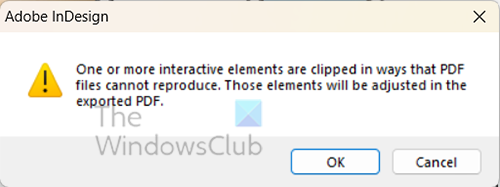
Message 2
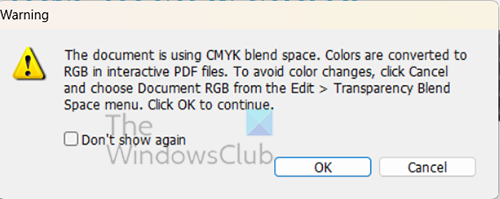
Message 3 – warning about color mode.

When the Interactive PDF is created it will open automatically. You can then test it to see if all will work. Note that not all aspects of the Interactive PDF will work. Hyperlinks will work, and you will be able to fill, sign and submit forms. The button to clear the content of forms will also work.
Read: How to Package and Zip InDesign files
What is the difference between a Print PDF and an Interactive PDF?
Both Print PDF ad Interactive PDF can be printed. However, an Interactive PDF will have some elements of interactivity that will work even when saved. A print PDF will not retain a lot of interactivity. If you create a PDF with interactivity and save it as a Print PDF, most of the interactive elements will not work when the PDF is opened. Interactive PDFs are made mostly to be used online or in cases where you want persons to fill and sign and submit or print,
Leave a Reply