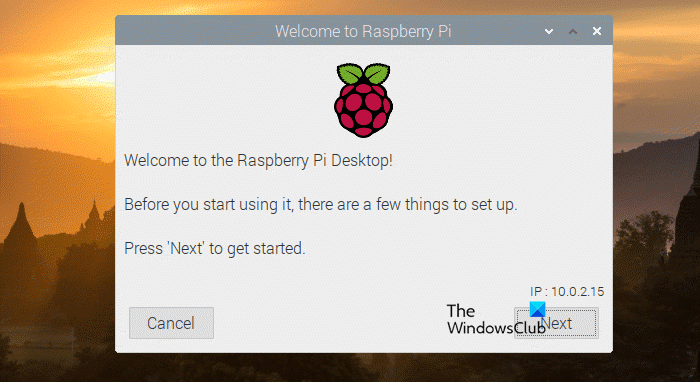
Want to install Raspberry Pi OS on a Virtual Machine? That’s exactly what we are going to do in this post. We will create a Raspberry Pi Virtual Machine using Oracle VirtualBox (you can use any VM tool such as VMWare or Hyper-V).

How to create a Raspberry Pi Virtual Machine
To create a Raspberry Pi Virtual Machine, you need to follow the four-step process.
- Install Oracle VirtualBox
- Download Raspberry OS
- Configure VirtualBox for Raspberry Pi
- Install Raspberry Pi in VirtualBox
Let us talk about them in detail.
1] Install Oracle VirtualBox
First of all, we need to download a fresh copy of Oracle VirtualBox and install it on your computer. To do the same, go to virtualbox.org, download the latest version of the software for your platform, and then install it. Remember that if you already have a VMWare or Hyper-V or any other hypervisor, you don’t need to install VirtualBox.
2] Download Raspberry OS

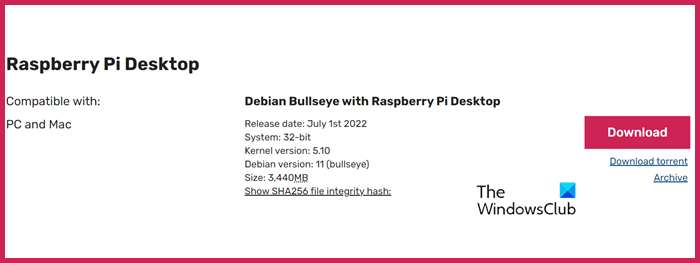
Now that we have a hypervisor let us go ahead and download Raspberry OS’s ISO image. You can not install the normal version of Raspberry Pi in VirtualBox; instead, we need to go to raspberrypi.com and download the OS’s image. Once you go to that page, look for Raspberry Pi Desktop, and click on Download. The ISO will start getting downloaded and based on your bandwidth, it might take 5-10 minutes as it is a large file.
Read: How to install Raspberry Pi on VMware Workstation
3] Configure VirtualBox for Raspberry Pi

Now, let us configure VirtualBox to make it ready for Raspberry Pi. To make it simple for you, we have laid out the instructions below to do the same.
- Open VirtualBox and click on New.
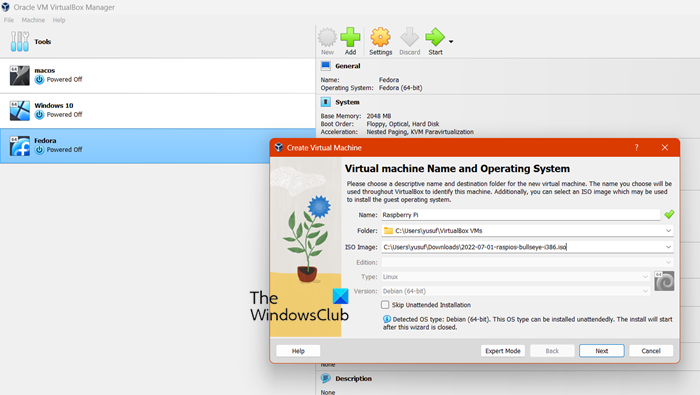
- This will launch the Create Virtual Machine window, give it a name, click on ISO Image > Others, browse to the location where your Raspberry Pi OS image is stored, and select it
- Once you have selected the correct ISO file, you need to click on Next.
- You will be asked to configure the guest OS install, so, do the needful or skip this step if you don’t have to change the hostname or other options mentioned there. Finally, click on Next.
- On the next page, you will be asked to allocate memory, CPU, and other system resources. Depending on the activity you are planning to do on your Raspberry Pi, you need to allocate the system resources, and once done, click Next.
- Allocate the amount of disk memory the Raspberry Pi virtual machine you would be using. If you select the “Pre-allocate Full Size” checkbox, the maximum size on your host PC’s hard drive will be immediately allocated.
- And finally, click on Next > Finish.
That’s how you can set up Raspberry Pi OS on your VirtualBox.
Read: How to install Windows 11 on Raspberry Pi4?
4] Install Raspberry Pi in VirtualBox
Once you have configured your VirtualBox for Raspberry Pi, it’s time to install it. Ideally, the configuration should be enough to run Raspberry Pi, however, it gives No DEFAULT or UI configuration directive found! To fix it and start running the operating system, you need to follow the steps mentioned below
- Power off your machine.
- Then select the VM where the Raspberry Pi is installed and click on Settings.
- Navigate to Storage > Controller: IDE. Controller: IDE would be “Unattended” or “Empty”.
- Once you have found the dropdown, look for the disk icon beside it. Click on it to bring up a new dropdown menu that allows you to select an ISO image. To access the file explorer, choose “Choose a disk file…” or select your Raspberry Pi ISO image from the list.
- Finally, click OK.
That’s how you can install and use Raspberry Pi OS on a Windows computer.
Read: How to install Windows IoT Core on Raspberry Pi
Can I run Raspberry Pi OS on my laptop?
Yes, you can run Raspberry Pi OS on your laptop. All you need is hypervisor software, be it VirtualBox, VMWare, or Hyper-V and Raspberry Pi ISO. To know how to get them and install the operating system on your computer, follow the steps mentioned earlier in this post.
Read: How to set up a Raspberry Pi module with default settings
Can you run VMS on Raspberry Pi?
Yes, you can run Virtual Machines on Raspberry Pi. Proxmox is a platform for server virtualization and management that is open-source and enterprise-grade. It offers an easy-to-use web interface for managing VMs and containers. If you have experience with VirtualBox, VMWare, or Hyper-V, you’ll find that Proxmox provides a similar experience, with a focus on open-source technologies.
Read: Best Raspberry PI4 ideas for Science Project using Windows PC.