Windows File Explorer, popularly known as just Explorer, is the heart of Windows UI. Every interaction you make with files and folders is through Explorer. As the OS has evolved, so has the File Explorer, and in this guide, we will share how you can customize Explorer in Windows 10.
How to customize Explorer in Windows 10
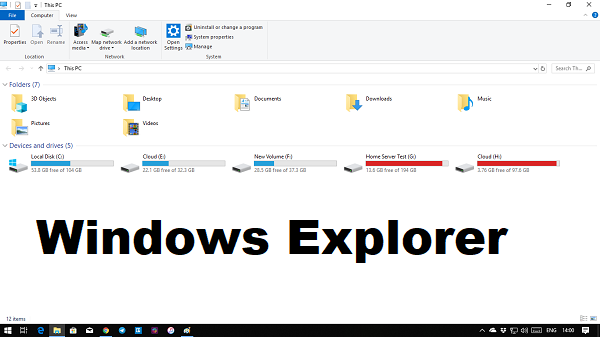
The default Explorer view offers access to all user folders and drives. On the top, you have a few fixed tabs like File, View, and more show up based on what you select and your current location. For example, when you choose an image, you get a Picture Tools menu, while you get Application tools when you select an executable. The fact is, the list is dynamic and keeps changing all the time based on the situation.
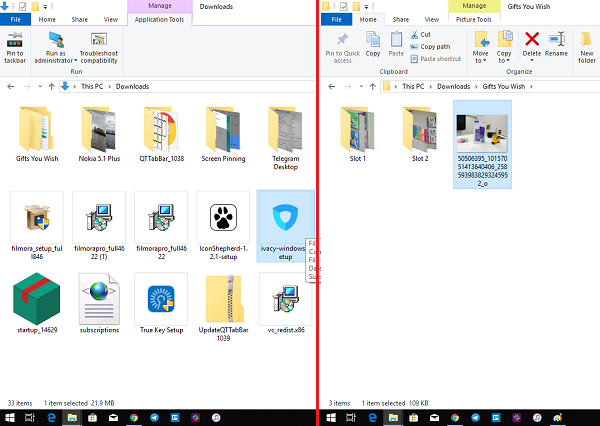
Since we are dealing with customizing Explorer in Windows 10, most of them are available in the Options section of the View tab, and some are related to the context menu.
To customize File Explorer in Windows 10, right-click the down arrow at the end of the Quick Access Toolbar. From there, you can check the items you want to add and uncheck any you wish to remove. This allows you to easily personalize your toolbar by adding or removing icons.
Customize “View” in Explorer
How you want to look at your files depends entirely on the kind of work you engage in regularly. In the view tab of the ribbon menu, you can switch from extra large (suitable for images) to Large icons to Details, which adds date, type, and size to the files, folders, and tags if you use it.
Next, you can choose to Sort & Group files and folders by size, date, name, etc. If you feel something is missing, you can select “Add Columns” in detailed view.
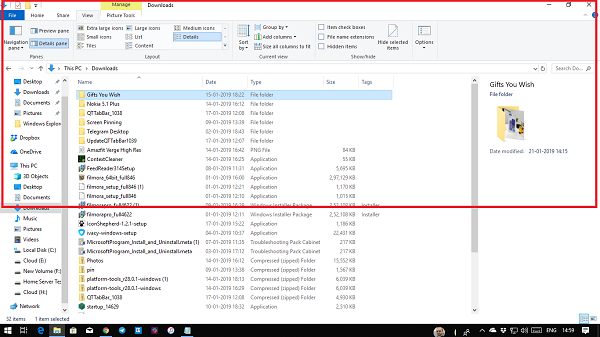
You can add two side panes to extend them apart from file views. It is useful for individual files if you do not wish to use details mode.
- Preview Pane: Useful for Images and media files.
- Details Pane: Useful when you deal with many files where you need to check details like size, creation date, and so on.
Then you have a Navigation Pane, which adds a tree-like explorer structure on the left. It helps you navigate between the folders quickly.
Lastly, you have a few more options. Enable
- checkboxes for easy selection of multiple items
- viewing of file extensions
- View hidden files and folders. More here on how to hide/unhide folders in Windows
Windows 11 user? Read how to customize and use Windows 11 Explorer
Customize “Folder Options” in Explorer
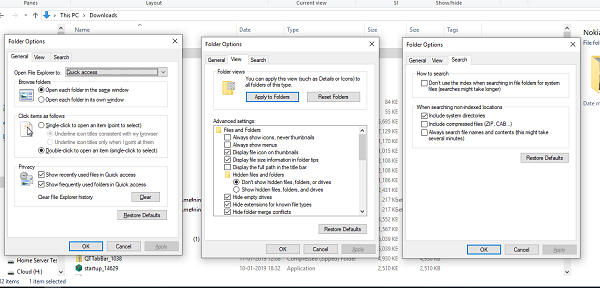
In the view menu, you have the Options. When you click on it, it opens a pop-up window that offers many choices you can make. They are mainly for folders and searches. Here, you have three significant configurations – General, View, and Search. We are going to look at the first two.
TIP: Make sure to check out Windows Explorer Tips and Tricks.
General Folder Options
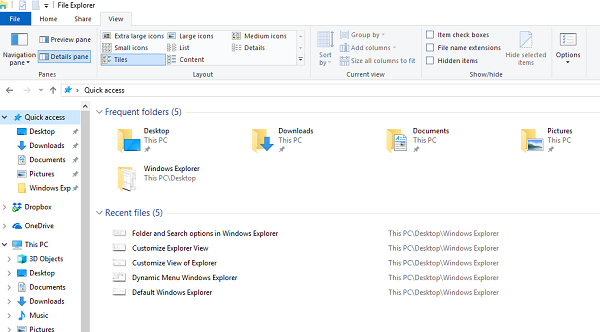
Change Default Folder
Choose quick access when you want to go to your frequently used folders, and files without wasting much time. If you also want quick access to drives, enable the navigation pane, and you have the best of both.
Do you use a Touch Screen?
You can choose to open the folders with a single click, but it could be annoying when using a mouse. If you have a touch screen, a single tap can open the folder. Double-click with touch is slightly irritating.
Others
- Display or clear Recently used files, and frequently used folders.
- Open every folder in their view.
Customize View Options
Here, you get micro control on what you see for the files and folders. Right from icons to menus, to full path, the option to hide empty drives, and so on. Here are few that you should look at-
Automatically type in the search box:
When we open any folder, we usually search an item. If you have an extensive collection of files and folders, enable this option. So when you need to find something, it will type it in the search box and filter the results.
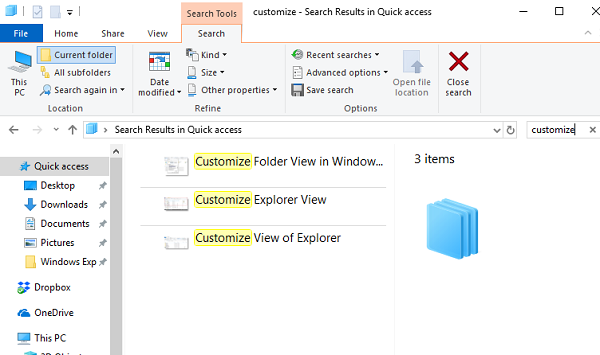
When you click on the search box or type with this option enabled, you get a couple of filter options. It helps you to narrow down search results to find the exact file or folder you were trying to find. You can limit file size, type, date modified, and so on.
Restore Previous Folders on Login:
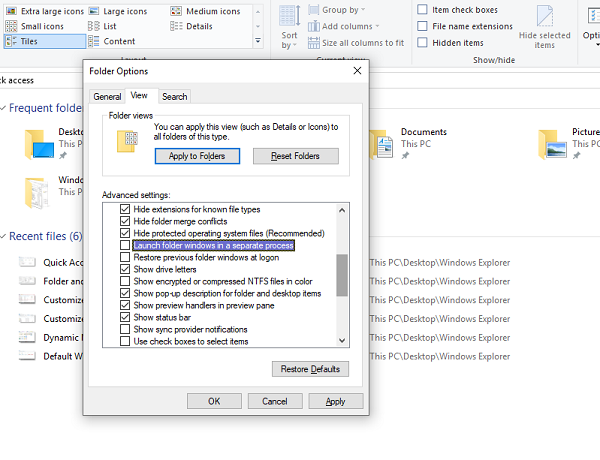
It helps you to resume work even faster as it will open the folders you work often. All you need to do is shut down those the computer without closing them.
Using these options in View, you can create a minimal or an illustrated view of the folders. Useful or not depends on your work.
Lastly, you don’t have to apply the same view to all folders. When you open the view configuration in a folder, you only customize the look for that folder. So the best way to go ahead is to customize the folders you work with and leave others. However, you can choose to apply the current view to all folders with “Apply to folders” button.
If something doesn’t fit, you can always reset the Folder view.
That is pretty much what you should know about how you can customize Explorer in Windows 10. Though I would repeat that everything depends on your work, most of the consumers don’t really change anything unless it’s a need, but for those who need to handle a lot of files and folders, these are really helpful.
Leave a Reply