This article will focus on how to customize Windows Server PowerShell profiles. If PowerShell is your daily tool, you may want to create and customize your profiles. PowerShell profiles are basically PowerShell scripts (PS1) that run when a session starts in PowerShell and its used to configure a particular environment.
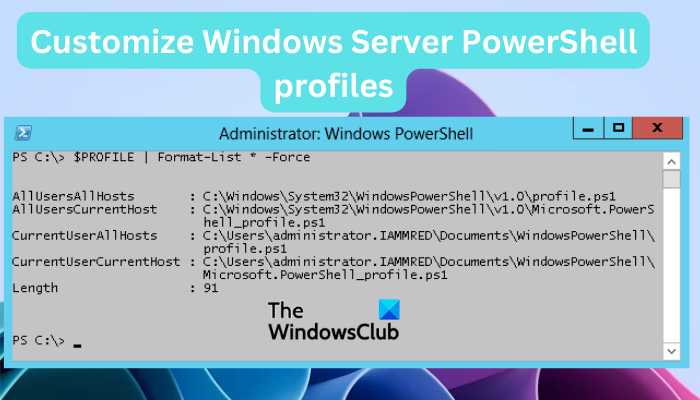
When you customize your PowerShell profile, you can use it to set up environments and automate specific tasks on Windows Server. For example, you can set commands, set environment variables, set aliases, import modules, and add functions, among others. Simply put, you can customize the tasks and environments that suit you. But before you start customizing you need to first check if you have an existing one. If not, you need to create a PowerShell profile.
How to check and create a new PowerShell profile
To check if you have an existing PowerShell profile on a Windows server, open PowerShell as an administrator, type Test-Path $profile, and hit Enter. This command line automatically tests if you have a prior existing PowerShell profile in your system. PowerShell will show false if there is no existing profile in the server, and you need to create a new one.
To create a new PowerShell profile on Windows Server, use the New-Item command and press Enter. It will look like this:
if (!(Test-Path -Path <profile-name>)) {
New-Item -ItemType File -Path <profile-name> -Force
}
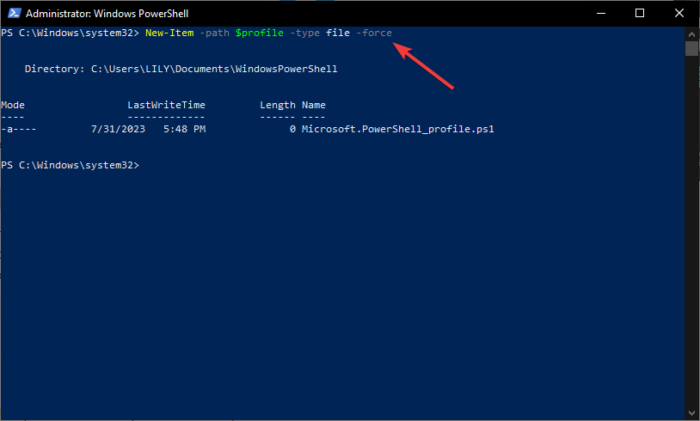
The if statement allows you to create a new profile without overwriting any other existing one.
For example, if you want to create a PowerShell of the host application user, run the command below:
if (!(Test-Path -Path $PROFILE)) {
New-Item -ItemType File -Path $PROFILE -Force
}
How to customize Windows Server PowerShell profiles
Now that you have a PowerShell profile, the next thing is to customize it according to your preferences. There is so much you can do here. Let us look at common PowerShell customizations on Windows Server.
Edit your PowerShell profile
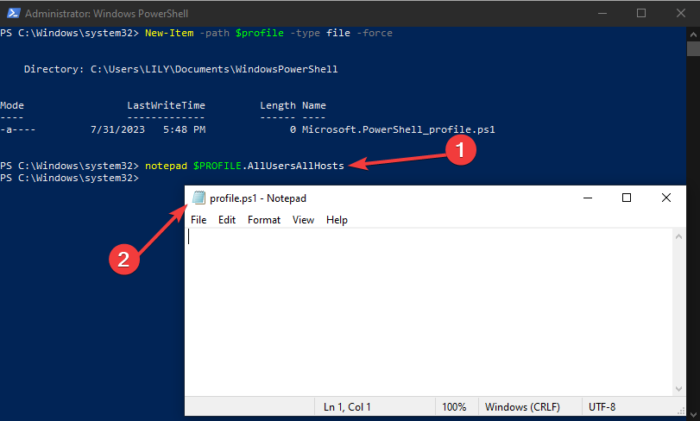
The notepad command is used to edit your profile. For example, if you want to edit your PowerShell profile, run the command notepad $profile. Remember to specify the profile name such as notepad $PROFILE.AllUsersAllHosts for all users.
Also, if you want to edit a PowerShell profile, run the command psEdit and specify the profile you want to edit. For example, use psEdit $PROFILE to edit the current user. You can add some items to the profile as follows.
If you would like to change the Console Pane color to something like blue, run the command $ps.Options.OutputPaneBackground = ‘blue’.
If you want to change the first size in the profile file run the command $ps.Options.FontSize =22. The value 22 is the font size and you can change it to whatever you want.
Add functions to the PowerShell profile
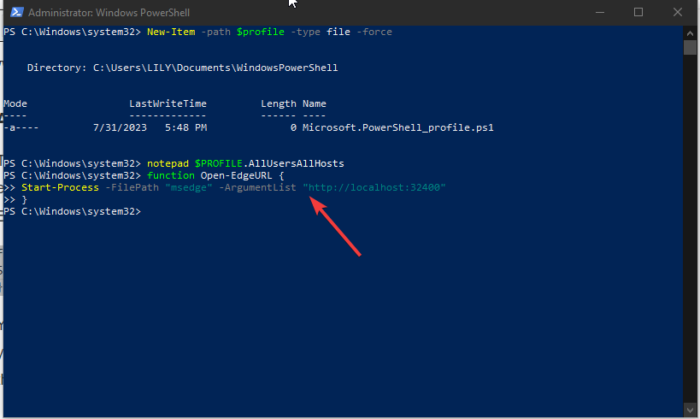
The purpose of PowerShell profile functions is to perform any specified tasks. For example, if you want to open a specific web address on your browser like Microsoft Edge. Use the following command to open an Edge URL automatically.
function Open-EdgeURL {
Start-Process -FilePath "msedge" -ArgumentList "http://localhost:32400"
}
You can replace the values and modify the command according to your needs. Once you finish adding PowerShell functions, save them in the Notepad where you can edit them later.
TIP: Run Microsoft Edge using Command line on Windows 11
Set custom working directories
The next PowerShell profile customization is creating custom directories. For instance, if you have several PS1 files and you would like your PowerShell profile to automatically load into the working directory. If you want PowerShell to always laid a certain directory, use the command Set-location. Below is a complete command:
Set-Location -Path "DRIVE_LETTER:\FOLDER\PATH\"
Here is a good example;
Set-Location -Path "C:\scripts"
Note that you can specify any location within your Windows system server or any other drive. Once you are done, always run the .$profile command and start using the profile.
Customize PowerShell profile aliases
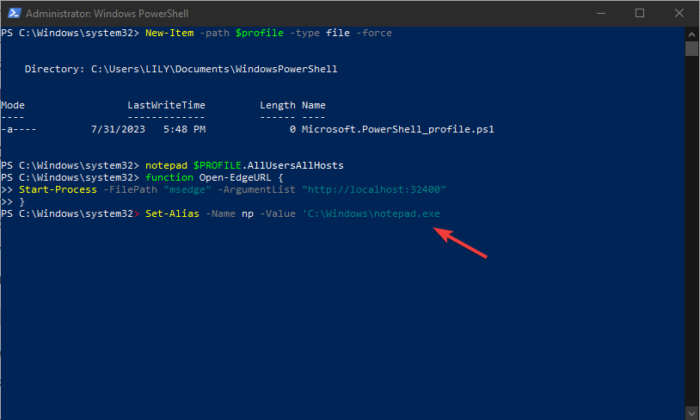
Like in Linux, you can also add an alias to your profile to make long commands easier to run. We use the Set-Alias command to customize aliases on the Windows server. If you want to open Notepad automatically and instantly from PowerShell, you can add an alias as shown below.
Set-Alias -Name np -Value 'C:\Windows\notepad.exe
Always, once you make profile changes save it in Notepad and then run the .$profile command. This command saves the same changes in the PowerShell profile.
We hope you can now customize something on the Windows Server Powershell profiles.
Read next: Download a file using PowerShell in Windows
What is the default profile in PowerShell?
Usually, there is no default PowerShell profile in the Windows server. However, you can create one and edit it using text editors, preferably Notepad. From there, you can customize the profile according to the task or environment you want to set or execute.
Read: PowerShell Export-CSV access to the path is denied
Can you customize the PowerShell profile?
Yes. You can customize PowerShell according to the tasks, functions, aliases, pane color, etc. There is so much you can do to make PowerShell perform commands easily and to your own liking. We have highlighted some of the common ways to customize PowerShell profiles in this article.
Leave a Reply