With the rise of social media and more people being online, the need to edit photos is rising; more and more people want to have unique photos. GIMP is a free, open-source photo editor that can be used to manipulate photos for social media and other uses. Learning how to do retro or vintage photo effects in GIMP will make your social media images stand out.
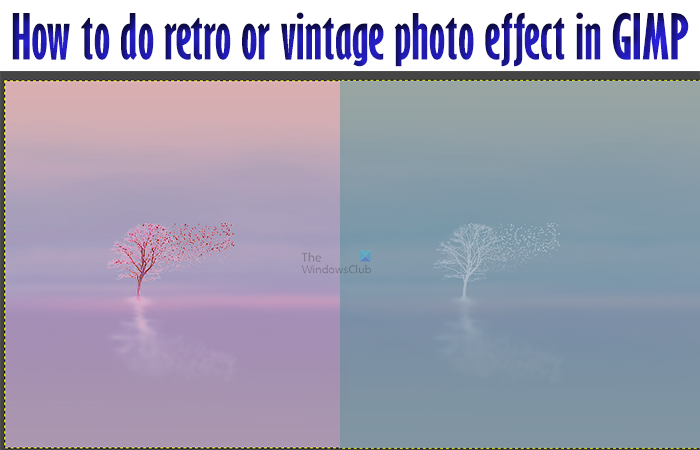
How to do Retro or Vintage photo effect in GIMP
Retro or vintage photos usually have a more faded look. However, there is an attractiveness to the blend of colors. Different photos will have a different look when the effect is applied. You can follow the steps below and see how your photo is changed to suit your style.
- Open and prepare GIMP
- Place the photo on GIMP
- Duplicate the photo
- Go to colors, then Levels
- Adjust levels for Red
- Adjust levels for Green
- Adjust levels for Blue
1] Open and prepare GIMP
To begin the vintage photo effect, open GIMP. To open GIMP, find its icon and double-click on it. You can also open GIMP by finding the photo that you want, then right-clicking on it and choosing Open with then GIMP. The photo will open in GIMP and you can continue the process. You can also open GIMP and create a blank document to the size that you want, then drag the Photo onto it.
2] Place the photo in GIMP
If you already have GIMP open and you want to get the photo into GIMP, find the image and drag it into GIMP. You can also find the image and right-click on it, then choose Open with then GIMP.
3] Duplicate the photo
This step is where you duplicate the photo. Doing the retro vintage effect on the photo will damage it, so you may want to duplicate it. If you have it saved in other places and you don’t mind dragging it back into GIMP to redo, then you do not have to duplicate it.
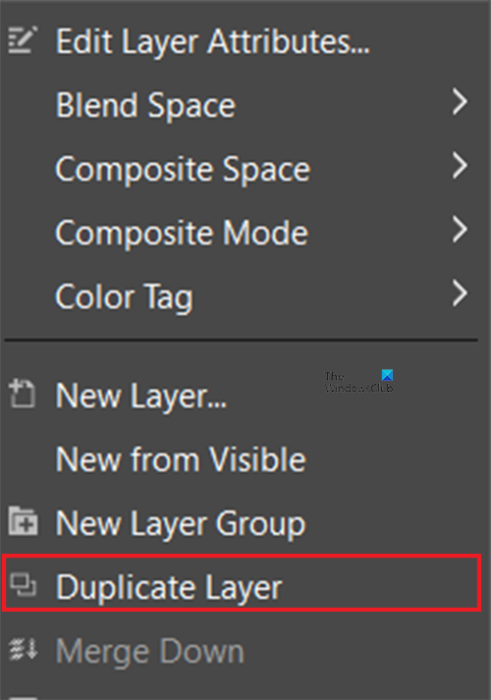
To duplicate the photo, right-click on it, and when the menu appears, click Duplicate Layer.
4] Go to Colors, then Levels
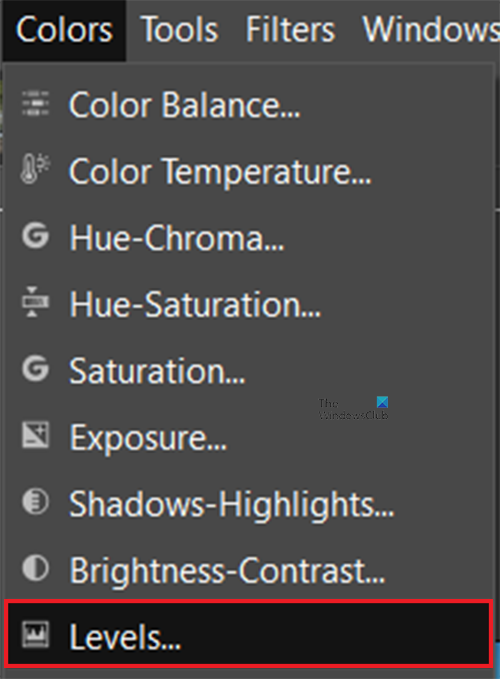
This is the step where you will start applying the effect. To start applying the effect, go to the top menu and click Colors.
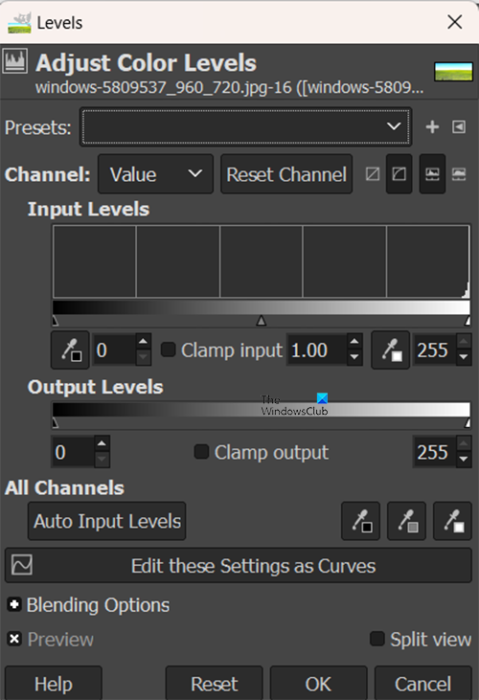
The Adjust Color Levels window will appear, here, you will adjust the colors for the Red, Green, and Blue channels.
5] Adjust the levels for Red
This is where you will adjust the levels for the Red channel. Depending on the photo you are using, the results may be different as you adjust.
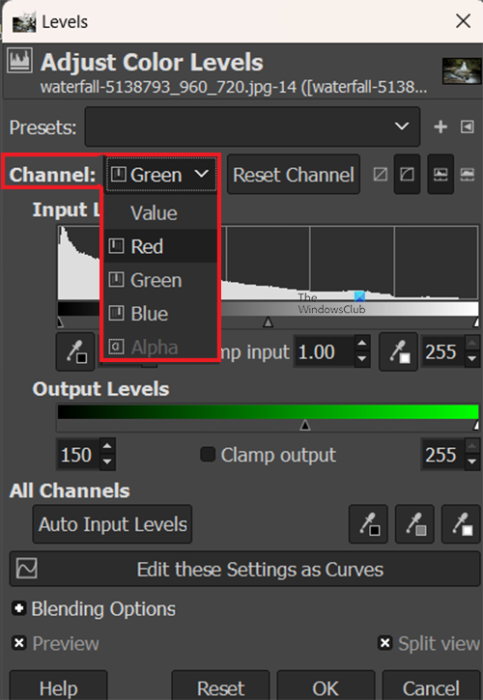
Click the drop-down arrow at Channels to see the different channels to select and adjust on the slider.
Keep adjusting until you are satisfied with the look. The full effect will be seen when all three are adjusted. You can click the Split view option to see the difference between the original colors ad you adjust.
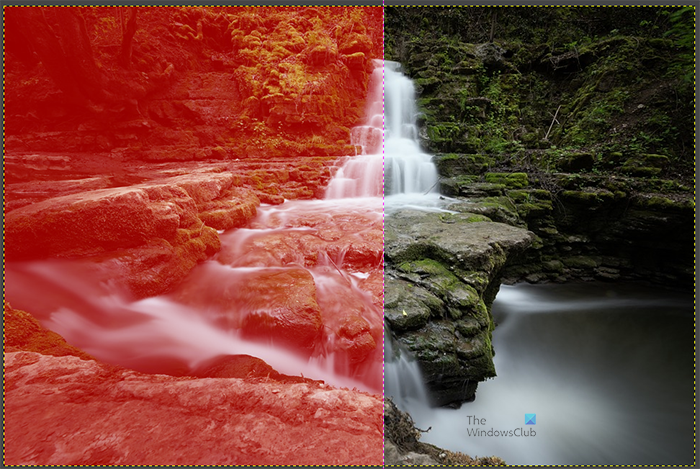
This is the split view showing the red channel adjusted; the adjustment there is 150.
6] Adjust the levels for Green
This is where you will adjust the levels for the Green channel. You will see the blends as the green is adjusted with the already adjusted red.
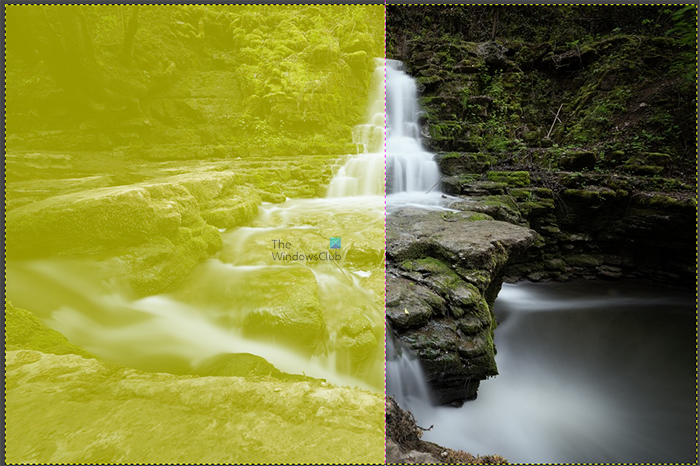
This is what the image looks like with the Red and Green channels both at 150. You can compare the original with the adjusted by looking at the split view.
7] Adjust the levels for Blue
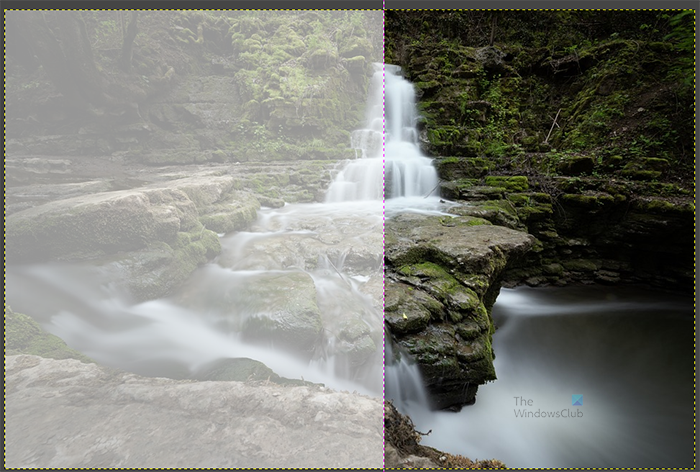
This is what the image looks like when the Blue channel is adjusted with the other channels already adjusted.
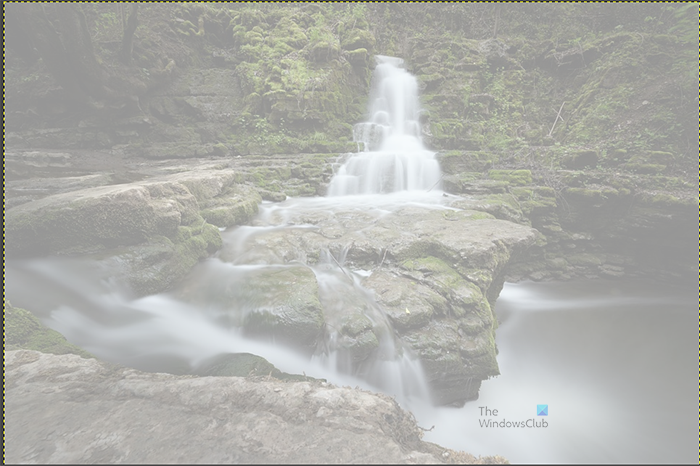
They are all adjusted to 150. Note that you can adjust each level to a different number. This is the image with all the color values adjusted to 150.
Another image will be adjusted to show how they differ.

Red channel at 180
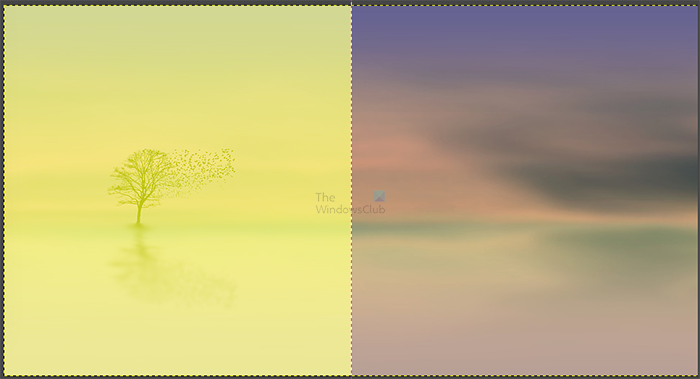
Green channel at 190
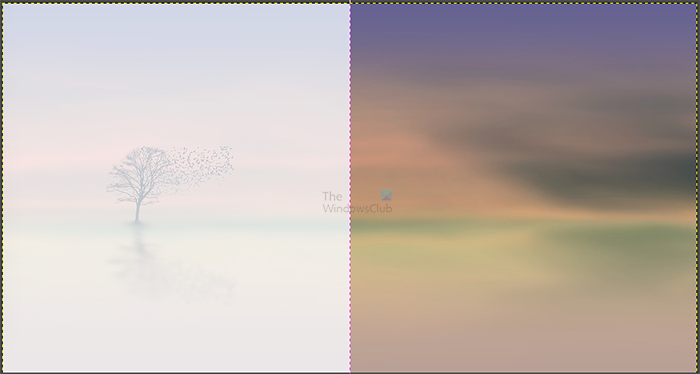
Blue channel at 200
Note
There is a handle at the extreme right of the adjustment slider for each color channel, and you can adjust this to the left to add more variation to the outcome. The default color value of this is always 255.
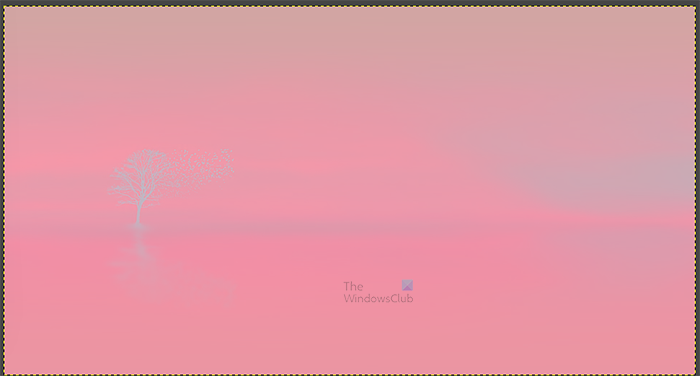
The right handle was adjusted for the green channel at a value of 180.
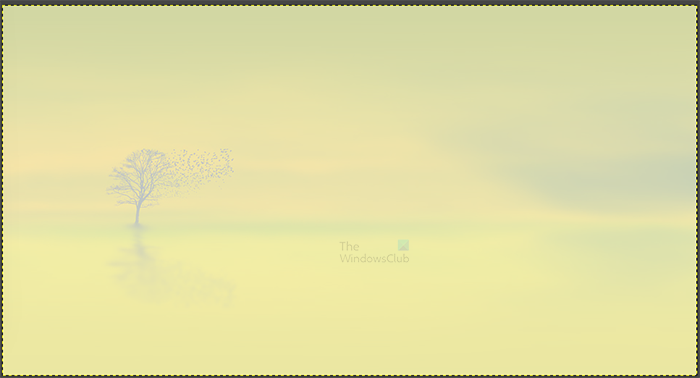
The right handle was adjusted to the left on the blue channel for a value of 135
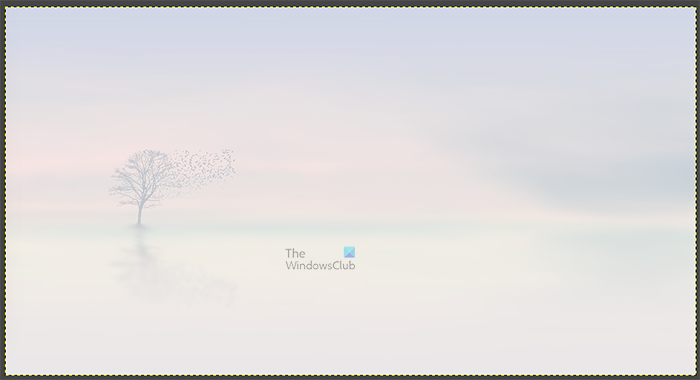
This image is where the right and left handle is adjusted for all three color channels.
Note
You can also choose to adjust the color channels using the curves on a graph instead of a slider.
Look at the lower section of the Adjust color levels window and click Edit these settings as curves.
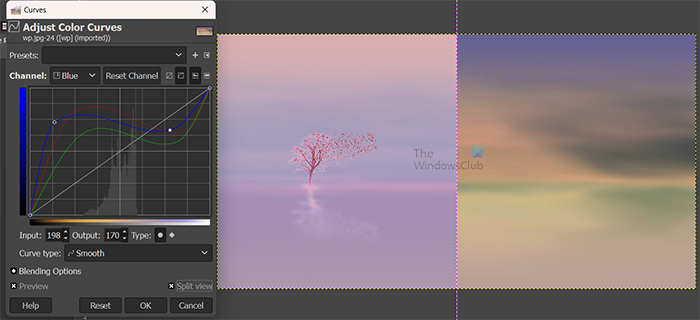
You will see the Adjust color curves window appear. Here you can adjust the color channels on a curve, this offers more color variations.
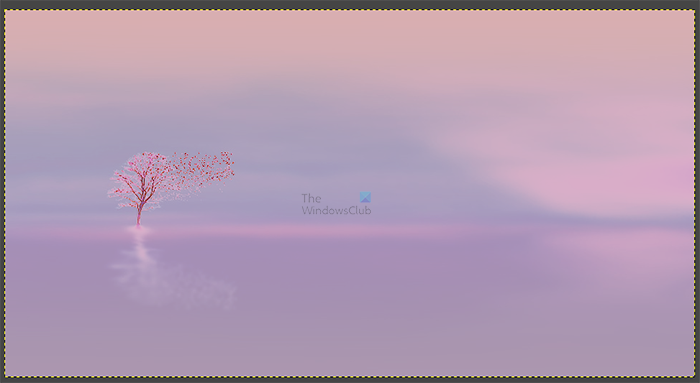
This is the image with all three colors adjusted using the curves.
Read: How to Fade out Images and make them washed out in GIMP
How do you make a photo look retro or vintage?
Making a photo look like the 70s is about making the picture have a blend of colors. Remember that photo capturing and printing were not so high quality, so the colors had a blended washout look. Adjusting the levels of the red, green, and blue will give the colors the vintage 70s look.
How do I make an image look fuzzy in GIMP?
The easy way to make an image look fuzzy in GIMP is to go to the top menu then, press Tool, then Paint Tools, then Blur/sharpen. You will see a round cursor appear, use it to brush over the image to give the level of fuzz that you want.
Leave a Reply