MySQL is a database management system and free, open-source software, developed and supported by Oracle Corporation. It is exceptionally reliable and easy to use. In this tutorial, we are going to explain the steps on how to Download and Install MySQL on Windows 10 systems.
How to Download MySQL
On your web browser, search engine type Download MySQL. Click on the first link in the web search, mysql.com/downloads. It will take you to the MySQL download page.
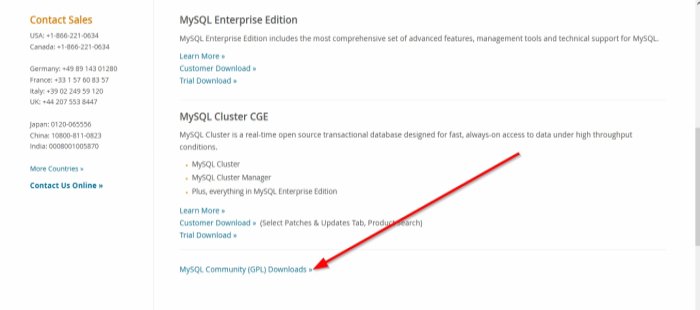
Scroll to where you see MySQL Community GPL Downloads, click it.
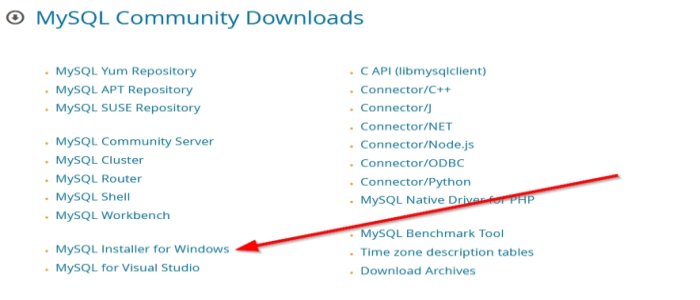
Now on the MySQL Community download page, click MySQL Installer for Windows. It brings you to the My Community Download Page. MySQL Installer.
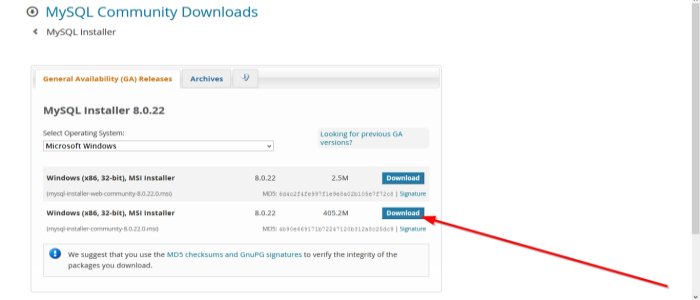
Where you see, operating system, select Microsoft Windows.
You will see two windows (x86, 32-bit), MSI Installers, one of smaller size and the other of larger size. Select the one with the larger size (405.2M) because you do not have to connect to the internet.
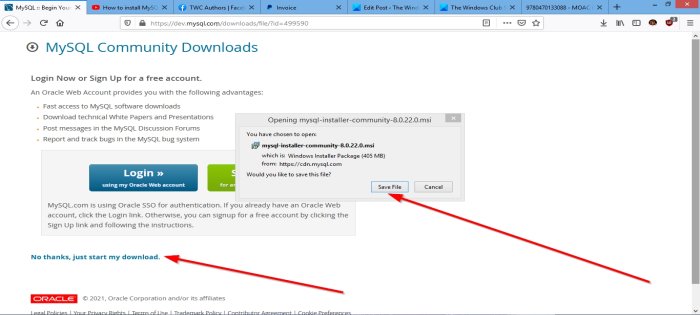
On the next page at the bottom, select No thanks, just start my download.
A dialog box will appear requesting you to save the file. Click Save File. The file is downloaded.
Read: Difference between SQL and MySQL.
How to Install MySQL on Windows 11/10
In the Explorer, double click the MySQL Installer. It will then prepare the installer.
A window will appear asking you ‘Do you want to allow the following program to install software on your computer‘ Click Yes. The installation will start.
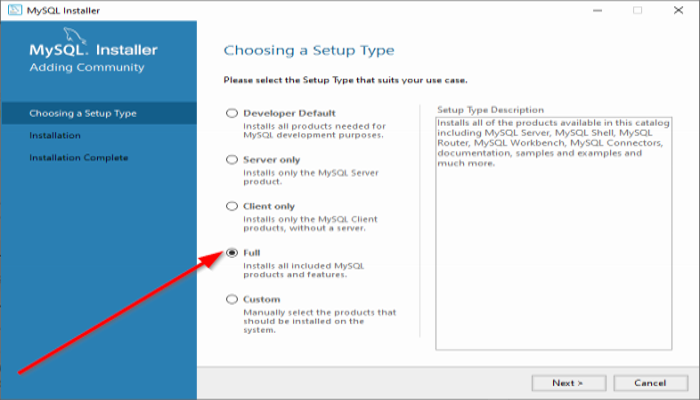
You will see a MySQL Installer Wizard. Now choose a setup type; select Full because it includes all the products available in this catalog. Then Next.
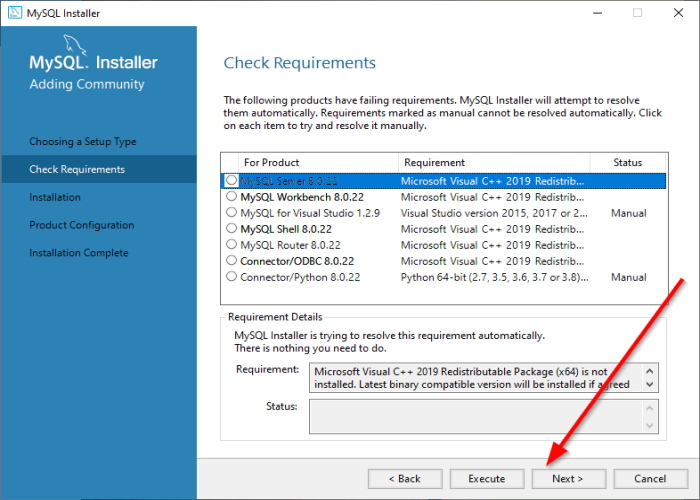
If you try to click Next, a warning will pop up stating that ‘some programs will not be installed or upgraded on the Check Requirement window.
Do you want to continue’ (see photo above), click Yes?
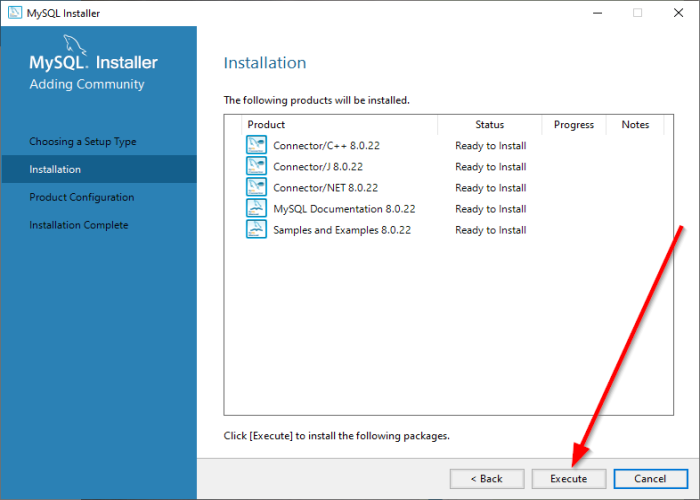
On the Installation window. Click Execute. You will see your programs installed one by one. It will show which program was installed and which program failed. Then Next.
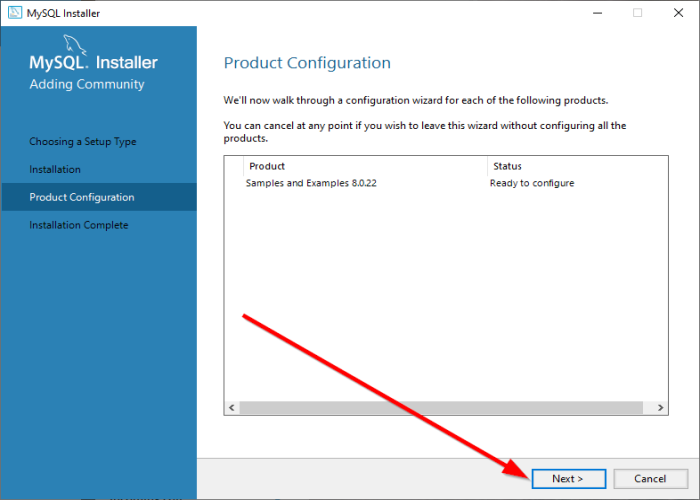
On the Product Configuration window, click Next.
On the Installation Complete window, click Finish. MySQL is Installed.
I hope this post is useful to you. If you have any questions, please comment below.
Leave a Reply