Steam is one of the popular gaming platforms for gamers. Its library has around 30000 games including paid and free-to-play games. Steam also features Steam Community where gamers can buy and sell different in-game items, interact with one another by posting their comments in Steam Discussions, etc. This beginner’s tutorial will show you how to download, install, and use the Steam client on your Windows 11/10 PC.
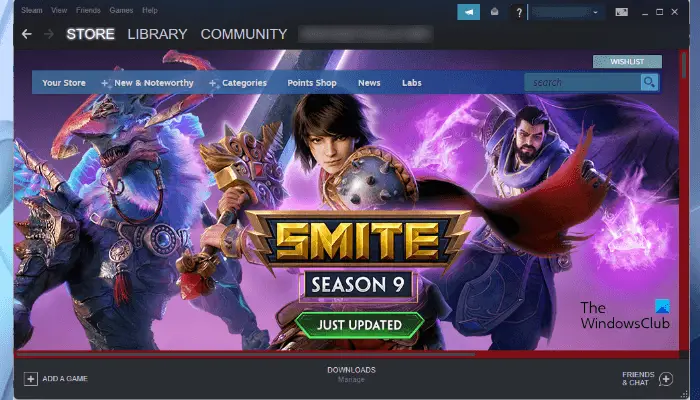
Can you install Steam on Windows 11?
Steam is available for both Windows 11 and Windows 10 users. You just have to download the installer file from its official website and run it to install Steam on Windows 11. After installing the Steam Client on your Windows 11 computer, you have to log in with your existing Steam account or create a new one to use Steam services.
How to download, install, and use Steam on Windows PC
We have explained how to download and install Steam on Windows 11/10 PC below. Let’s start.
1] How to download and install Steam on Windows 11/10
To download and install Steam on your Windows 11/10 computer, you have to perform the steps given below:
- Visit the official website of Steam.
- Download the Steam installer file for Windows 11/10.
- Double-click on the installer file to run it.
- Follow the on-screen wizard to install the Steam Client on your computer.
- Setup the Steam Client.
Let’s see all these steps in detail.
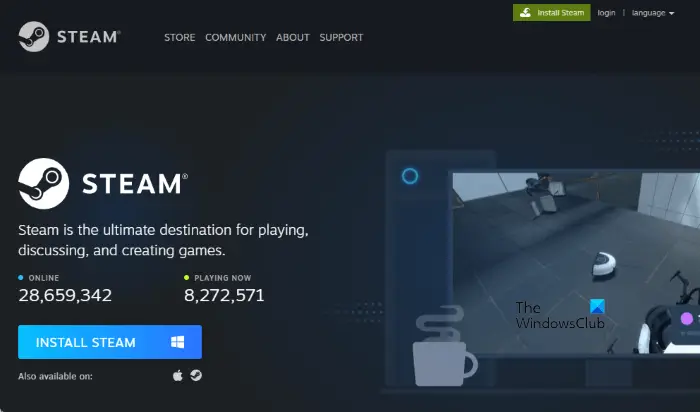
1] Your first step is to download the installer file from the official website of Steam. Visit store.steampowered.com and click on the Install Steam button, select a location where you want to save the installer file, and click Save.
2] Go to the location where you have saved the installer file and double-click on it to run. Click Yes if you receive the UAC prompt.
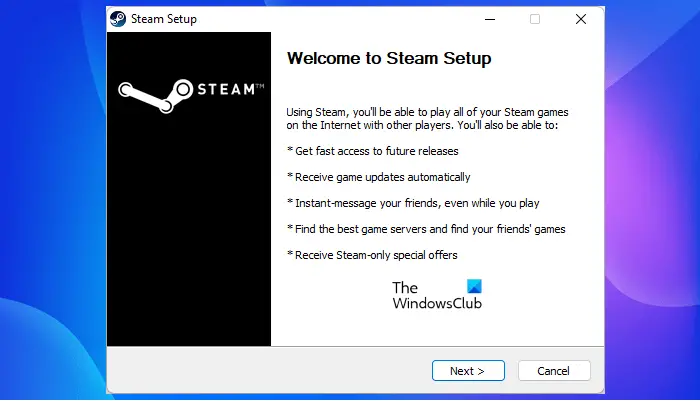
3] The Steam installation wizard will appear on your screen. Now, select your language and click Next again. On the next installation screen, Steam will show you the default installation location, which is the C drive. If you want to install the Steam Client on another drive, you can change it by clicking on the Browse button. Now, click Install. Wait till Steam gets installed on your computer.
Read: How to repair Steam Client on Windows PC.
4] After the completion of installation, click Finish. Now, your next step is to set up the Steam Client on Windows.
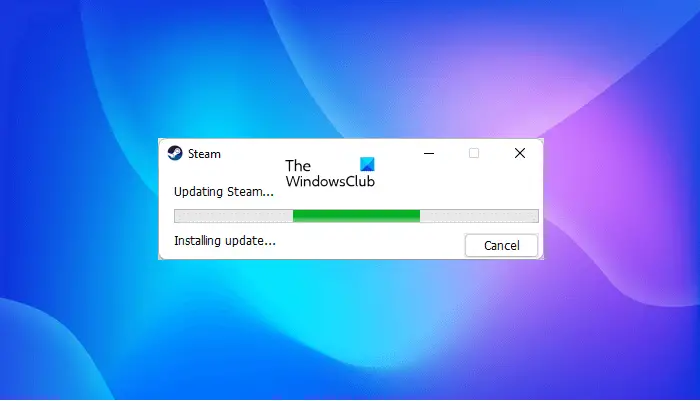
5] To set up Steam on Windows, double-click on the desktop shortcut to launch Steam. When you launch Steam, it will take some time to download and install the latest update packages from the server.
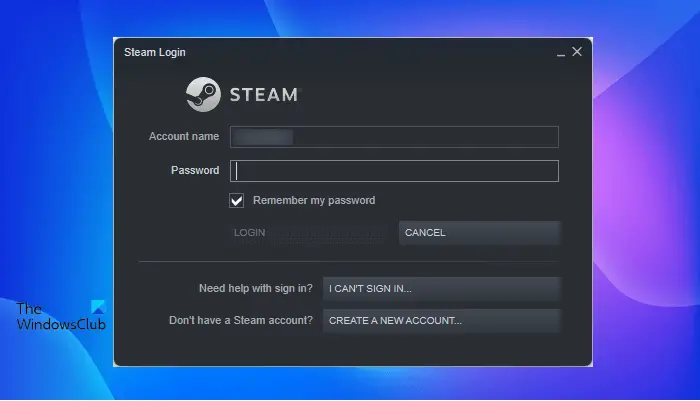
6] After the installation of updates, you will see the Steam Login screen. Here, you can log in with your existing Steam account. When you log in to Steam with your existing account, you will receive a verification code on your registered email ID. You have to enter that code to confirm your identity. If you do not have created a Steam account before, click on the CREATE A NEW ACCOUNT button. Follow the on-screen instructions to create and set up a new Steam account.
This is all about how to download and install Steam on Windows 11/10.
Read:
- How to Download, Install Steam and Manage Steam Games on PC
- How to download Steam Cloud Saves to PC
- How to install Steam Skins on Windows
2] How to use Steam on Windows 11/10
Above we have seen how to download and install Steam on Windows 11/10. Now, let’s see how to use Steam on Windows 11/10.
When you open Steam, you will see different menus on its menu bar. Have a look:
- Steam: The Steam menu lets you open Steam Settings, login to another Steam account, check for Steam Client updates, backup and restore your games, etc.
- View: The View menu lets you access your Steam Games Library, hidden games, downloads, chat with your Steam friends, view your in-game screenshots, etc.
- Friends: Here, you can view your online friends’ list, add more friends, edit your profile name or avatar, change your status to online, offline, away, etc.
- Games: The Games menu lets you view your Games Library, activate a product on Steam, redeem the Steam wallet code, add a non-Steam game to your Library, etc.
Steam has nearly 30000 games. You can purchase these games from the Steam Store. Click on Store and then place your mouse cursor over the Categories to view the category-wise games list. Steam also has a vast library of games that are free to play. To access all the Free to Play games on Steam, go to “Categories > Free to Play.”
Apart from the category-wise games list, you can also view new and trending games, games from the top sellers on Steam, recently updated games, popular upcoming games, etc. For this, go to “Store > New & Noteworthy.”
The Community tab in the Steam Client has the following features:
- Steam Discussions: Here you can interact with other Steam gamers by posting your comments. In addition to this, you can also read Steam and Games Forums here.
- Steam Workshop: It contains downloadable content for different games. This content is developed by different creators. You can also subscribe to the content developed by different creators in the Steam Workshop.
- Steam Market: It is a digital marketplace for Steam users where they can purchase and sell in-game items.
- Steam Broadcasts: This feature of Steam lets you record and broadcast your gameplay live over the internet.
This is how you can use Steam after installing it on your system.
Read: Software that can affect the performance of Steam on PC.
How to install a Steam Game on Windows?
To install a Steam Game on Windows, first, you have to download and install the Steam Client. After installing the Steam Client, open it and go to the Store. There you will find a number of games in different categories. Now, you can purchase the games or install free-to-play games as per your requirement.
Hope you found our post helpful.
Read next:
Leave a Reply