Most people will use Microsoft Word for school and work purposes, so this article will show you how to make a Venn diagram in Word using Regular shapes or Smart art shapes & insert text in the middle of Venn diagram. Venn diagrams were created by hand drawing on paper, but with more and more classes online, the need to digitize is increasing.
Venn diagrams are important mathematical tools that we all meet at one stage or another. Venn diagrams are used in regular mathematics, statistics, and other aspects. With the increasing instances of online classes, there is a need to learn how to draw Venn diagrams in Word.
How to draw Venn diagrams in Word
You can create a Venn diagram in Microsoft Word in two ways, using regular shapes or using Smartart. Using the regular shape you simply draw them and change their attributes so that they can overlap and show through. Then with the text box, you can add the data for the Venn diagram. With the Smartart, you would already have the basic design of the Venn diagram, you simply enter or delete the default data to add or delete the circles. You can add other data with the use of text boxes.
This article will explore both methods of creating Venn diagrams in Word. Keep reading to find out how to make a Venn diagram in Word.
- Using Regular shapes
- Using Smart art shapes
1] Using Regular shapes
The regular shapes in Word can be used to make so many things. They are more flexible to use for many applications. Here is how you can use the regular shapes along with the text box to create Venn diagrams and add data.
Open Microsoft Word and create a new document.
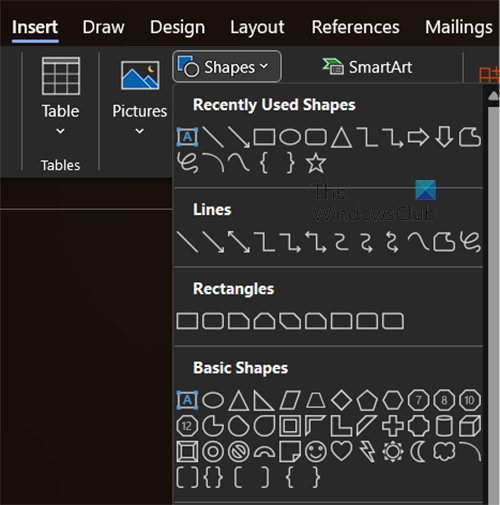
When the new document is created, go to the top menu, and click Insert then Shapes.
Create the square/rectangle

To create the square that would go around the circles, use the rectangle from the shapes. Go to Insert then Shapes and click the Rectangle. Depending on the number of circles that will fit in the shape. You can draw a rectangle or a square.

The rectangle may come with a fill color. You can remove the fill color and add a stroke.
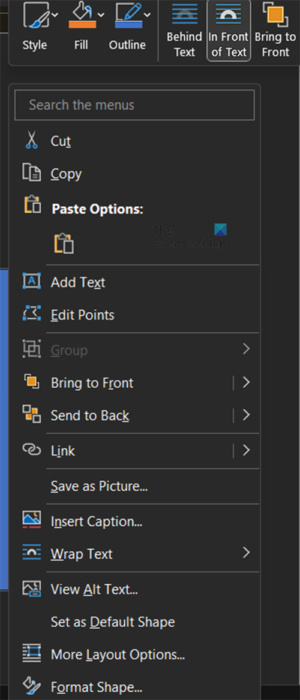
To remove the fill color and add a stroke, right-click on the shape, and from the menu choose Format shape.
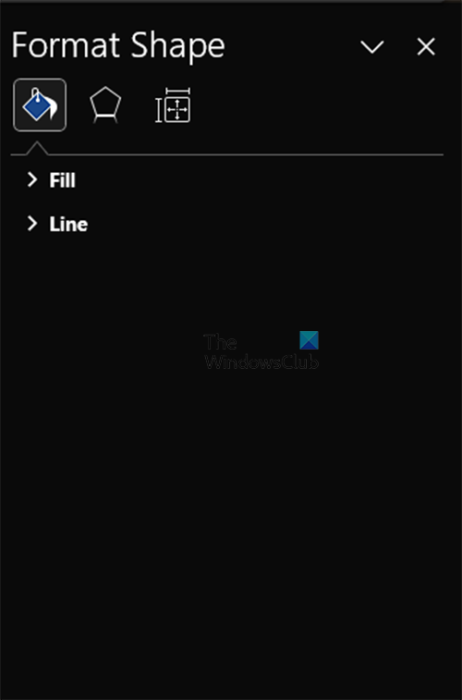
The Format shape panel will appear on the right side of the document window.
Remove fill
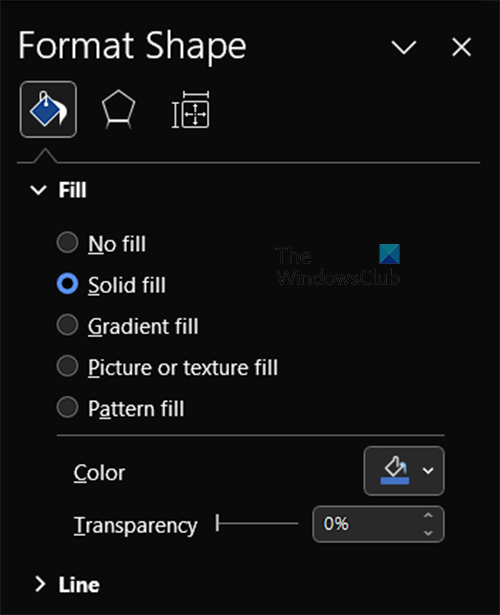
To remove the fill color click the word fill from the Format shape panel. The default fill option will be Solid color. Change the fill color option to No fill.
Add line color
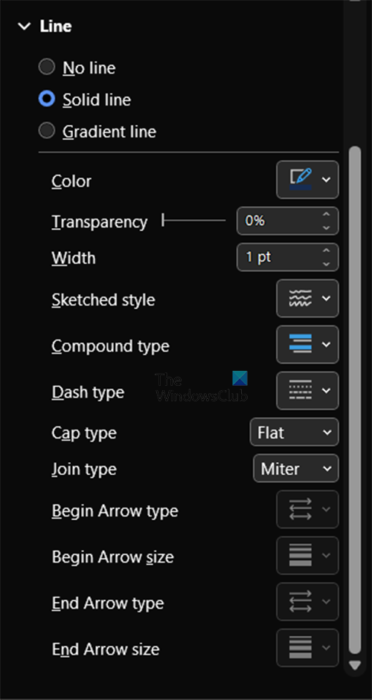
With the fill color removed, it is now time to add the line color. Click the word Line on the Format shape panel. You will see the Line options appear.
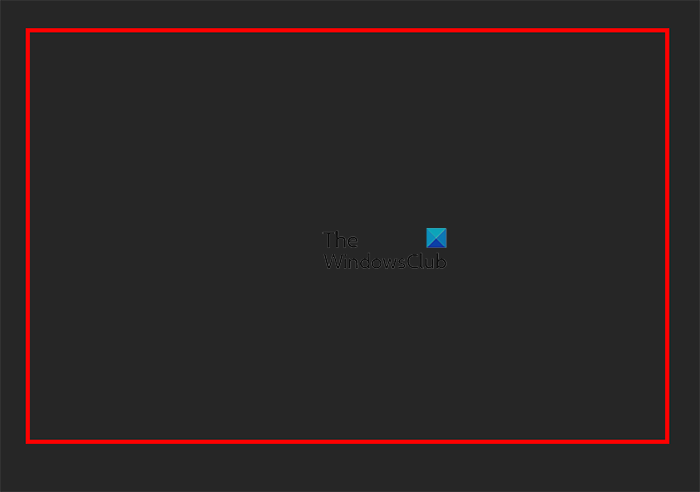
If you already have a solid line as the default, you can change the color if you want and also change it to a thicker line by changing the Width.
Create the circles
To create the circles within the square/rectangle go to the top menu and click Insert then choose the circle.
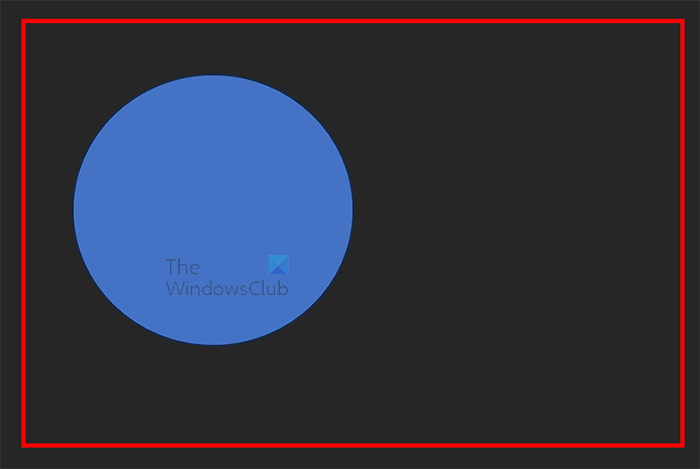
Draw the circle within the square/rectangle. Regardless of how many circles you will use for the Venn diagram and edit one circle first.
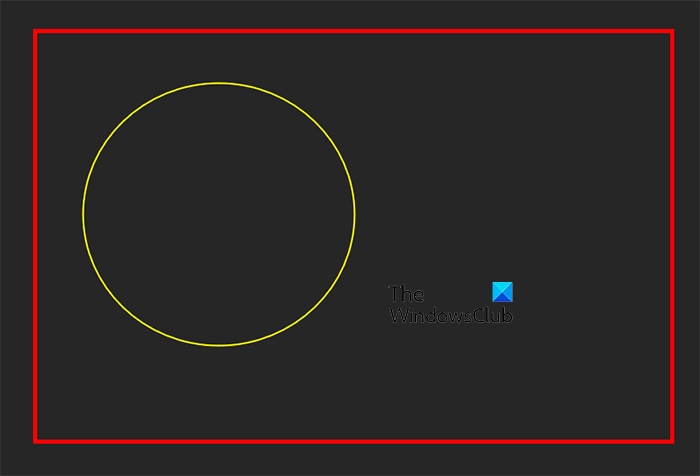
To remove the fill color and add a thick line around the circle, use the same steps you used to remove the fill and add the line in the square/rectangle.
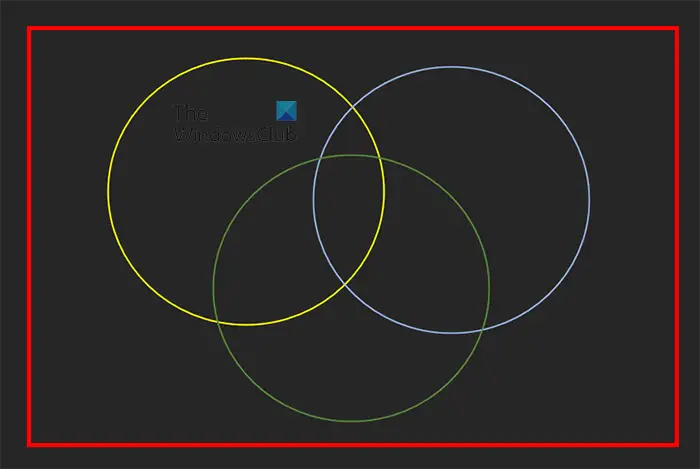
With the circle now edited, it is time to duplicate the circle to make the number of circles that you want. Here the circles are given different colors so they are easy to see.
Add the content to the circles
Now that the Venn diagram is almost completed, it is now time to add the numbers or whatever content you want to add. You can add the content by right-clicking on the shapes and choosing Add text.
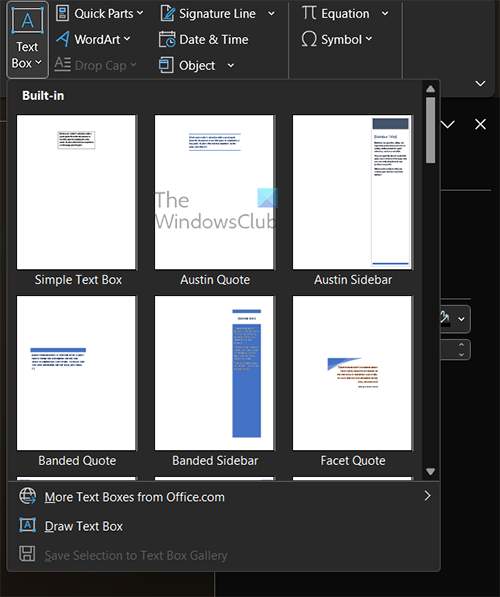
You can also add content by using text boxes. Go to the top menu bar and click Insert then click the Text Box. A panel with multiple text boxes will appear, click Simple text box.
The text box will appear on the document with filler text, clear the filler text. You then remove the color and the stroke using the same steps used above to remove the line and fill color in the shapes above.
Note before you remove the line and the fill color, write the content. If there is no content and the fill color and line is removed, the text box will disappear and will be hard to find.
With the text box edited the way you want; you can then copy and paste the number of copies that you want.
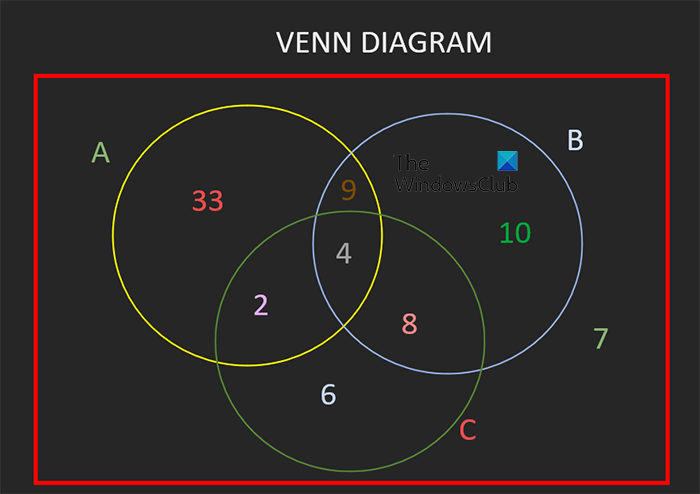
This is the completed Venn diagram with the content added. This is the Venn diagram created from regular shapes.
Read: How to change the tick in a check box in Word
2] Using Smartart

You can create a Venn diagram using Smartart. To create the Venn diagram using Smartart go to the top menu bar and press click Insert then Smartart.
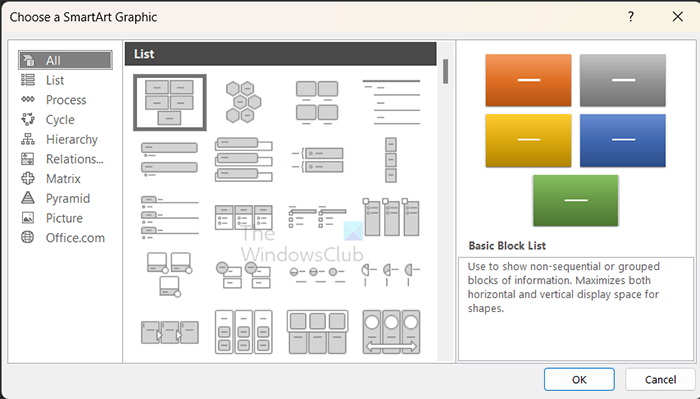
The Smartart menu will appear and the default option will be All.
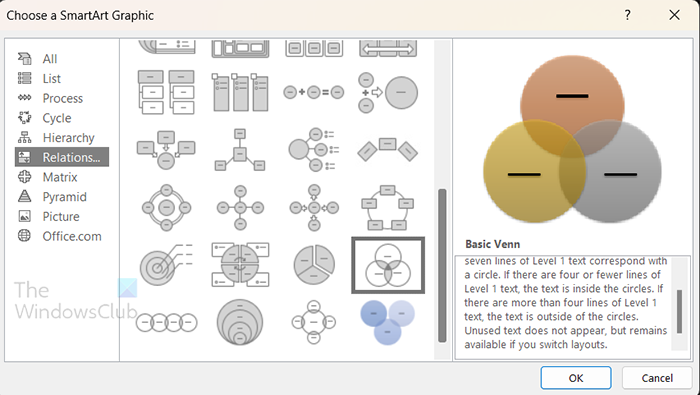
To get to the Venn diagram option, click Relations in the left panel and scroll down to the Venn diagrams. You can then choose which of the two Venn diagrams will suit your needs.
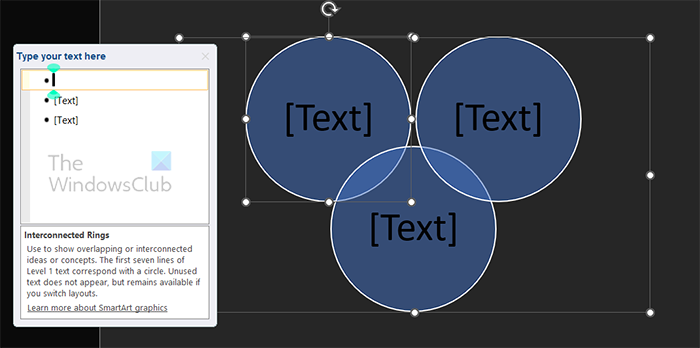
When you choose the Venn diagram that you want, it will appear on the document and you can make edits. You can type what you want to appear in the text fields. If you want to add more circles, press enter after the last bullet point. if you want to delete a circle, delete a bullet point, or click directly on the circle and press delete.
You can click and drag any circle to move it to wherever you want it or to make it overlap another circle.
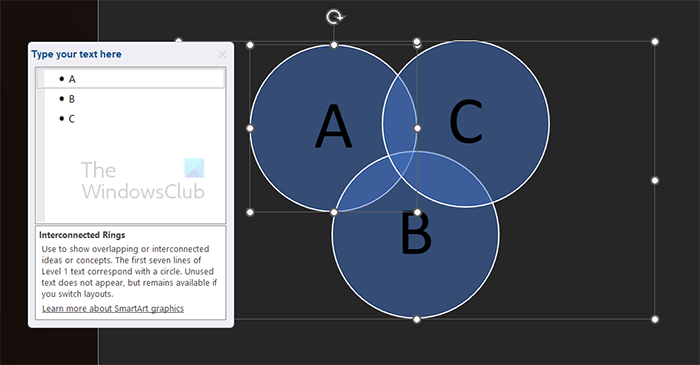
Here you see letters added as content in each circle. You could also add numbers if you wish.

To now add numbers to the Venn diagram, you can use the text box. If you use the text box to add the other content to your Venn diagram, you will need to format the layout of the text box so that it can fit inside the circles. When the text box is created, click the Layout option menu at the right of the text box. From the menu that appears choose In front of text.
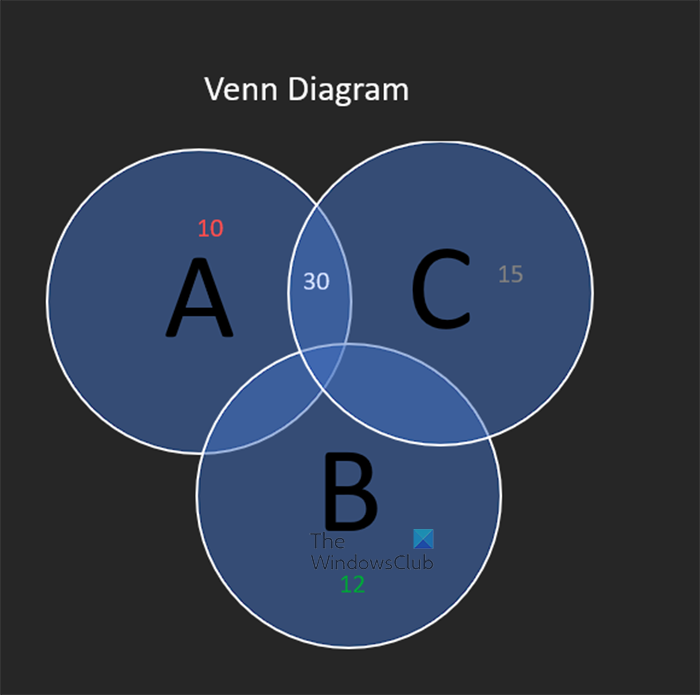
This is the completed Smartart Venn diagram, you can add a box around it if you wish.
Read: How to create a Venn Diagram in PowerPoint
How can I add symbols to the Venn diagram?
You can add the symbols to the Venn diagram by going to Insert then Symbols. To get the symbols into specific places in the Venn diagram, you would insert text boxes and then add the symbol into the text boxes.
Leave a Reply