This post will show you how to enable and use Auto tuning in NVIDIA GeForce Experience. GeForce Experience by NVIDIA is a program designed to enhance the gaming experience as it offers various features, including automatic driver updates, game recording and streaming, etc. Auto Tuning is also one of its features that allows adjusting graphics settings. Keep reading this post to learn more about Auto tuning and how to enable it in GeForce Experience.

What does auto tuning do in GeForce?
Automatic Tuning is a feature by GeForce Experience that can automatically analyze your system and set the game settings accordingly. It uses advanced algorithms and considers various system factors, including hardware specifications, to choose optimal settings for each game in your library.
How to enable and use Auto tuning in NVIDIA GeForce Experience?
Follow these steps to enable and use Auto tuning in GeForce Experience:
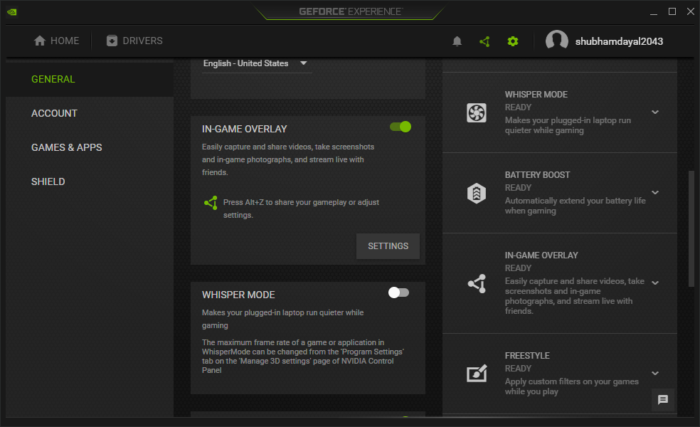
- Open NVIDIA GeForce Experience and click on Settings icon at the top right corner.
- Navigate to General and check if In-Game Overlay is enabled.

- Now press Alt + Z keys together to open GeForce’s overlay.
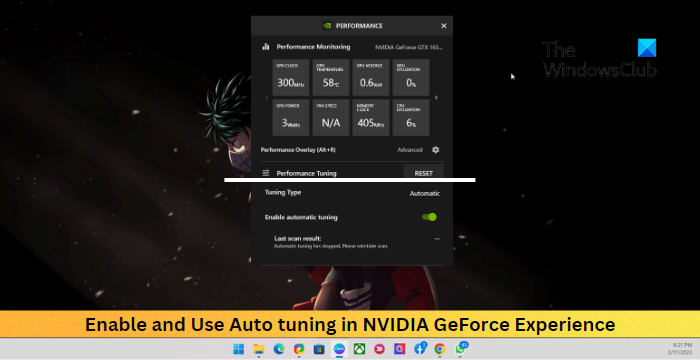
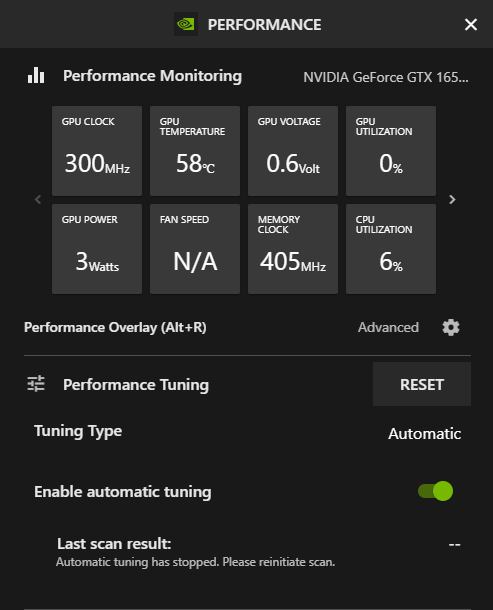
- Here, click on Performance to open the performance dialog.
- Enable the toggle switch beside Automatic Tuning.

Note: Make sure your device is plugged or you won’t be able to enable Automatic Tuning.
Read: GeForce Experience cannot optimize Games on Windows PC
I hope this helps.
Does GeForce Experience work automatically?
Once GeForce experience is installed on your PC, it will automatically detect the installed hardware and offer custom settings for various games and applications. The application can also scan and install the latest drivers available for your GPU and keep your device updated.
How do I increase GPU processing?
You can increase your GPU’s processing power in several ways. These include overclocking, proper cooling, reducing settings and FPS, etc. if these methods aren’t helpful for you upgrading your GPU to a more robust model will allow it to handle more demanding applications and games.
Leave a Reply