There may come a time when you feel the need to fit large pictures into a Microsoft PowerPoint slide. This can be a problem because, from the naked eye, a large photo just doesn’t work within a slide, but that is not exactly the case with the right information at your fingertips. The idea behind this article is to explain how to fit a large image in PowerPoint via several different methods that are known to work.

How to fit a large Picture into a PowerPoint slide
Adding a large picture to a PowerPoint slide is not a difficult task if you know what to do. Simply follow the solutions here to get going:
- Use Crop and resize the selected picture method
- Make use of animation effects
- Use the Designer feature
- Delete the background
1] Crop and resize the selected picture
The easiest way to add a large photo to a PowerPoint slide is to use the crop and resize feature. If you’re not sure how to do this, well, worry not because we’re going to have a discussion about it.

- Open Microsoft PowerPoint then create a new presentation.
- You can also open a previously created presentation if need be.
- From there, choose the slide you want to work with.
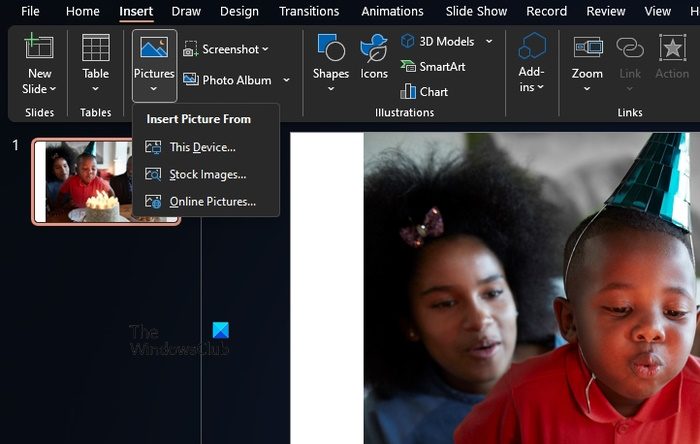
- Next, click on the Insert tab, then select Pictures from the Ribbon.
- Choose how you want to add a photo, then add that photo to the slide.
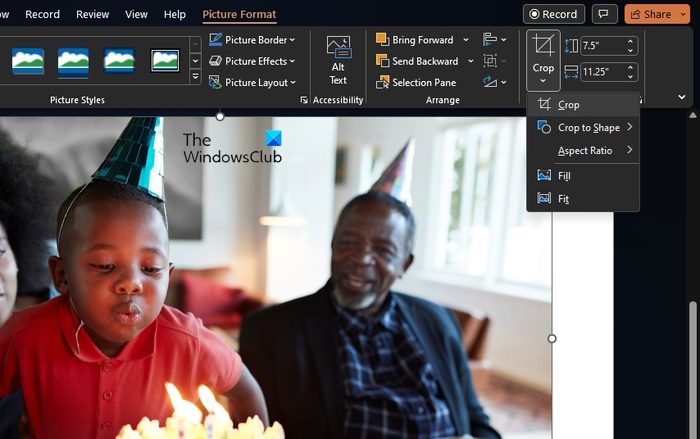
- Once the photo is added, you can drag it from the sides to crop.

Alternatively, you could go to Picture Format, then click on the Crop button.
After that, choose how you want the image to be resized.
2] Make use of animation effects

There are some interesting ways one could present a larger picture in PowerPoint, and it is all about taking advantage of animation effects.
- In order to use animation effects, you must click the Insert tab.
- Click on Pictures from the Ribbon, then select This Device or any of the other options.
- Find your image and add it to the slide.
- With the image now selected, please choose Animations.
- Go to Add Animation, then select Grow / Shrink.
- Enter the Timing information for Start, Duration, and Delay to optimize the animation.
- Next, you will need to select Animation Effects > Amount.
- From there, choose Tiny, Smaller, Larger, or Huge to see which option works best for your needs.
3] Use the Designer feature

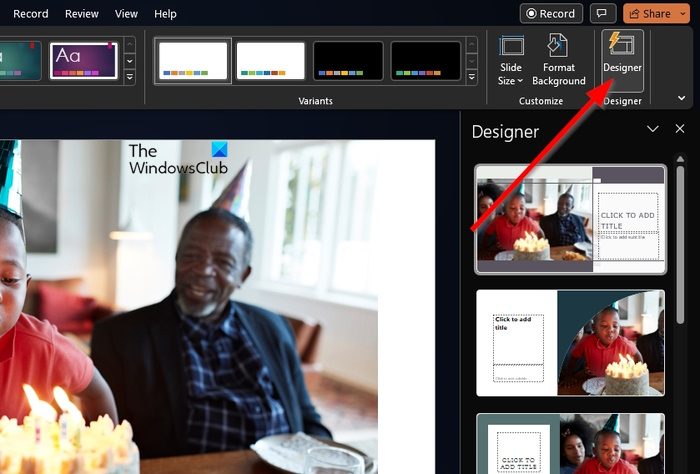
You can use Designer as a quick fix in a bid to change the appearance and also the position of the added picture. Now, before moving forward, we must point out that Designer is only available on PowerPoint for Microsoft 365, and not everyone is a subscriber.
- To get the ball rolling, please insert the relevant photo onto the slide.
- Next, please select the Design tab, then look to the Ribbon and click on Designer.
- Right away the Designer pane should appear.
- Choose the Design idea you prefer to use or select See more Design Ideas.
The majority of the ideas here will cover the entire slide with your picture, along with adding some elements. We view this as a quick method to get your image on a slide without having to crop the aspect ratio.
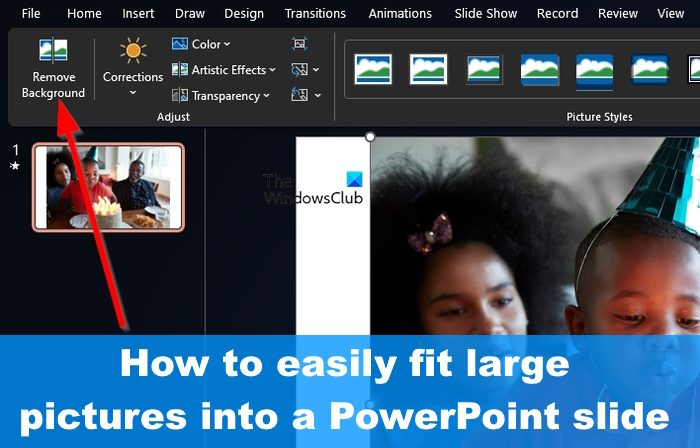
4] Delete the background
Depending on the image, you can delete the background to make it smaller. In many cases, the user only wants the object in a photo rather than the entire thing, and PowerPoint has a feature to separate the object.
- Begin by opening the photo in PowerPoint.
- Go to the Picture Format tab on the Ribbon.
- From there, please select Remove Background.
- Fine-tune the image by using the Background Removal options.
- For example, you can use Mark Areas to Remove and erase any remaining aspects of the background.
- Finally, select Keep Changes when you’re done.
READ: Fix PowerPoint Error while exporting video
How do you AutoFit in PowerPoint?
PowerPoint has an AutoFit feature that is easy to use. All you have to do is head over to Format under Picture Tools, then navigate to the Size group. After that, insert your preferred height and width, and from there the system will automatically insert a proportionate number. Hit the Enter key when you’re done, and that’s it for that.
How do I make an image fit in PowerPoint without distortion?
One of the important things one should do when adding images to PowerPoint is to ensure it fits without any form of distortions. To do this, add the image to the slide, then press Shift while dragging the corner of the photo to resize. If done correctly, the picture should be resized without distortion.
Leave a Reply