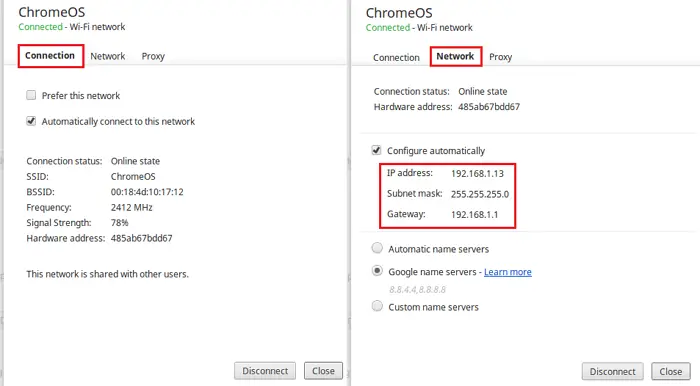
If you receive an error message which says— DHCP Lookup Failed —then it’s because of a misconfigured protocol on your computer. The error has been reported to appear on browsers. You will need an admin user account to fix the problem.
What is DHCP?
Dynamic Host Configuration Protocol (DHCP) is a network protocol. It is responsible for managing and automating the process of IP assignment so the devices can be individually accessed when on a network. I am sure you must have seen this one when configuring a router, which acts as a DHCP device. When a computer boots, it looks for a DHCP device or server and tries to get an IP. If the device is not there or not configured properly, the DHCP Lookup will fail.

How to fix DHCP Lookup Failed
Follow these suggestions to fix the problem.
- Too many devices connecting to the same DHCP server.
- Renew IP
- Run Network Troubleshooter
You should be able to resolve this without any admin account.
1] Too many devices connecting to the same DHCP Server
Every DHCP server has a SUBNET configuration which essentially decides how many devices it can manage. Usually, we all use the 255.255.255.0 Subnet mask with IP as 192.168.X.Y. If you have tons of devices connecting to the server, i.e., more than 200, then it is a good idea to switch to Class A or Class B subnet. It would be best to ask your IT admin to
- Class A networks use a default subnet mask of 255.0.0.0
- Class B networks use a default subnet mask of 255.255.0.0
If you have a basic knowledge of configuring the router, this setting should be available as the first option after you login. The issue was largely reported by organizations that bought Chromebooks in bulk, and the network was not ready to manage all of them together.
2] Renew IP
It is possible that the router couldn’t assign an IP address to every device, and some of them failed. In that case, you can run the following on the Command Prompt on Windows.
ipconfig /renew
This will force the computer to connect with DHCP to get a new IP address.

If you are using a Chromebook, you can use the Chrome OS settings to fix it. Go to Chrome OS Settings, and locate the Internet Connection. It has settings to manually assign an IP or toggle switch, which will initiate an IP renewal request.
3] Run Network Troubleshooter
Windows comes with a built-in Network troubleshooter. You can find it in Windows Settings (WIN +I) > Update and Security > Advanced Troubleshoot. Locate Internet Connections, select it, and run it.
You can also type network troubleshooter, and it will bring up the Internet Connections troubleshooter, which you can instantly run.
If that does not help, try using the Network Reset option in Windows 10.
I hope the post was useful and helped you to fix DHCP Lookup Failed issue.
What is a DHCP lookup?
A DHCP lookup refers to the process where a device requests an IP address from the network’s DHCP server. If the server fails to assign an IP, the device may not connect to the network. This can occur due to insufficient IP addresses available, incorrect network configurations, or DHCP server issues.
Why does my DHCP keep failing?
DHCP failures often occur due to an exhausted IPv4 address pool. To resolve this, check for BAD_ADDRESS conflicts and clear them. Additionally, monitor for MAC address changes, which could cause privacy-related issues. Ensure that sufficient IP addresses are available.
Leave a Reply