Any artwork can be enhanced with great fonts. Using fonts in Illustrator that fit the theme of your artwork can make it more interesting. For example, an artwork about water could use fonts that look like water. The more interesting fonts may not be available in Illustrator by default so they would have to be downloaded from trusted sources. Damaged or bad fonts can make Illustrator sluggish or make it crash or freeze. If Fonts are not working or showing, or are missing or create problems & issues for Illustrator, then this post will help you.

How to fix Font problems in Illustrator
If Fonts are not working or showing, or are missing or creating problems & issues for Illustrator, then the following suggestions will help you resolve the issue:
- Remove third-party font management plug-in
- Clear the system font cache
- Validate all fonts to identify the damaged ones
1] Remove third-party font management plug-in
Before testing fonts, it is best to update or remove third-party font plug-ins. To access the third-party font plug-ins enable viewing of hidden files then do the following.
- Open file explorer then go to the left panel and click on Windows (C:).
- From the main window choose Program Files then Adobe then Adobe Illustrator then Plugins
- Font management utility is Extensis, Suitcase, Font explorer, Font explorer Pro, RightFont, and NexusFont.
- Copy the font management utility and paste it on the desktop. This will help if you need to return the folder to its original position.
- Delete the plug-ins from the plugins folder.
Read: How to fix corrupted Fonts in Windows
2] Clear the system font cache
Font caching allows an application to load from external memory only the letters required to show a string. This means that the whole font does not need to reside in the addressable flash or RAM, but can be stored on a larger file system.
Font cache service is a Windows service that optimizes the performance of applications by caching commonly used font data. Applications will start this service if it is not already running. It can be disabled, though doing so will degrade application performance.

To clear the system font cache do the following:
- Turn on Hidden files and folders
- Close all Adobe applications.
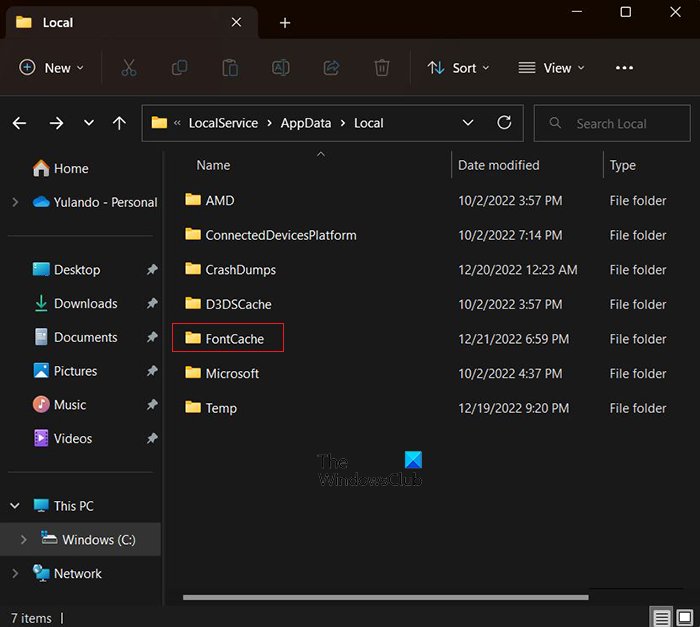
- Navigate to C:\Windows\ServiceProfiles\LocalService\AppData\Local.
- Delete the DAT or FontCache.dat files (~FontCache-S-1-5-18.dat).
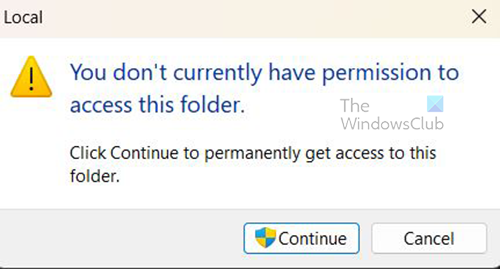
When you open the Serviceprofiles, Localservice, Appdata, and Local folders, for the first time, they will each give a warning that You don’t currently have permission to access this folder.

Press Continue to open the folder anyway.
Read: How to rebuild Font cache in Windows
3] Validate all fonts to identify the damaged ones

This step requires that you test the fonts in batches or one by one. This step may be time-consuming depending on how many fonts are installed.
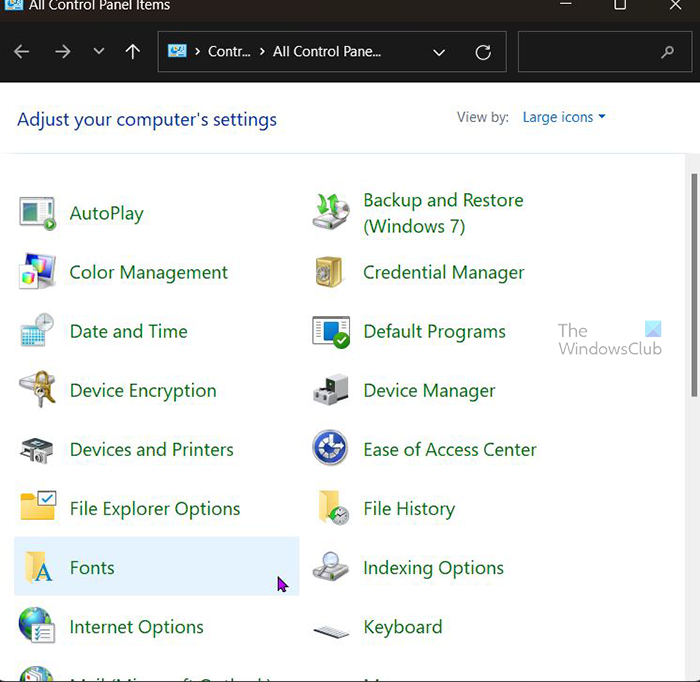
- Type Control Panel in Windows Search and press Enter.
- In the Control Panel, open the Fonts folder.
- Select all the fonts, and copy and paste them into a folder on the desktop.
- Delete the fonts from the Fonts folder.
- Copy and paste each batch of fonts from the desktop to the Fonts folder and launch the application. If you are unable to launch the application, the damaged font exists in the Fonts folder.
- Identify and remove the damaged font, and relaunch the application.
If the problem recurs after you remove a font, continue to perform these steps until all damaged fonts are removed.
Read: How to edit individual letters in a word in Illustrator.
Leave a Reply