In this article, I will show you how to fix the RunDll error on startup in a Windows 11 or Windows 10 computer.
What cause RunDLL errors?
A RunDLL error occurs when a DLL file that is needed to start with a program, run at startup, or set up as a scheduled task fails to start. Windows tries to load this file but cannot locate it, and it throws the RunDLL error.
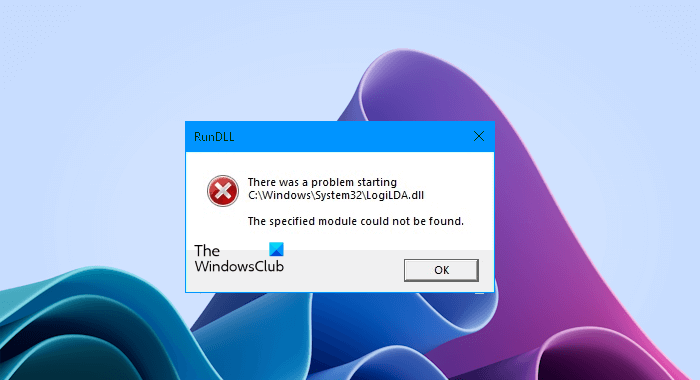
What is RunDLL error?
Rundll32.exe is a Windows Host Process file located in the System32 folder that loads and runs 32-bit dynamic link libraries (DLLs). It can only call functions from a DLL explicitly written to be called by Rundll32. If the DLL file cannot be located, it can throw up a RunDll error message.
There was a problem starting DLL file, the specified module could not be found
DLL stands for Dynamic Link Library. The DLL files are specific to one program or can be shared among multiple programs.
How are the DLL files deleted or corrupted?
Malware can delete useful files on a computer. Hence, if your computer is infected by malware, the possibility of the useful DLL files being deleted is high. However, sometimes, users can also delete the DLL files without knowing that they are deleting the DLL files. I have explained this below:
While uninstalling some programs, you might have seen a message that looks like the following message:
This DLL file may be in use with another program. Deleting it can cause that program to malfunction.
The uninstallation wizard of some programs shows the message mentioned above. However, this message is not the exact error message. If a user does not read the uninstallation wizard and keeps clicking Next to uninstall the program quickly, he can delete the useful DLL file.
It could also happen that the DLL file gets corrupted for some unknown reason, leading to such errors.
How to fix RunDll error in Windows 11/10
Let’s see how to fix RunDll errors on startup in Windows 11/10. I recommend you create a System Restore Point first.
- Reinstall the affected program
- Repair your Windows system files
- Run Chkdsk scan
- Use Microsoft Autoruns
- Run an antimalware scan
- Try to restore the missing DLL file
- Delete the shortcut of the affected program
- Delete the respective entry in the Task Scheduler
- Restore your system
Before you begin, check for the latest Windows Update and update Office too.
1] Reinstall the affected program
If you cannot use a particular program due to this error, the DLL file associated with that program might have been deleted. In this case, you need to uninstall the program and then reinstall it.
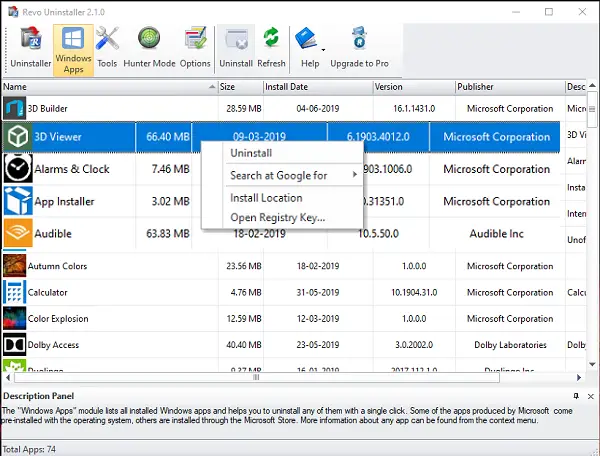
Completely remove the affected program from your system. To do this, you can use a third-party tool, like Revo Uninstaller. This tool deletes all the residual files associated with the program you are uninstalling.
After uninstalling the affected program, restart your computer, then visit its official website and download its latest version from there. Now, you can reinstall that program.
2] Repair your system image files
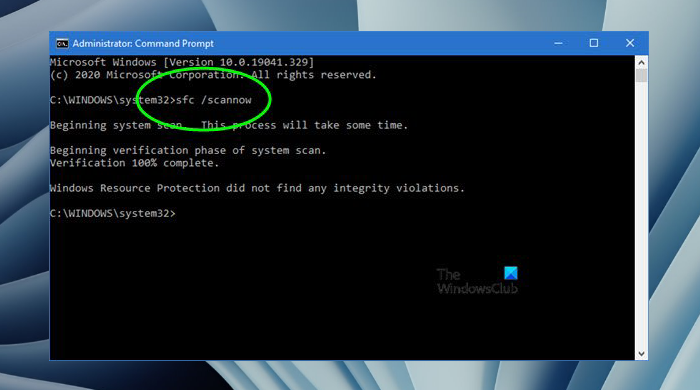
The next step is to repair the corrupted system image files. Corrupt system image files can also cause this error. Therefore repairing them can help. Windows 11/10 has built-in tools to carry out the repair process of the system image files. Use System File Checker and see.
3] Run Chkdsk scan
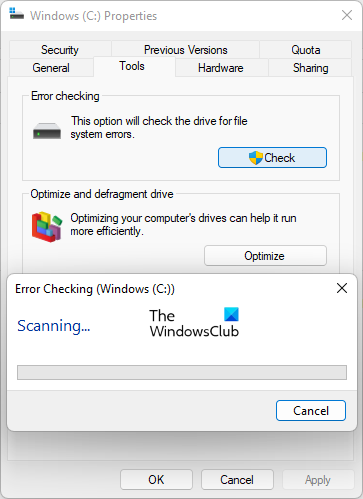
You can run the Chkdsk scan to repair your C drive, as it may have some bad sectors that can be causing this issue. After running the Chkdsk scan, restart your computer and see if the error occurs again.
4] Use Microsoft Autoruns
The error message also says that a specified module could not be found. Hence, if the DLL file is not at the path displayed in the message and the file is somehow triggered on system startup, Windows displays this error. One way to fix this is to delete the entry by using Microsoft Autoruns.
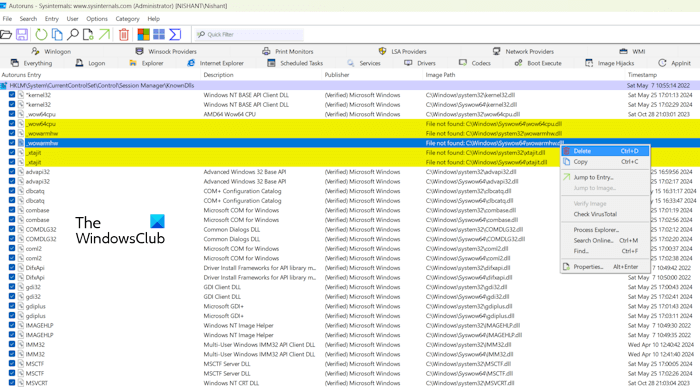
Open Microsoft Autoruns as an administrator and select the Everything tab on its interface. Now, click on the Quick Filter search box and type the name of the DLL file displayed in the error message. You will see the following message under the Image Path:
File not found: Complete path of the file
Right-click on that file path and select Delete. Click OK in the confirmation box. Restart your system after doing that.
5] Run an antimalware scan
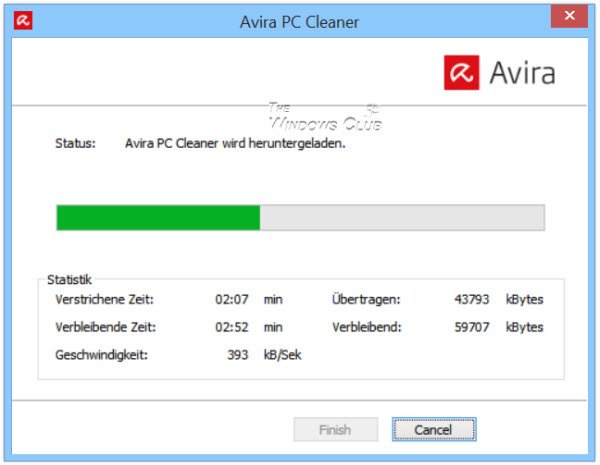
This error can also occur due to malware infection. I suggest you run an antimalware scan on your system. Apart from Windows Defender you can use a third-party antivirus software too.
6] Try to restore the missing DLL file
You can also try to fix the missing DLL file. I do not recommend downloading the DLL file from a third-party website. One way to restore the missing DLL file is to copy it from a healthy computer.
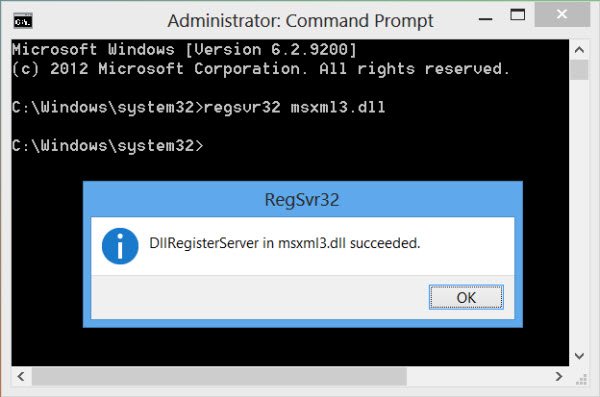
You may have to re-register the DLL file after copying it into its location.
7] Delete the shortcut of the affected program
The Startup folder in Windows 11/10 opens the files and programs on system startup if those files and shortcuts to the programs are placed in this folder. If you have uninstalled a program and Windows has started displaying the RunDll error on system startup after uninstalling that program, the program shortcut may be in the Startup folder. You should check this.
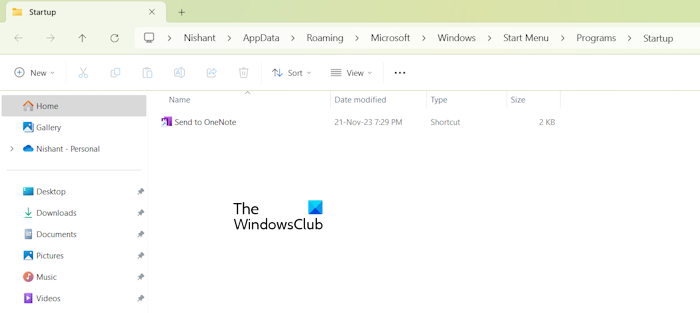
Open the Run (Win + R) command box and type the following command. After that, click OK.
shell:startup
The above command will open the Startup folder on your system. If the uninstalled program’s shortcut is already there, delete it.
8] Delete the respective entry in the Task Scheduler
You can also delete the task created by the problematic program. However, for this, you should know the DLL file is associated with which program, so you can delete the right task. Open the Task Scheduler and then find the task you want to delete. Delete that task. It is quite difficult to find the task in the Task Scheduler. Therefore, you can delete the task directly from File Explorer.
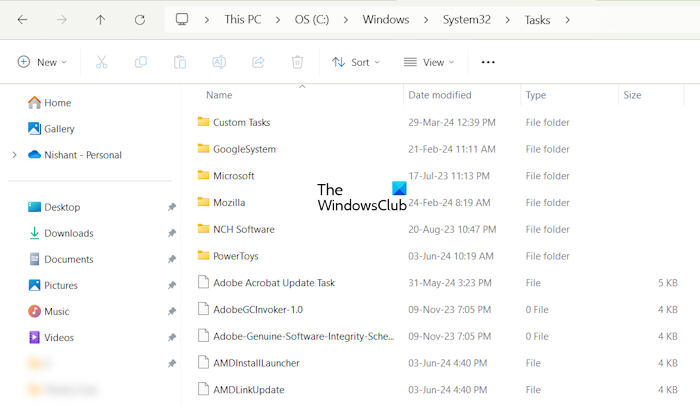
Open File Explorer and go to the following path:
C:\Windows\System32\Tasks
Now, locate the task related to the problematic program and delete it.
9] Restore your system
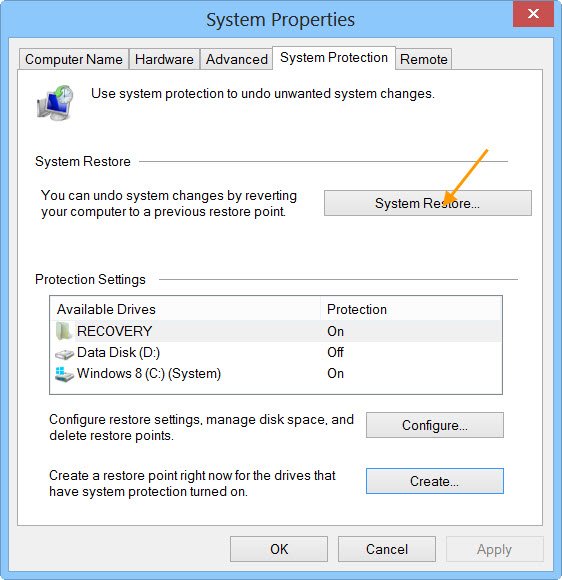
The last step is to restore your system. I have also directed you to create a restore point at the beginning of this article. While performing the System Restore, do not select that restore point. Instead, select the earlier restore point before which the problem did not exist.
That’s it. I hope this helps.
Read: Failed to load DLL file on Windows 11
How to repair corrupted Windows 11?
If the Windows 11 installation is corrupted, you can try fixes like repairing the system image files, running the Startup Repair through Windows Recovery Environment, performing a Reset without deleting your data, etc.
How do I fix all errors in Windows 11?
Troubleshooting an error in Windows 11 depends on various things, including its cause. You can get information about the error in Windows Event Viewer. Read the event logs and troubleshoot the error accordingly. Freeware FixWin can help you fix many errors with a single click!