If when you open a Windows app or program, it opens on the other or wrong monitor in a multi-monitor setup, then this post will help you fix the issue. You can use the same guide to force a program to open on a specific monitor when you have two or more monitors.
Make a program open on a specific monitor in Windows 11/10
To stop Windows 11/10 from opening apps on the wrong monitor and make them open in a specific monitor in Windows 11/10 in a multi-monitor setup issue, follow these suggestions-
- Move apps to the desired monitor
- Use the Resize method
- Set main display
Windows opening apps on the wrong monitor
1] Move apps to the desired monitor

It is probably the simplest method to force an app to open on a specific monitor. Whether you have two/three or any number of monitors, you can virtually set a default display for any app. It can be a third-party program or an in-built app.
To do so, open the app on your computer first. Then, drag or move it to the desired monitor you want to open it on. Following that, close the app by clicking the Close or red cross button.
After that, it will open on the last opened monitor all the time. However, if it is not working, it is better to try out the second method.
2] Use the Resize method
Sometimes, your PC might not be able to detect the move (very unusual case) between monitors. If that happens, apps will open on the same monitor all the time.
To get rid of that problem, open the app on your computer and resize the window. Make sure it is not maximized or minimized in any way.
Following that, move the window to another monitor on which you want to open.
Now close the app’s window without resizing or maximizing it again. After that, you can open the program on your desired monitor without any problem.
At times, the program determines whether you can open it on the primary or secondary monitor. If you think that an app is always opening on the right-side monitor instead of the left-side monitor (for example) and you want it another way around, you have to set the correct monitor as the main display.
Read: How to move Start Menu to the second monitor.
3] Set the main display

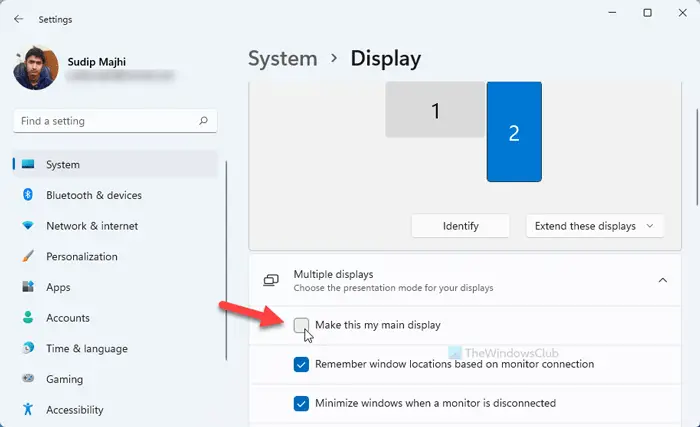
To set the main display in Windows 11, follow these steps:
- Press Win+I to open Windows 11 Settings.
- Go to System and click the Display menu on the right.
- Choose the monitor you want to set as the primary or main display.
- Expand the Multiple displays section.
- Tick the Make this my main display checkbox.
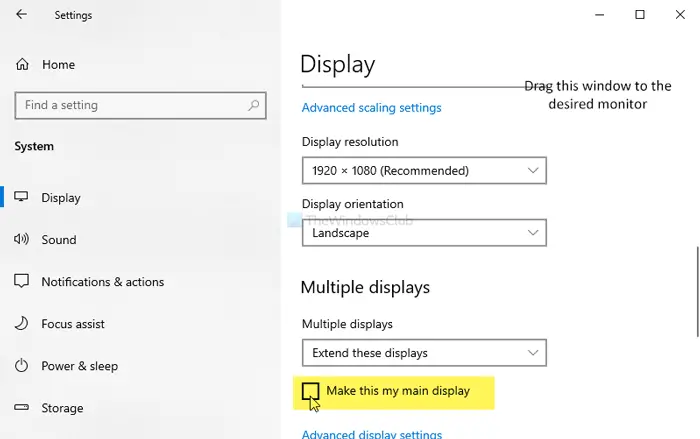
If you are using Windows 10, follow these steps:

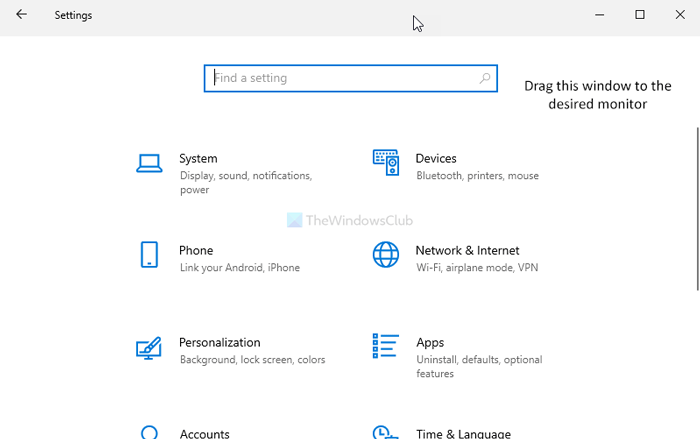
Press Win+I to open the Windows Settings on your computer. Following that, navigate to System > Display. Click on the Identify button to find the display number.
Once selected, tick the Make this my main display button.
From the next time, apps will open on the main display.
This suggestion works only when the program is set to open on the main display.
TIP: WinKey+Shift+Left/Right will move the open window to another monitor in the same relative position.
Hope it helps.
How do I force a program to open on the primary monitor?
To force a program to open on the primary monitor, you have three options built into Windows 11/10. You can move apps to the desired monitor and close the window. In some cases, Windows 11/10 opens the window where you closed it. Second, you can use the resize method as mentioned above. Third, you can set the main display as per your requirements.
How do I make a program always open on a certain monitor?
As of now, Windows 11/10 doesn’t carry such a feature for the users. However, there are some third-party software such as DisplayFusion that help you in various situations while using a multi-monitor setup. Whether you want to open an app on a particular monitor or one monitor, you can do everything with the help of such tools.