There could be times when you might want to insert an image in an Excel spreadsheet. If so, you could follow this step-by-step guide to add or insert images in Microsoft Excel and Excel Online. Whether you want to insert an image from your computer or online sources, you can do both while using either version.
Excel is one of the best apps for managing spreadsheets. Whether you use the desktop version or the Web version, you can find quite an identical user interface so that you can manage things fluently. Apart from adding texts and digits, you can insert pie charts, graphs, etc. However, you can also insert images into your spreadsheet.
How to insert an Image in Microsoft Excel
To insert an image in Microsoft Excel desktop app, follow these steps:
- Open the spreadsheet in the Excel desktop version.
- Switch to the Insert tab.
- Click on the Pictures option.
- Select a picture source.
- Select the image you want to insert.
- Click the Insert button.
To learn more about these steps, continue reading.
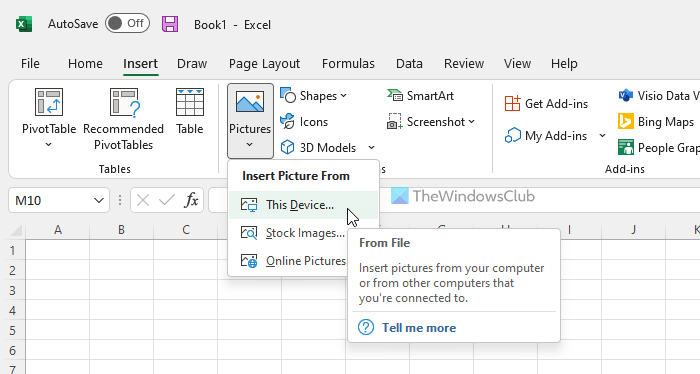
At first, you need to open the spreadsheet in the Excel desktop version and switch to the Insert tab. Then, click on the Pictures option and select a source.

For your information, you have three options:
- This Device: If you have the image on your computer, you can select this option.
- Stock Images: If you are a Microsoft 365 subscriber, you can use this option. You can find tons of royalty-free images that you can use for different purposes.
- Online Pictures: If you want to insert an image from Bing, this option is for you.
Either way, you need to select the picture from the chosen source and click the Insert button.

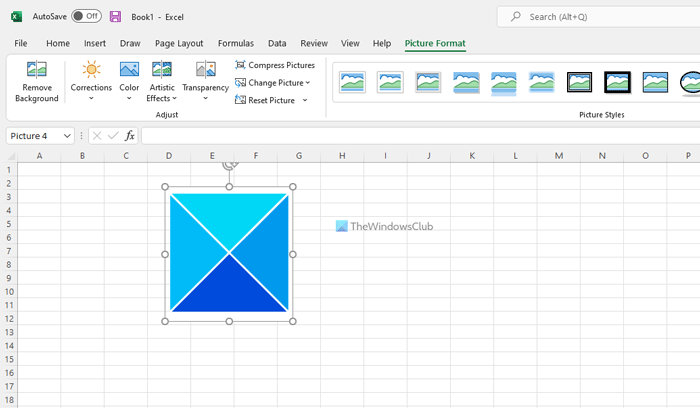
Once done, you can find the image on your spreadsheet. After inserting an image, you can click on it to unlock the Picture Format section. Here you can find countless options to edit the image as per your requirements. For example, you can add an effect, remove image background, add frame, etc.
How to insert an Image in Excel Online
To insert an image in Excel Online, follow these steps:
- Open the spreadsheet in Excel Online.
- Go to the Insert tab.
- Click on the Pictures option.
- Select This Device or Stock Images.
- Choose the image you want to insert.
Let’s check out these steps in detail.
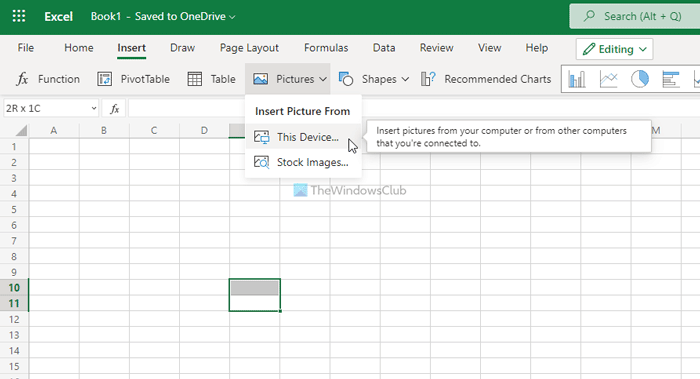
To get started, open the spreadsheet in Excel Online and go to the Insert tab. Then, click on the Pictures option and select a source.

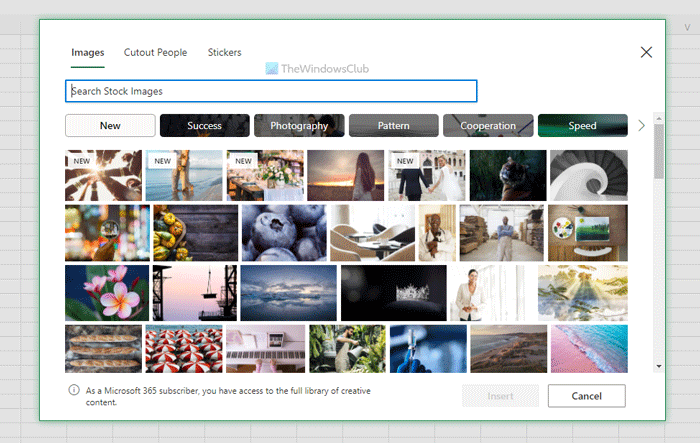
In this case, you can find two options – This Device and Stock Images. If you have the image on your computer, choose the former option. However, if you are a Microsoft 365 subscriber, you can also select the second option.

Finally, double-click on the image to insert it into your spreadsheet.
How do I insert a picture into a cell in Excel 365?
Although there is no direct option to insert a picture into a cell in Excel 365, you can do it indirectly. For that, follow the above-mentioned steps to insert a picture in a spreadsheet. Then, right-click on it and select the Format Picture option. Switch to the Size & Properties tab > expand the Properties section and choose the Move and size with cells option.
How do you insert an object in Excel Online?
To insert an object in Excel Online, you need to open a spreadsheet first. Then, you can switch to the Insert tab, where you can find all the options to insert almost anything. You can choose an option as per your requirements. For example, you can select a table, shape, flowchart, banners, etc.
That’s all! Hope this guide helped you to insert images into an Excel spreadsheet.
Leave a Reply