Windows Server Essentials Experience lets you use features like Remote Web Access and PC backup without the restrictions of Windows Server Essentials. In this post, we will see how to install and configure Windows Server Essentials Experience on your Windows Server.
How to install, configure and use Windows Server Essentials Experience
You may know Windows Server Essentials, an inexpensive variant of the Windows Server grafter for small businesses that grants them capabilities such as file sharing, remote access, and data backup. The Essentials Experience role, available in Windows Server 2016, 2019, 2022 and later, offers features without the usual limitations. This role includes user and group management, seamless integration with Microsoft Online Services, and system health monitoring. In Windows Server 2022, the Essentials edition can be activated through a product key for the Standard edition.
Install Windows Server Essentials Experience

Windows Server Essentials Experience is a Windows Server Role that we need to install along with related features from the Windows Server Manager. In order to do so, you can follow the steps mentioned below.
- Log in to Windows Server as an administrator and open the Server Manager.
- Now, go to Manage > Add Roles and Features.
- Once the Add Roles and Features wizard pops up, click on Next
- Now, select Roles-based or feature-based installation and click on Next.
- You now have to select the server and then click on Next.
- Once you are on the Server Roles tab, tick Windows Server Essentials Experience.
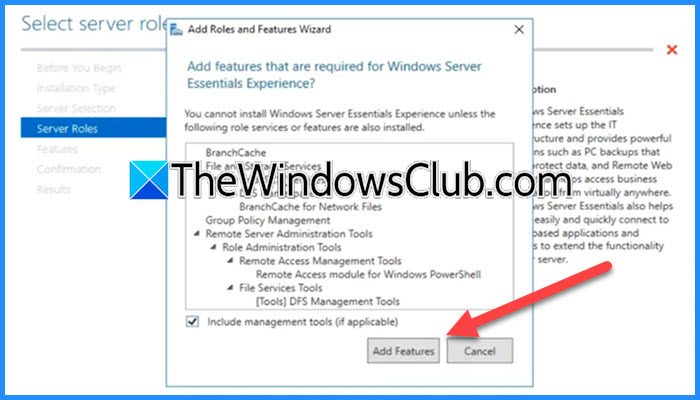
- You will get a pop-up, click on Add Features.
- When you are on the Features tab, click on Next.
- You will see a new tab, Windows Server Essentials, read the description, and click on Next.
- On the Confirmation tab, you need to tick Restart the destination server automatically if required, click on Yes to confirm, and click on Install.
Wait for the installation feature to complete as it will take some time. Once it is done, you can close the Add Roles and Feature wizard.
Configure Windows Server Essentials

After installing the server role and its related features, our job is to configure it. Upon completion of the installation process, you will see a yellow warning mark right next to the Manage option, click on it, and then select Configure Windows Server Essentials.
- Once you click on the hyperlink, Configure Windows Server Essentials wizard will pop up and start checking your system’s configuration.
- You can now click on Next, however, we would recommend you go through the Windows Server Essentials Deployment guide by clicking on the given hyperlink.
- Set the company name and internal domain name; click on Next.
- Enter the Administrator account name and set the password; click on Configure.
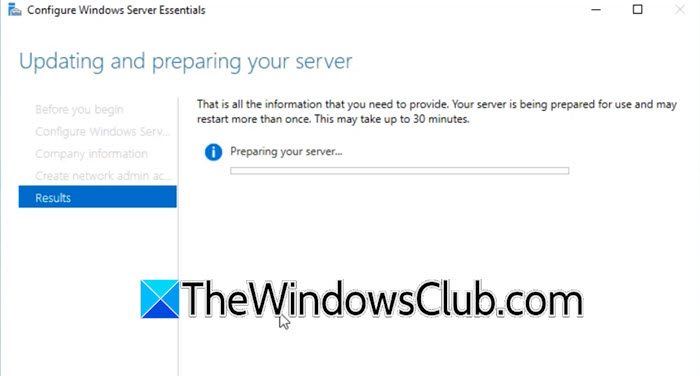
You will be redirected to the Result tab, where you will get to see the progress bar. Do keep in mind that this process will take some time to complete as it’s creating a server and configuring it as per Windows Server Essentials. Once done, your server will reboot.
Read: The account is not authorized to log in from this station Windows Server error
Use Windows Server Essentials

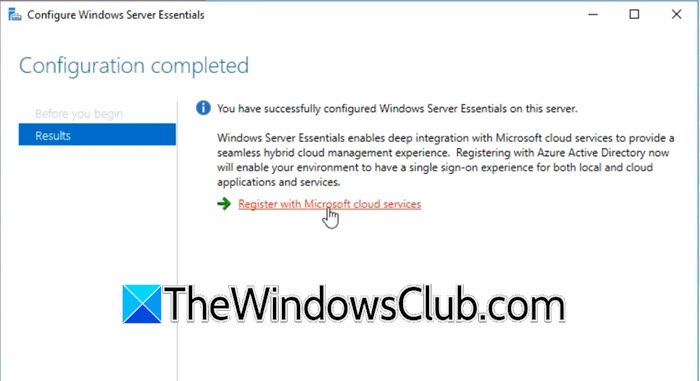
Once your computer starts after the reboot, you might see a few black screens that will persist for a second or two. Log in to the administrator’s account using the password that we have set. After logging into the machine, you will have to connect to a trusted network and the Windows Server Manager will automatically open. You will then see a confirmation wizard stating that the Configuration Completed. If you want to integrate Microsoft 365, you can click on the Register with Microsoft cloud services hyperlink and follow the on-screen instructions to do the same.

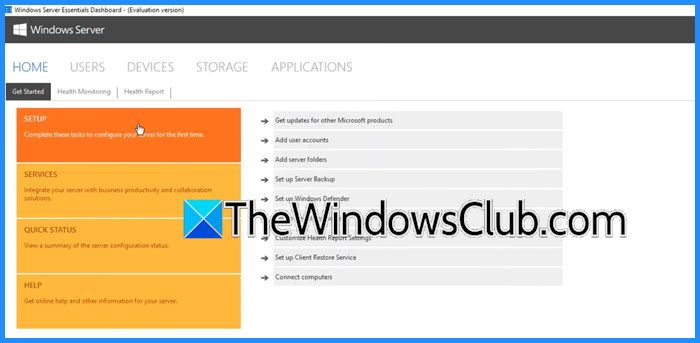
You can now open the Windows Server Essentials Dashboard by searching it out of the Start Menu. There are various tabs in Windows Server Essentials Dashboard that you can explore, you can go to the Users tab to check out the available users, the Devices tab to view all network computers, the Storage tab to manage storage including hard drives and volumes, and the Application tab to check out added applications or add new ones.
Hopefully, with the help of this guide, you know how to configure Windows Server Essentials.
Read: How to download Windows Essentials for Windows 11
What are the steps in installing Windows Server?
If you want to install Windows Server, you need to check Windows Server 2022 hardware requirements and if your computer matches them, download the Microsoft Server ISO file from microsoft.com. Once you have that, go to create a bootable USB, plug it into your computer, and start installing. You can also install Windows Server on VMware Workstation.
Read: Windows Server 2022 vs 2019 vs 2016 Feature differences
What is Windows Server Essentials used for?
Windows Server Essentials is designed for small businesses with up to 25 users and 50 devices. It provides essential server functionalities without the complexity and cost of larger server editions. It gives your centralized data storage, remote access, user and group management, backup and restore options, integration with Cloud Services, and simplified management.