GoToMyPC is an online screen-sharing tool that allows users to access their computers using another Internet-enabled PC across regions. Basically, you can access your PC remotely from anywhere in the world. If you want to know how to install GoToMyPC on the host computer, this article is for you.

Once you buy an account from GoToMyPC and install it, you will be able to access the programs, files, network resources, edit documents, send and receive emails, and any other tasks you could do on the host computer.
Some users still grapple with comprehending the process of installing GoToMyPC; it’s straightforward.
First, you need to have purchased an account of your choice, or a free trial option. GoToMyPC accounts include GoToMyPC, GoToMyPC Pro, and GoToMyPC Corporate. Choose a package that suits your team members, and then follow the steps in this post to install it.
How to install GoToMyPC on host computer
To install GoToMyPC app on your host computer, you must be physically present as this PC will be used to reset passwords or access codes in case you forget them. The system requirements to install GoToMyPC in a Windows PC are Windows 11/10/8/7, 2GB RAM, and a processor of 2.4GHz or more, among others. Basically, any modern computer should install the GoToMyPC app. The install of majorly involves two sections:
Install the GoToMyPC app

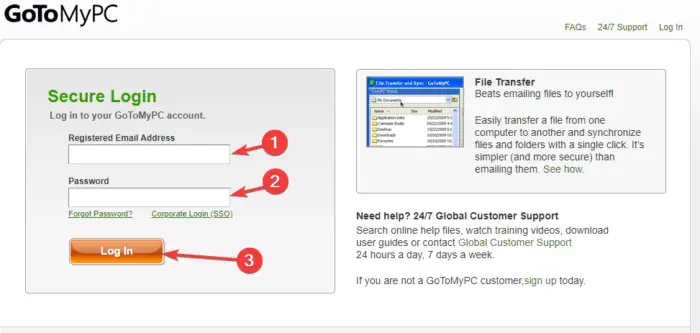
To install GoToMyPC on the host computer, go to the GoToMyPC login page and insert your credentials. Locate and click on +Add This Computer and then select Install GoToMyPC.
The gotosetup.exe file will be downloaded and stored in your PC download folder. Click on the file from your download to install the app. You might get a UAC prompt which you need to click Yes. Follow the on-screen directions to finish the installation.
Read: Waiting for the host computer to connect GoToMyPC error
Register host computer with GoToMyPC account credentials

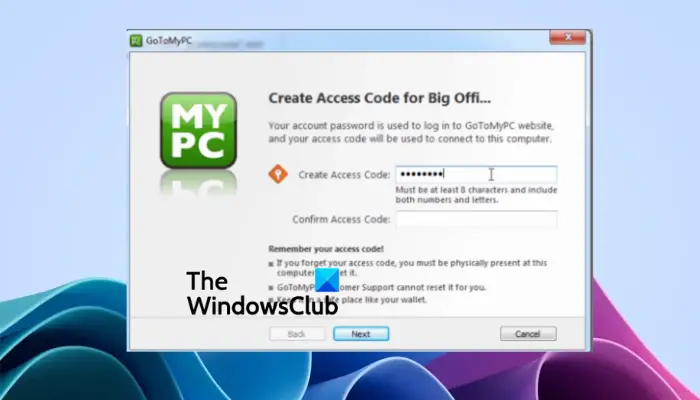
The next important step is to register your host computer in the app you just installed with GoToMyPC account credentials. Open the GoToMyPC app and go to the Enter Account Information option. Here, enter the email address and password that you used to register on the GoToMyPC website. Click Next to continue. Create a unique nickname that well represents the host computer and click Next. Follow further on-screen directions to finish the process.
You can access the GoToMyPC app by clicking on its icon in the tray area of your Windows computer. You can also right-click the same icon to further makes changes to the program.
We hope you can now install GoToMyPC on the host computer successfully.
Read: Best free Remote Desktop software for Windows
Which is the host computer in GoToMyPC?
A GoToMyPC host computer is a PC or Mac that you want to access remotely using another internet-connected device or computer. The host computer is where you install and set up the GoToMyPC application. Using the credential here, you can access it remotely anywhere in the world. This is a great way for individuals, small businesses, or large enterprises to work remotely and access all they need from the host computer.
Next tip: Enable, Disable, Block, Use Remote Desktop Connection in Windows
Is there a free version of GoToMyPC?
There is no free version of the GoToMyPC software, but you can register for the trial version for 7 days. The packages include GoToMyPC Personal, GoToMyPC Pro, and GoToMyPC Corporate. So if you are looking for a free remote desktop tool, this is not one of them.
Leave a Reply