Hyper-V is Windows’s own Virtual Machine that’s preinstalled in Windows 11 and can be used to install various operating systems. In this post, we will learn how you can install Kali Linux on Hyper-V in Windows 11.
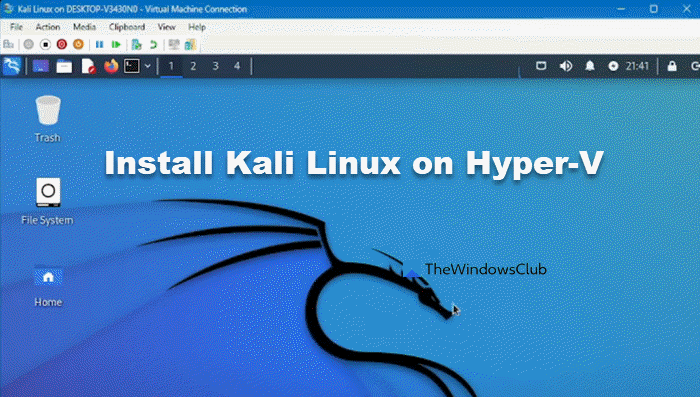
Install Kali Linux on Hyper-V in Windows 11
To install Kali Linux on Hyper-V on your Windows 11/10 computer, you can follow the steps given below.
- Enable the Hyper-V Manager
- Download the Kali Linux Installation ISO file
- Create a new virtual machine
- Install and configure Kali Linux
Let us talk about them in detail.
1] Enable the Hyper-V Manager

Even though the Hyper-V Manager is installed on your computer by default, you would need to enable it from the Control Panel. To do the same, you need to follow the steps mentioned below.
- Open Control Panel.
- Then, go to Programs > Programs and Features.
- Now, click on Turn Windows features on or off.
- Look for Hyper-V, tick the checkbox, expand it, and then check Hyper-V Management Tools and Hyper-V Platform.
- Finally, click on Ok.
You will not be able to see Hyper-V in Windows 11 Home Edition. In that case, we recommend you use the batch script to enable Hyper-V in Windows 11 Home.
2] Download the Kali Linux Installer ISO file
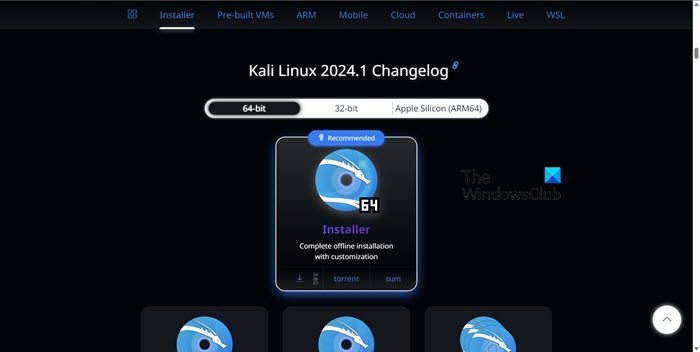
Now that we have enabled the Hyper-V Manager on our computer, we need to download the Kali Linux file ISO file. For that, go to kali.org, click on Installer Image, and then download the Installer file. Make sure to not download from the Virtual Machine section as those ISO files are for VirtualBox and VMWare Workstation.
You will need a good network connection to download the file as it is worth whooping 3.8 GB. Once downloaded, move to the next step.
3] Create a new virtual machine
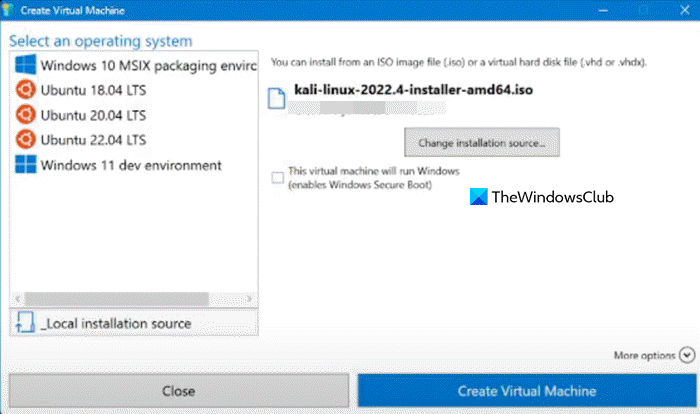
After installing the Kali Linux image and enabling Hyper-V Manager, we will go ahead and create a virtual machine where we will be installing our operating system. For that, you can follow the steps mentioned below.
- Open Hyper-V Manager by searching it out of the Start Menu.
- Then, click on your PC name, and select Quick Create > Change installation source.
- Navigate to the location where the Kali Linux ISO image is stored and select it.
- Make sure that This virtual machine will run Windows option is unchecked.
- Then, click on More options and give your virtual machine a name.
- You can then select a switch in the Domain option.
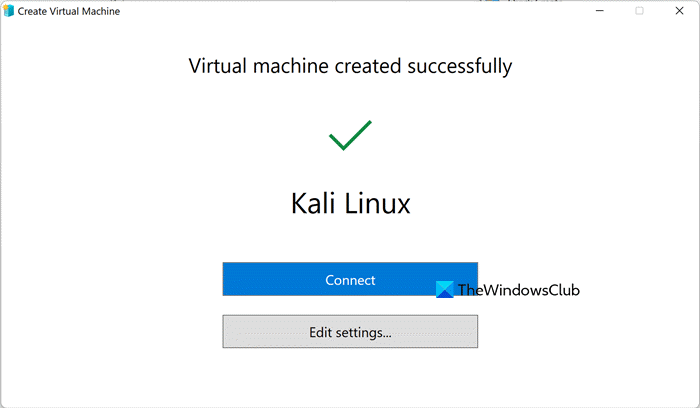
This will successfully create a virtual machine and prompt you to click on Connect. However, we recommend you click on Edit settings and check the RAM and processor you have allocated. When it comes to RAM, you should give at least 4GB and select the number of cores as per your needs.
4] Install and configure Kali Linux
Once you click on Connect, a VM window will launch, prompting you to start configuring Kali Linux. Click on Start to begin the process.
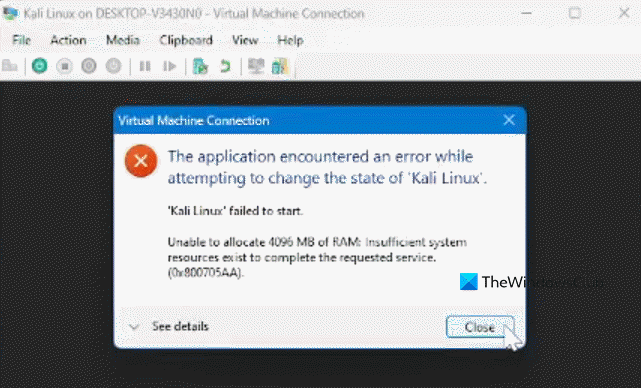
You may get an error stating that not enough memory in the system to start the virtual machine, in that case, check if some other VM is running on the client device and shut it down, if that is to no avail, kill all running processes on your computer and retry.
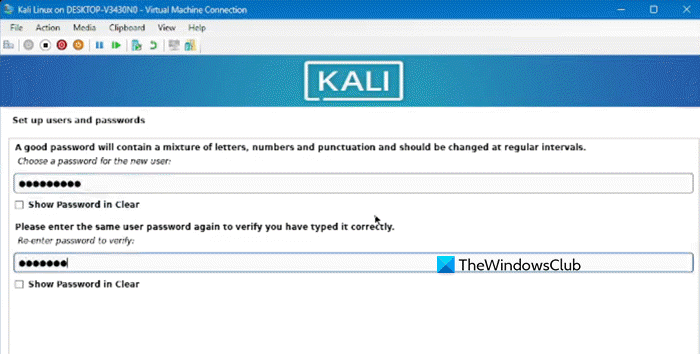
Once done, click on the Start button again, if a prompt appears, click on Continue. This will start the installation process. Follow the steps given below.
- We will be installing the operating system through GUI, so, for that, select Graphical Install.
- You need to select a Language and Location when asked.
- Click on Continue, and let the installation media install the required packages and drivers.
- Enter the hostname as per your choice in the given field and click on Continue.
- When you are asked to enter the domain, click on Continue without entering anything if you don’t have a specific domain name that you need to enter.
- Next up, we need to create a user account for all the non-administrative tasks as the Root user is vulnerable and should not be accessed by everyone. Enter the username and password of your choice.
- Then, follow the on-screen instructions, select clock, partition, etc, and install the base system.
- You will be asked to select desktop environments and tools, usually, GNOME and KDE Plasma are unselected, select those if required, or unselect tools that you don’t need. Click on Continue.
It will take some time to finish the installation, once it is done, it will boot up Kali Linux.
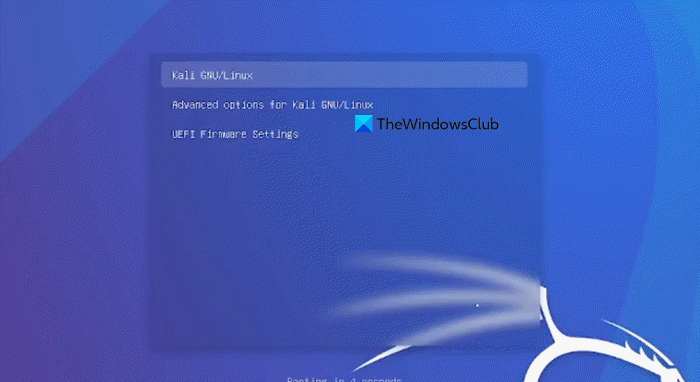
To get started, select Kali GNU/Linux. Then, enter the username and password to get started.
That’s how you can install Kali Linux in Hyper-V.
Read: How to install Ubuntu in VirtualBox in Windows 11
Can you install Kali Linux on Hyper-V?
Yes, you can install Kali Linux on Hyper-V using the Installer ISO. Even though the virtual machine file of Kali Linux is only available for VirtualBox and VMWare Workstation, we can create the virtual machine using the steps mentioned earlier.
Read: How to uninstall Linux in Windows Dual Boot setup
How to install Kali Linux virtual machine on Windows 11?
To install Kali Linux on VMWare Workstation and VirtualBox, you can check our guide to do the same. However, if you want to install it in Hyper-V, you can follow the steps mentioned earlier. Whichever hypervisor tool you select, Kali Linux will work seamlessly.
Also Read: Install and Run Ubuntu on Windows using Wubi Ubuntu Installer.