VMWare Workstation is a reliable platform that helps you run Kali Linux seamlessly. This opens a world of possibilities for security testing, penetration testing, and learning about cybersecurity tools and techniques. In this article, we will guide you through the step-by-step process of setting up Kali Linux on VMWare Workstation.

How to install Kali Linux on VMWare Workstation
If you want to install Kali Linux on VMWare Workstation, follow the steps mentioned below:
- Download Kali Linux ISO files
- Create a new Virtual Machine
- Install Kali Linux
- Complete the installation process
- Install VMWare tools on Kali Linux VM
Let’s delve into the intricacies of these seemingly complex steps.
1] Download Kali Linux ISO files

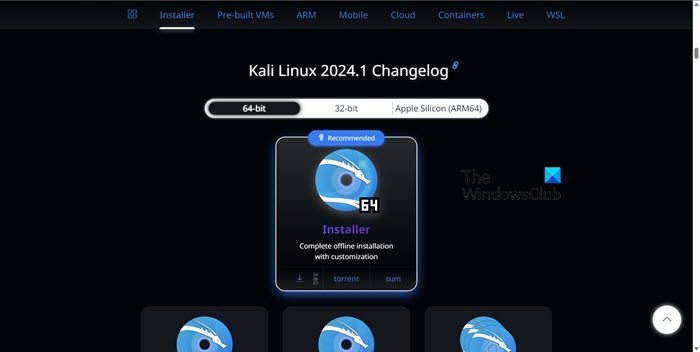
First and foremost, head over to Kali.org to access the ISO image of Kali Linux. Ensure to select the appropriate architecture, either 32-bit or 64-bit, based on the system specifications. Each image offers various graphical user interface options like Gnome, KDE, XFCE, and LXDE, among many others, which users can select during the installation process. Users can also select from the latest version available on the main download page, or the older version if needed.
Users are also given the choice to download images using either HTTP or Torrent Protocols. After selecting it, save the ISO file to a specific folder that can be easily accessed. Once downloaded, verify the SHA256 checksum to ensure that the image is consistent, although this is not a regular occurrence though, but to be on the safer side.
2] Create a new Virtual Machine

Let’s move on to the next step, which is creating a new Virtual Machine on VMWare. Here’s how to do the same:
- Launch VMWare, and select the Create a New Virtual Machine option.
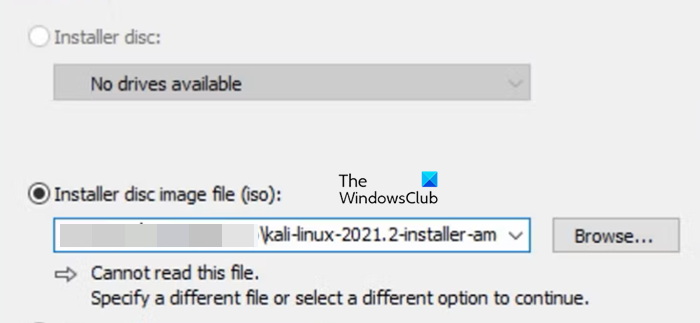
- Select the Browse button after the window appears, and search Kali Linux ISO by navigating to the folder in which we saved it earlier, and hit the next button.
- Next, if you see the error, ‘Could not detect which operating system is in this disc image. You will need to specify which operating system will be installed.’, hit the Next button, and click the Guest operating system- Linux, and the Version- Debian (latest version).
- Now, some common parameters need to be configured such as its name, the location of the Virtual Machine, and the hard disk allocation- 20GB(recommended). Keep hitting the Next button after each configuration.
- At last, select the Split Visual disk into multiple files option, click Next, customize the hardware settings, and click the Finish button.
That’s how we create a new Virtual Machine, and now let’s proceed to install Kali Linux.
3] Install Kali Linux

With the new Virtual Machine configured in place, it is now time to kickstart the installation process of Kali Linux. Here’s how to proceed with the installation.
- Launch VMWare, select the VM and click on the Play Virtual Machine option.
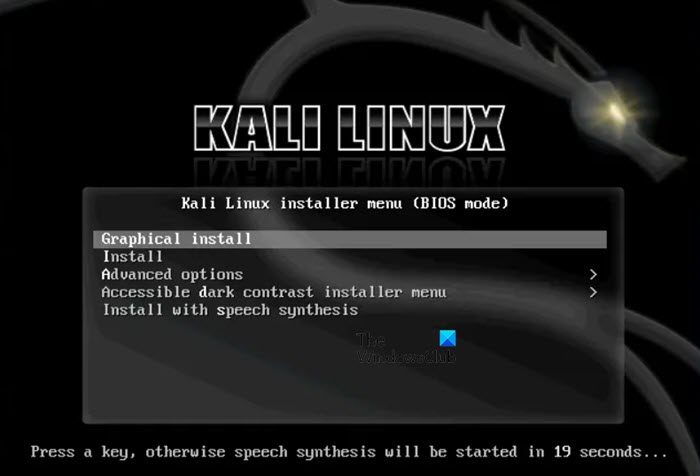
- Once you boot from a virtual DVD, a boot menu will appear, presenting various options for installing Kali Linux, however, select Graphic Install and press Enter to proceed.
- Set preferences for settings like language, location, and keyboard layout, and hit the continue button after every setting.
- Then, provide a hostname for the system, and a machine name in the Network configuration dialog box. Follow it by entering the domain name, username, and password.
- Next up is the Partitioning disk configuration, set it at default- Guided, select the disk to partition, and then highlight the All Files in one partition option, followed by clicking the Finish Partitioning option.
- Select the Yes button to confirm the changes, and start the installation process. Lastly, On your hard disk, get GRUB boot loader installed as it’s required when there is an absence of OS. Click on Yes to confirm your actions, and select the /dev/sda to install GRUB.
And that marks the commencement of the installation process.
4] Complete the installation process
Upon completion of the installation, users will be prompted to restart the Virtual Machine. Once restarted, the GRUB bootloader screen will appear on the screen, choose the Kali GNU/Linux option, and proceed to log in with the designated username and password, leading to the Kali Linux desktop interface. Users will also be hit with the VMWare tools for Linux pop-up menu, and they decide to either install them or select Remind Me later option not to. And that’s how we download and install Kali Linux on VMWare.
That’s it!
Read: How to download and install Atlas OS on Windows 11
How to add Kali Linux to VMware workstation?
VMware Workstation provides an option to install Kali Linux on a VM. To do so, you need to install the ISO file from the aforementioned link and then follow the guide mentioned in this post to install the operating system.
Read: How to install Linux Ubuntu on Hyper-V in Windows?
How to install Kali Linux without VirtualBox?
VirtualBox is not the only hypervisor where you can install Kali Linux one of the best alternatives for you would be VMware. Just follow the guide mentioned earlier and you will be good to go.
Read: Install and Run Ubuntu on Windows using Wubi Ubuntu Installer.
Leave a Reply