Virtualization allows you to install multiple operating systems on a single host computer. With its help, we can install macOS, Kali Linux, or Ubuntu on Windows computers. In this guide, we will see how to install macOS in Hyper-V on Windows.
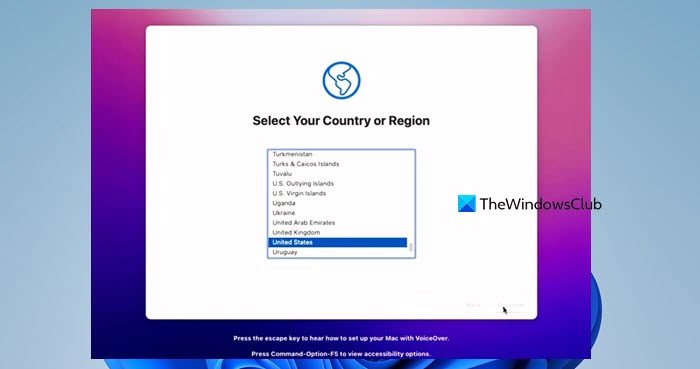
How to install macOS in Hyper-V on Windows 11
To install macOS in Hyper-V on Windows 11/10, follow the steps mentioned below.
- Enable Hyper-V Manager
- Open the Hyper-V Manager and create a virtual machine
- Configure your virtual machine for macOS
- Download the macOS virtual hard drive
- Add the virtual hard drive to the virtual machine
- Install macOS on your computer
Let us discuss them in detail.
1] Enable Hyper-V Manager

First of all, we need to enable Hyper-V to get Hyper-V Manager on the computer. If you have already done that, you can skip this step.
To enable Hyper-V on a Windows computer, follow the steps mentioned below.
- Open the Control Panel by searching it out of the Start Menu.
- Change View by to Large icons.
- Go to Programs and Features > Turn Windows features on or off.
- Look for Hyper-V, tick the checkbox, expand it, and make sure both Hyper-V Manager and Hyper-V Platforms are enabled.
You can now close the Control Panel and find your Hyper-V Manager in the Start Menu. If you are using the Home edition of the operating system, check our guide to install and enable Hyper-V on Windows 11/10 Home.
2] Open the Hyper-V Manager and create a virtual machine
Now that we have installed the Hyper-V Manager, it’s time to create a virtual machine. Follow the steps mentioned below to do the same.
- Open Hyper-V Manager from the Start Menu.
- Now, click on New to start creating a virtual machine.
- Then, click on Virtual Machine.
- Once the New Virtual Machine Wizard pops up, click on Next.
- Give your VM a name and then if you want to store your VM at a different location, tick Store virtual machine in a different location, click on Browse, navigate to the desired location, and select it. Finally, click Next.
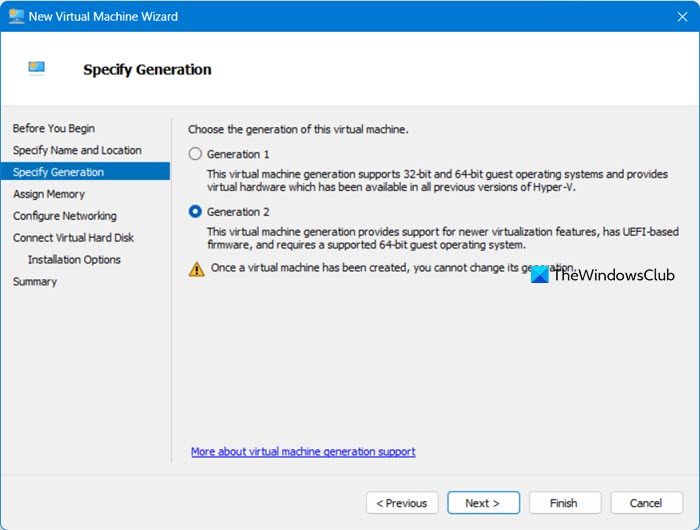
- Select Generation 2 and Next.
- When it comes to allocating memory, you need to take into account the base memory of the host device. However, if you have an ample amount of space, allocate at least 8GBs.
- Then, when you are at the Configuring Network screen, select a virtual switch from the Connection drop-down menu and then click Next.
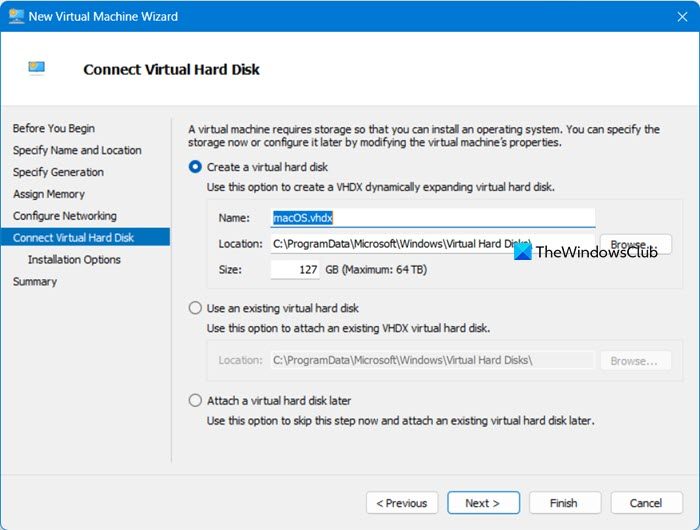
- Select Create a virtual hard disk. If you are fine with the location specified, click Next, but if you want to change the location, click on Browse, specify a location, and then click on Next.
- Now, make sure that Install an operating system later option is checked and click on Next.
- Check the Summary page and make sure everything is correct and correct. Finally, click on Finish.
This will create a virtual machine that we need.
3] Configure your virtual machine for macOS
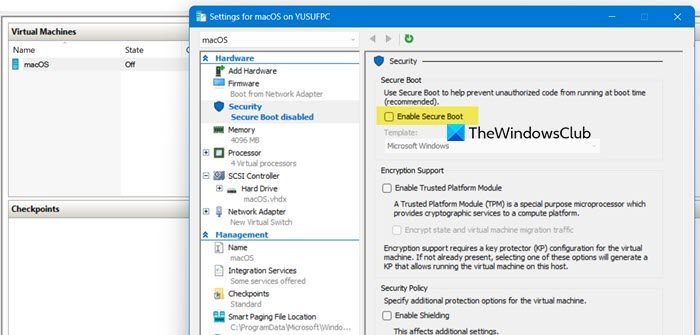
After creating a virtual machine, we must prepare it for macOS. To do the same, right-click on the instance of your virtual machine from Hyper-V, select Settings, and make the following changes.
- In the Security tab, uncheck Enable Secure Boot.
- In the Checkpoints tab, check Enable checkpoints.
- In the Integration Services tab, make sure that all options are checked.
4] Download the macOS virtual hard drive
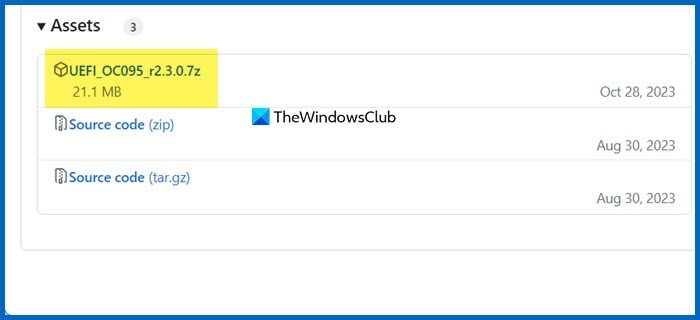
You need to download the macOS file from the Apple Store. Since it is a large file, you will need a good Internet connection, plenty of storage space, and some time.
However, we have a workaround that you can use instead. We need to get the correct hard drive to install the macOS operating system. For that, go to github.com and download the virtual hard drive.
Extract the downloaded zip file, copy the virtual hard disk inside the extracted folder, and paste it to the virtual hard drive folder. By default, the location would be –C:\ProgramData\Microsoft\Windows\Virtual Hard Disks.
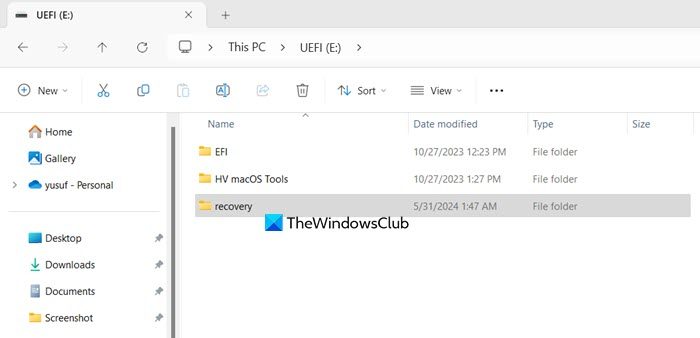
You need to download the Recovery file from drive.google.com. Once done, extract it, and copy the folder in the UEFI drive.
Read: Create Shared folder in VMware for installed Windows OS
5] Add the virtual hard drive to the virtual machine
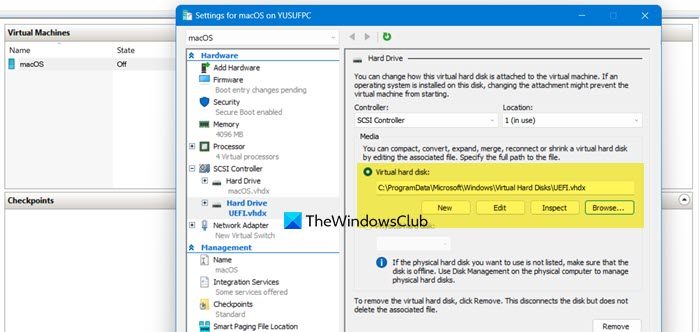
Now that our virtual hard drive is ready, let us attach it to a virtual machine. Follow the steps mentioned below to do the same.
- Open Hyper-V.
- Right-click on the macOS VM and select Settings.
- Click on SCSI Controller, select Hard Drive, and click on Add.
- Now, click on Browse, locate the hard drive, and add it. Click Apply.
- Go to Firmware, select the UEFI drive to the top using the Move up button and the other hard drive, right below it. Finally, click on Apply and click Ok to close the menu.
This way, your virtual machine is ready.

6] Install macOS on your computer
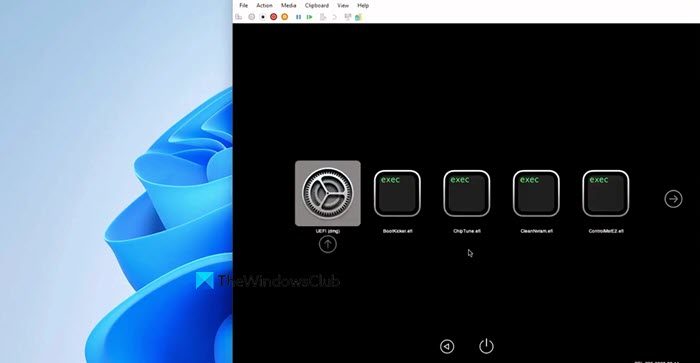
Finally, we will proceed with the installation of your operating system. For that, right-click on the virtual machine and select Start. Wait for a few minutes, then right-click and select Connect.
In Disk Utility, we need to erase a null drive to create a new one. So, click on Erase, give an appropriate name, set Format to APFS, and click on Erase. Finally, you can then follow the on-screen instructions to complete the installation process.
Hopefully, you will be able to install macOS in Hyper-V using the steps mentioned here.
Read: How to install Kali Linux on VMWare Workstation
How to install macOS on virtual machine on Windows?
Installing macOS is not as straightforward as installing some other operating system on a virtual machine. However, with correct guidance, one can easily install the OS on their Windows computer. You can check our guide to install macOS on an Oracle VirtualBox VM if you are using that hypervisor or check this guide to install it in Hyper-V.
Read: How to install Ubuntu in VMWare Workstation
Does Hyper-V support Macintosh operating system?
No, Hyper-V does not support macOS by default, but we can install it on the hypervisor by modifying the virtual disk. However, you won’t be able to install the operating system using the macOS ISO file. If you want to use macOS in Hyper-V on a Windows computer, check out the detailed guide above.
Also Read: Enable Hyper-V on Windows 365 Cloud PC.