Photoshop offers some very interesting and quick ways to get things done with your artwork. Learning how to invert colors in Photoshop is quite easy and it will make your work so much easier. Inverting colors is changing the colors to their opposite color on the color wheel. Inverting colors can make the colors look like a photo negative from an old camera depending on the colors that are changed.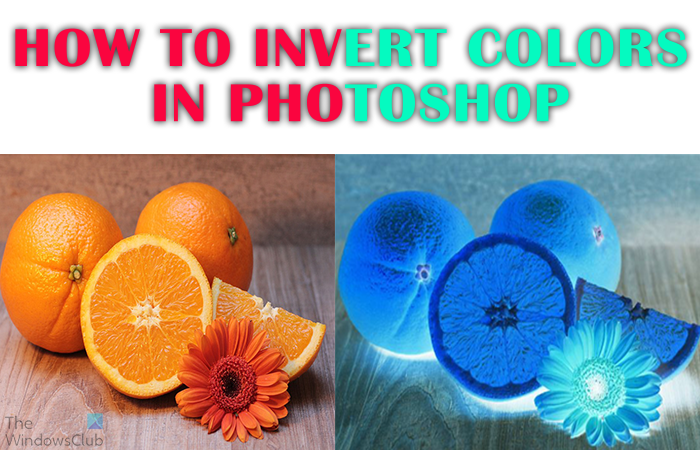
How to Invert Colors on a picture in Photoshop
You can invert the color on all the artwork or just parts of the artwork. If you are changing the whole image you just need to do Invert. If you want to change parts of the artwork, you will need to select the parts you want to change. You can change parts of an artwork to make it more interesting. Being able to quickly invert colors can save valuable time if you have a lot of colors to change. Inverting colors can also be used as a part of a transformation of artwork for example when you want to make an artwork look like watercolor. Inverting the colors in the artwork is one of the steps.
Place the image in Photoshop
The first step is to place the image in Photoshop. You can use a few ways to place the image in Photoshop. You can open Photoshop then find the image and click and drag the image into Photoshop. You can also find the image and right-click on it then click Open with then Adobe Photoshop (version number). Another way to add the image in Photoshop is to open Photoshop then go to File then Open or press Ctrl + O. you will then see the Open dialogue box. You can search for the document, click on it, and click Open.
In this article, I will use two images so that you will get an idea of the way they can look when you invert them in Photoshop.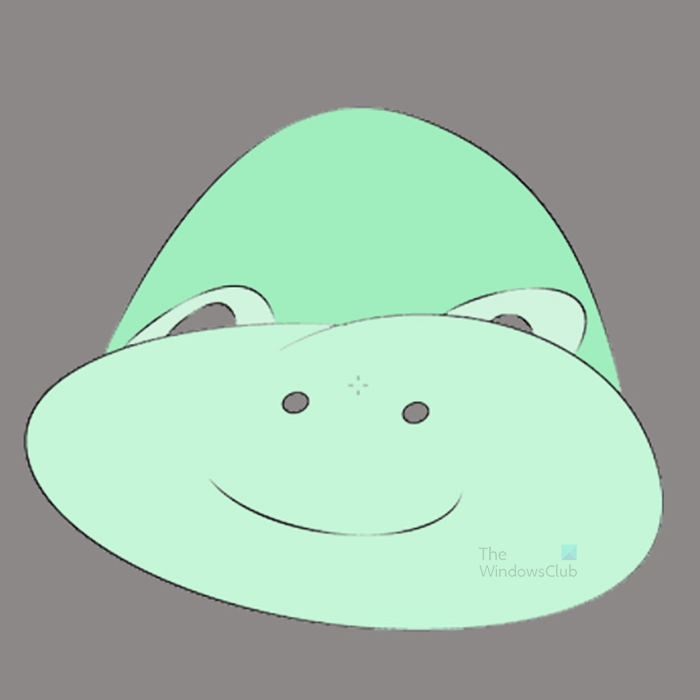
Image 1
Image 2
Invert the color
Now that you have gotten the artwork in Photoshop, it is now time to invert the color. Remember you can invert the whole artwork, or you can do selected parts. Note that the color inversion works on text as well as images.
Duplicate the artwork
It is good practice to always duplicate your artwork before working on them. This can save you time just in case you accidentally destructively edit the artwork.
Invert the whole image
Select the artwork
Now that you are ready to invert the color you can select it in the layers panel. The artwork can be inverted in two ways, you can invert the artwork directly or you can use an Adjustment layer above the artwork.
Invert directly
This method allows you to invert the artwork directly, it is a more destructive method since you will make changes directly to the artwork. However, you would have duplicated the artwork so this should not damage the original.
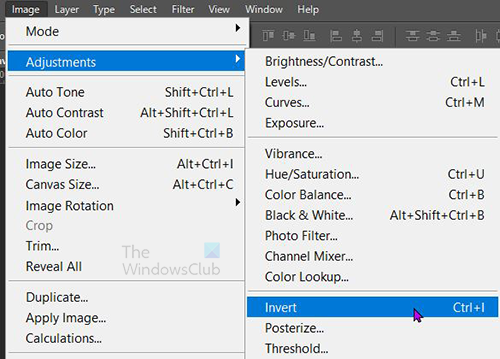
To invert the artwork directly, click on the artwork layer then go to the top menu bar and click Image then Adjustments then Invert, or you can press Ctrl + I.
Invert using an Adjustment layer
You will be creating an adjustment layer that will be placed above the selected artwork in the layers panel.
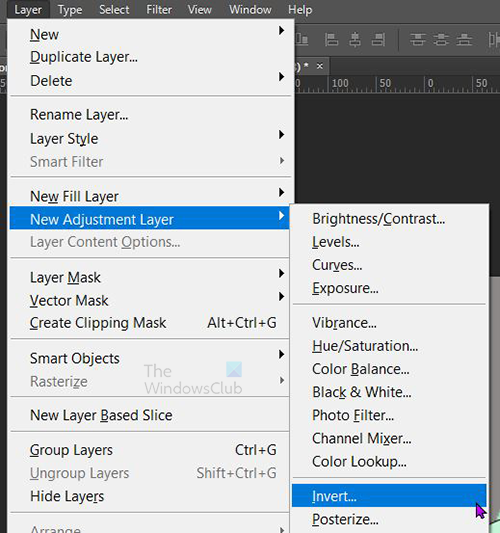
With the image selected go to the top menu bar and click Layer and then click New adjustment layer then Invert.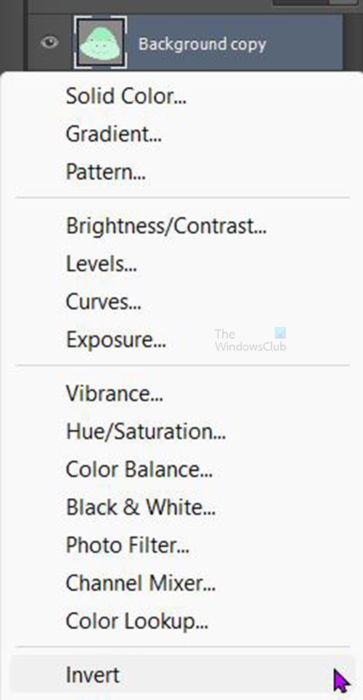
You can also select the artwork in the layers panel then go to the bottom of the layers panel and click the Create new fill or adjustment layer. A menu will pop up, click on Invert.
You will see the artwork change color and the adjustment layer will be placed above the artwork.
Inverting the color by creating the Adjustment layer option or inverting directly on the artwork can be used in both inverting parts of the image or the full image.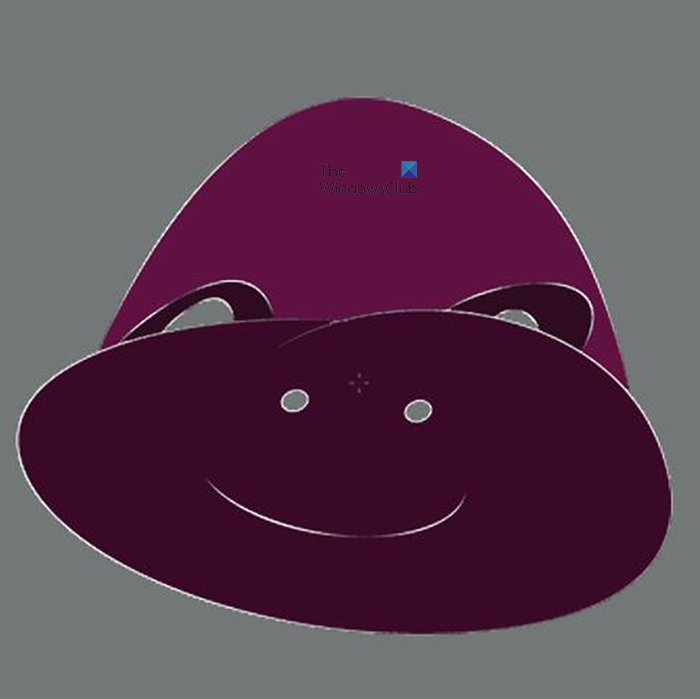
Whole image inverted 1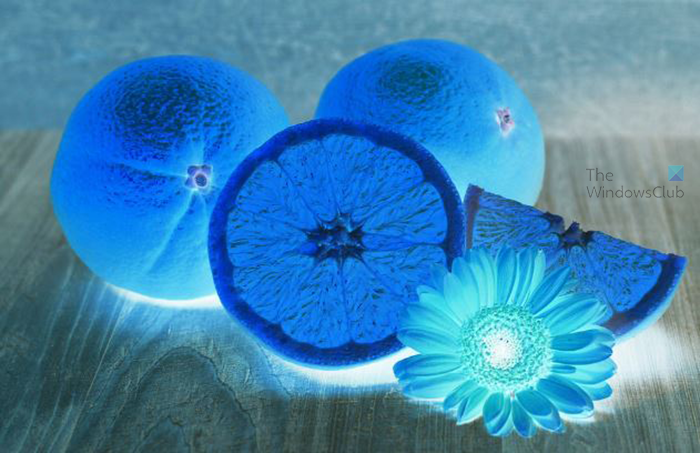 Whole image inverted 2
The adjustment layer will affect all the layers below it. This can be good or bad. This is good if you want to change all the artwork below or you can drag and drop images below and they will automatically be inverted. This can be bad if you only want a specific artwork to be inverted and you have a lot below that artwork. You can work this out by just grouping the artwork that you want to invert and then placing the Invert Adjustment layer above that group.
Invert Parts of the artwork
If you want to just invert colors on specific places on the artwork, you will have to select those places.
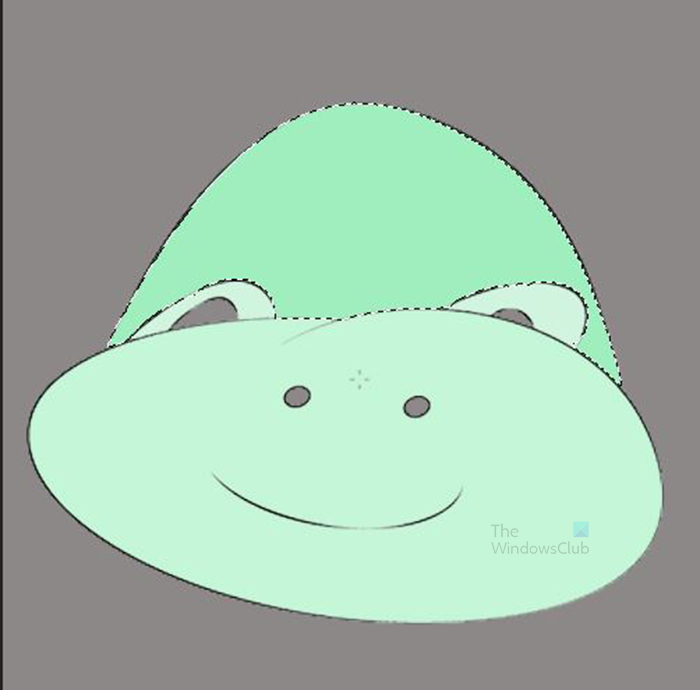
You can use the magic wand or any of the selection tools to make the selection.
With the section selected, use any of the color inversion methods listed above to invert the color. You can simply use the shortcut key CTRL + I to do the inversion. Whichever of the methods that you use the selection will become a copy and then the color would be changed.
This means that you can click and move the part with the inverted color and the original color would be under it.
If you use the adjustment layer option, the inverted color section will become a mask. It would still be movable and above the original color. This option will create a mask layer above the original so that the image is not edited just the adjustment layer.
If you use the Ctrl + I or the Image then adjustment without creating a separate adjustment layer, then the inverted color piece will be cut from the original image, it will however not be on a separate layer. This color piece will be movable and will cut away from the artwork so that when it moves you will see the hole in the image.
Observations
If you look at both artworks, you will realize the differences in how they look when they are inverted. The natural artwork (the orange) starts looking like a negative from a film while the unnatural artwork looks just like the colors were inverted to their opposite colors. This shows that color inversion will look different depending on the type of image and the colors used. Images with lots of colors and shades will be harder to have the different colors selected to be inverted. You can try if you have to, however, these are better for the full-color invert.
Read: Convert image to high-contrast black-and-white in Photoshop
Can the color of text be inverted in Photoshop?
Any artwork can have the colors inverted in Photoshop, whether image or text. the process of inverting the color of text is the same as inverting the color of images. You can either invert the whole color or some selected parts just like you do with the images.
Read: Multiple ways to invert the color of an image on Windows PC.
How do you make a negative effect in Photoshop?
A negative effect is making a photo look like it was taken by an old camera on film. The picture will begin to look like the color was drained away. Another name for negative is Ghost because the photo will look weird like the colors are drained away. To create a negative effect place the photo in photoshop and press Ctrl + I or go to the top menu bar and click Image then Adjustment and then Invert. Both these methods will change the original photo destructively unless you had duplicated the Photo. To make the photo look like a negative non-destructively, select the image then go to the top menu bar and press Layer then New adjustmet layer then Invert. This method will create an adjustment layer above the photo. The photo will not be changed but the changes will be made to the adjustment layer.
Leave a Reply