In many ways, Google Slides is similar to Microsoft PowerPoint, so it should come as no surprise to learn that it is possible to lock pictures or objects in Google Slides. The question is, how do we get this done in the quickest way possible?

Locking an object is important if you do not want an image or whatever else to be deleted by mistake. Google has made this possible in Slides, so there is no need to go through many hoops to accomplish the task. When objects such as images or shapes are locked, you can create a consistent background that never changes unless you want it to.
How to lock an Image or Object in Google Slides
If you want to lock images or objects in Google Slides, you can use any of the following methods:
- Lock objects by Grouping them
- Lock objects using the Master Slide feature
- Lock a photo by using it as a background
1] Lock objects by grouping them in Google Slides

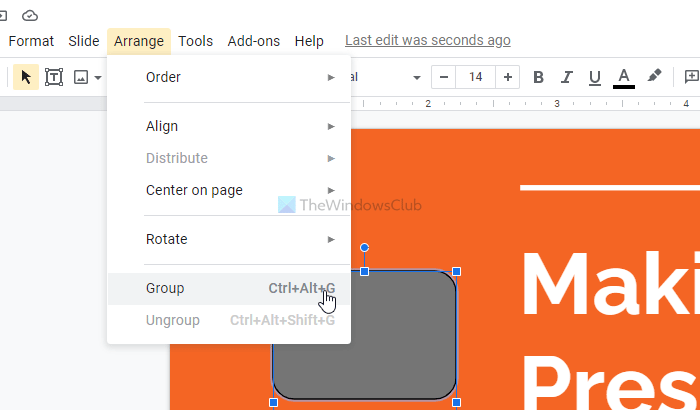
One of the best ways to lock objects in Google Slides is to group them into a single entity. You see, the grouping feature will link the position of selected objects, and when they move, they will do so as if they were a single item.
This will allow users to keep the distance between some objects by locking them in place. Still, you can move the items collectively if you wish.
This post will show you how to group or ungroup objects in Google Slides.
2] Lock objects using the Master Slide feature in Google Slides

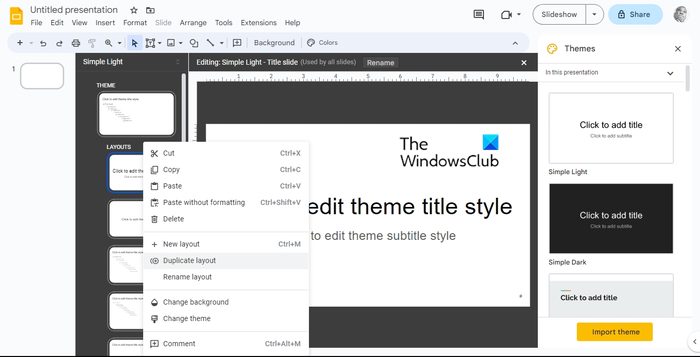
Another cool way to lock objects in Google Slides is to use the Master Slide feature. This special slide is designed to control the layout and design of all of the slides in the document. You can add any image, shape, text, or object to lock with ease via the master slide.
Whenever objects appear in your master slide, they will show up on every slide located in your presentation, while always being locked in position.
To lock objects, go ahead and open a Google Slides presentation
- Navigate to Slide, then select Edit Theme.
- Right-click on a layout and be sure to choose Duplicate Layout.
- A copy of the layout will be created right away, and you have the option to customize it.
- From there, paste any object you want to lock onto the duplicated layout.
- You can rotate, format, resize, crop, or rearrange the objects at will.
- When you’re done, click the Exit button to complete the task.
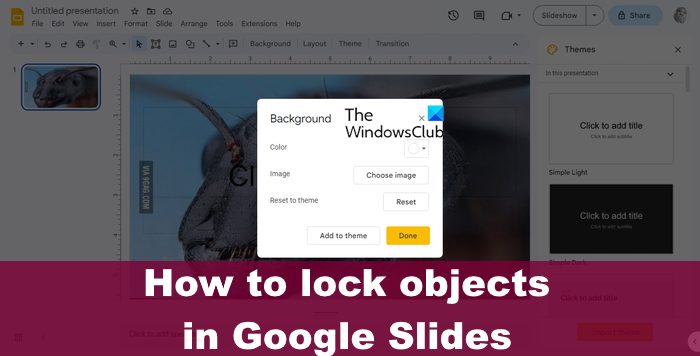
3] Lock a photo by using it as a background in Google Slides
Folks who are more interested in locking images rather than all objects, we suggest learning how to lock photos as a background.
- To do this, open your presentation in Google Slides.
- Go to Slide, then select Change Background.
- Click on Choose Image in a bid to upload a picture from your Windows computer.
- You can also upload images from Google Drive or the web.
- Additionally, you can use stock images provided by Google.
- After selecting a preferred image, click on Insert.
- Click the Done button, and that’s it, you’ve just locked a picture as a background.
READ: Best Google Slides Add-Ons for presentations
How do I lock content slides?
It is possible to lock a content block in Google Slides. All you have to do is press the lock on the toolbar or use the Windows keyboard shortcut – CTRL+SHIFT+L.
How do I lock Google Slides so no one can edit?
Open the file in Google Slides, then click the Share button. Now, at the top, you will want to click on Settings, then Uncheck Editors can change permissions and share.
Leave a Reply