Illustrator is making it very easy to make graphs that are vector based for infographics and presentations that will in some cases be used in very large formats. The graphs are made using graph tools. The graph tools available in Illustrator are Column graph tool, Stacked column graph tool, Bar graph tool, Stacked bar graph tool, Line graph tool, Area graph tool, Scatter graph tool, Pie graph tool, and Radar graph tool. You will notice that there is no Donut graph tool available. This means that you will have to create your own Donut Pie Chart or Graph. This has to be done using two tools that are available in illustrator.
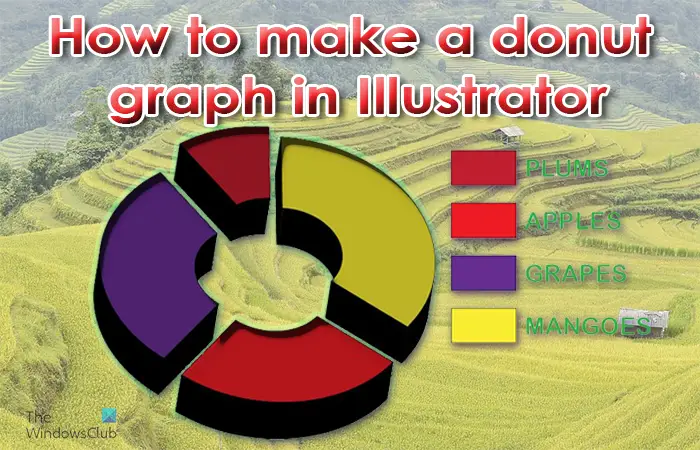
How to make a Donut Chart in Illustrator
You can make your presentation more attractive with a vector donut graph. Let us see how to make a 3D Donut Pie Chart in Illustrator.
- Open and prepare Illustrator
- Go to the tools panel
- Click the Pie graph tool
- Click and drag to create the pie chart
- Enter the graph data
- Change the color of the Pie graph
- Ungroup the Pie graph
- Select the Ellipse tool
- Use the Ellipse tool to draw a circle
- Place the circle in the center of the Pie graph
- Use the shape builder tool to cut the Pie graph
- Delete the circle
- Make the donut graph 3D
- Save
1] Open and prepare Illustrator
The first step is to open and prepare Illustrator. Click the illustrator icon to open Illustrator. When Illustrator is opened go to File then New or press Ctrl + N to open a new document.
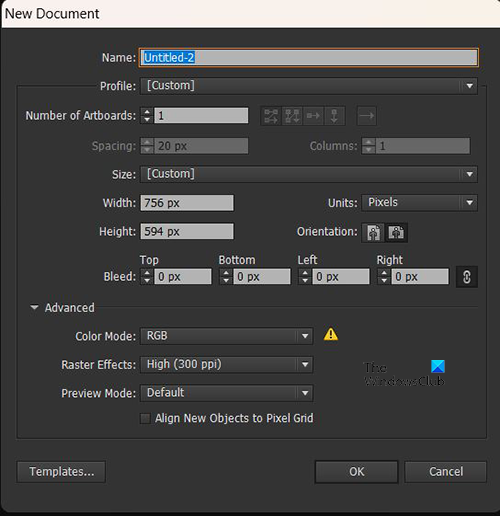
The New document options window will appear. Here you can choose the options that you want for your new Illustrator document. When you have chosen the options for your document, press Ok to accept and create the new document.
2] Go to the tools panel
This is the step where you will choose the graph tool that you will use as the base for the donut graph. The Pie graph tool will be the base for the Donut graph. To create the Pie graph you need to choose the Pie graph tool from the left tools panel.
Read: How to create Graphs in Illustrator
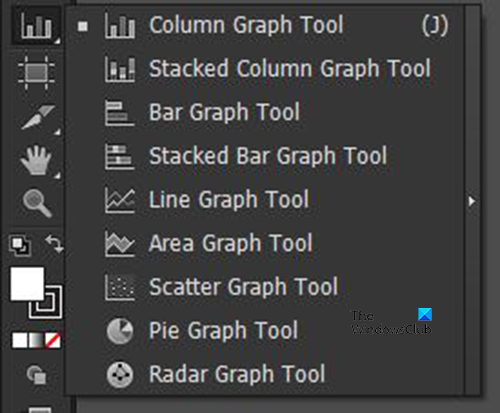
The Pie graph tool is located in the same group as the Bar graph tool, the Stacked graph tool, and others.
3] Click the Pie graph tool
At the left tools panel, you will look for the Pie graph tool. If the Pie graph tool is not at the top of the Graph tools then click and hold the graph tool that is visible to bring up the menu with the list of Graph tools. From the pop-out menu click on the Pie graph tool.
4] Click and drag to create the pie chart
With the Pie graph now selected click on the document and drag to create the Pie graph. Click and drag to the size that you want then release the mouse button to see the graph and the data window on the document.
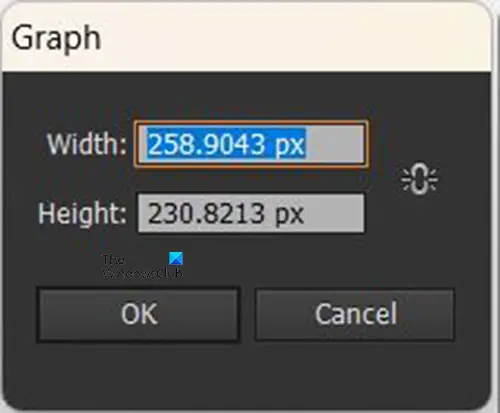
You can also create the Pie graph by also selecting the Pie graph tool and then clicking on the document. The Graph size option window will appear, here you will place the Height and Width that you want for the graph. Enter the size values then press Ok to create the graph.
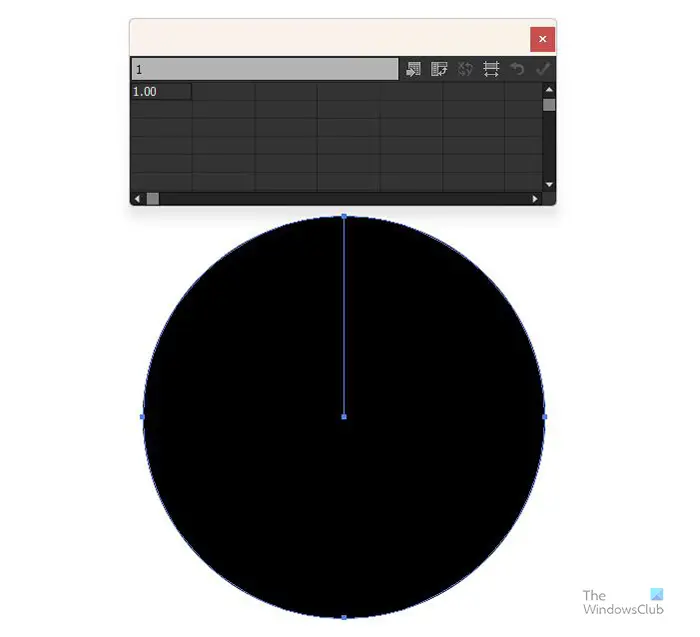
The blank graph with the data window will appear.
5] Enter the graph data
When the graph and the data window appear, the graph will not be in sections as the data is not there as yet. In the data window, you will enter the data that you need to display in the Pie graph. If you want the Legend names and colors to be shown, enter the category names horizontally in the cells of the data window then enter the corresponding numbers below each category name.
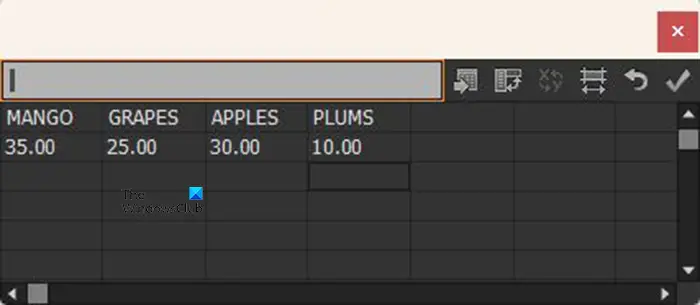
This is an example of what the data should look like in the data window.
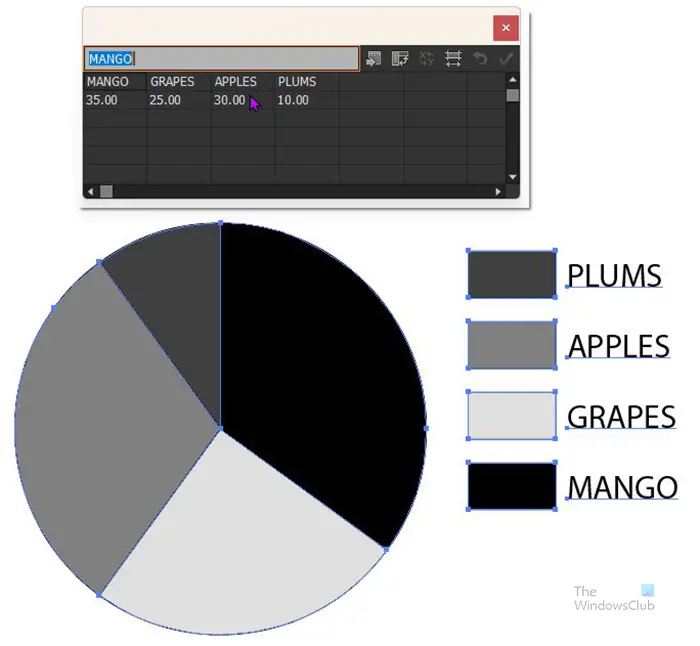
When you have finished entering the data click the Apply icon (the tick). You will see the Pie graph divided to represent the data entered and also the corresponding legend. They will all be grayscale so you will need to change the colors. When the data is entered and you are satisfied with the results, press the X to close the data window.
6] Change the color of the Pie graph
This step is where you change the color of the Pie graph slices and also the legend that represents each slice. This step is optional as you may want to keep the grayscale look for printing purposes. However. You may want to change the colors if you want the presentation to be attractive, especially for digital presentations.
To change the color of the graph you will need to select each slice and its corresponding legend. You can use straight colors or gradients. Note that it is best to change the color of the slice and its legend at the same time or you may get confused. To change the colors go to the left tools panel and select the Direct selection tool then click on the slice and hold Shift then click on the corresponding legend. With them both selected, go to the color swatch panel and click on the desired color or gradient.
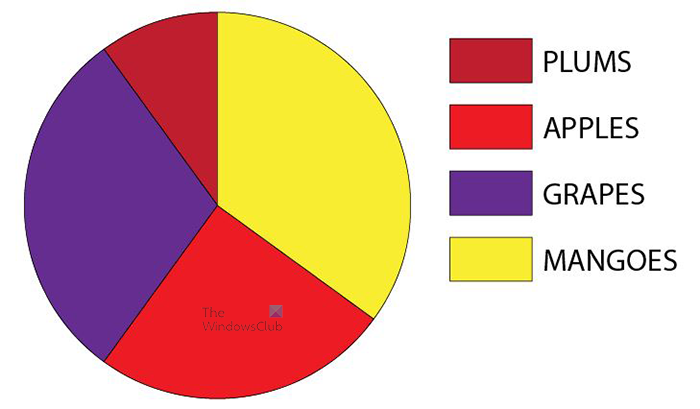
This is the Pie graph with the color added to the slices and the legend swatches.
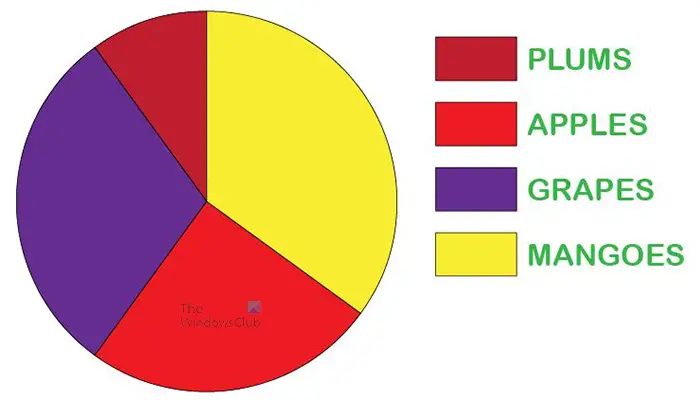
If you want to, you can also change the colors and font style of the text, you can make them individually different or all the same. The font styles and colors were changed for this Pie graph.
7] Ungroup the Pie graph
The next step is to ungroup the Pie graph, this will allow you to make the donut using the circle in the following steps. If the Pie graph is not ungrouped then you will not be able to apply the donut effect as the graph will not delete.
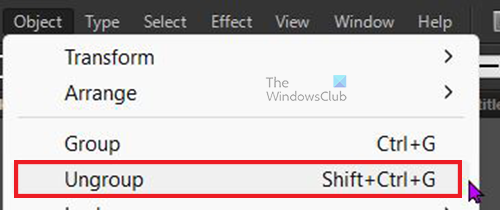
To ungroup the Pie graph, select the graph then go to the top menu bar and click Object then Ungroup or press Shift + Ctrl + G.

When you choose Ungroup or press Shift + Ctrl + G, you will get a warning message that you will not be able to access the style, or the data or change its design. Press Ok to confirm that you understand and accept this message. After accepting this message you will be able to cut out the center of the graph.
8] Select the Ellipse tool
This is where the ellipse tool will be selected. The Ellipse tool is located on the left tools panel in the same group as the shapes (Rectangular tool, Polygon tool, etc). The ellipse tool will be used to create the circle that will be used to create the donut with the Pie graph. If the Ellipse tool is not at the top of the Shapes tool group, long press the shape at the top to bring up the menu with all the tools, you then click on the Ellipse tool to activate it.
9] Use the Ellipse tool to draw a circle
With the Ellipse tool selected, click and drag on a section of the document while holding Shift + Ctrl. This will create a circle.
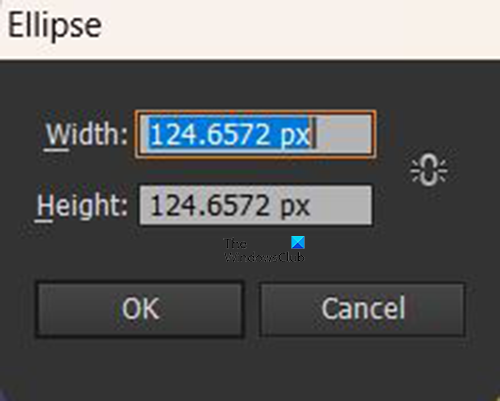
You can also create the circle by clicking on the document when the ellipse tool is active. An Ellipse size window will appear for you to enter the Width and Height values that you want for the circle. Note that it is a circle so both size values need to be the same. Make the circle smaller than the Pie graph so that it can create a hole in the middle. When the circle is created you can click and resize it if it is not the desired size.
10] Place the circle in the center of the Pie graph
With the circle created it is time to place it on the Pie graph. Click and drag the circle onto the Pie graph, placing it at the center. If the Pie graph is hiding the circle, right-click on the Pie graph, and from the menu click Arrange then Send to back or click the graph and press Shift + Ctrl + [.
11] Use the shape builder tool to cut the Pie graph
With the circle in the center of the Pie graph, it is now time to cut out the center of the circle to make the donut effect. Use the selection tool to drag over the Pie graph and circle selecting them. You then go to the left tools panel and click the Shape builder tool or press Shift + M.
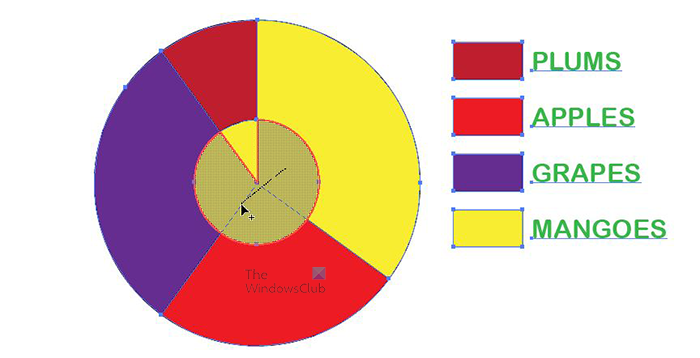
With the Shape builder tool selected click and drag inside the circle where you will see a mesh appear where the sections will be deleted. When you let go of the mouse button the parts with the grid will be deleted. You may have to repeat this until the center of the graph is deleted.
12] Delete the circle
When the center of the Pie graph is gone, select the circle and delete it. This step may not be necessary for certain versions of Illustrator as the circle may be automatically removed.
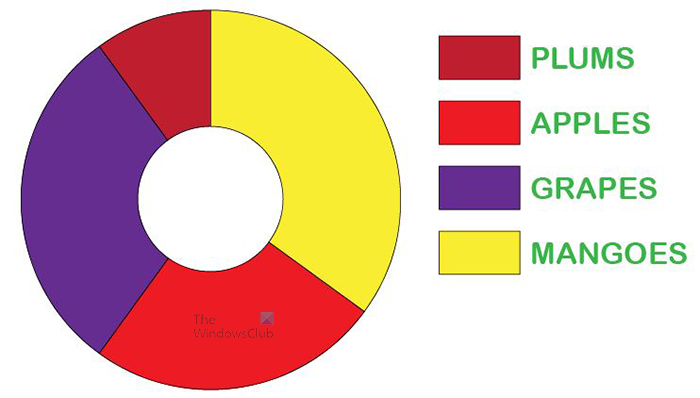
This is the Pie graph with the center deleted to create a donut. You can use different size circles to create a bigger hole in the center.
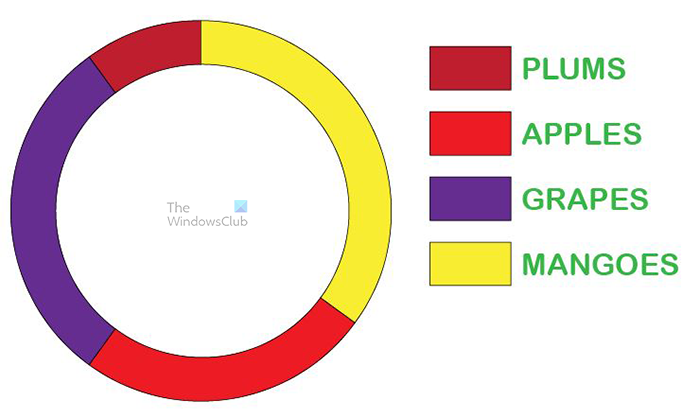
This is the donut graph with a larger hole.
13] Make the donut graph 3D
You can make the donut 3D to add some more style and interest to it. To make the Donut graph 3D, select it with the Direct selection tool then go to the top menu bar and click Effect then 3D then Extrude and Bevel. The 3D Extrude options window will appear, click Preview then make the changes that you want for the Pie graph. When you are finished click Ok to accept the changes.
Read: How to create 3D Exploded Pie Chart in Illustrator
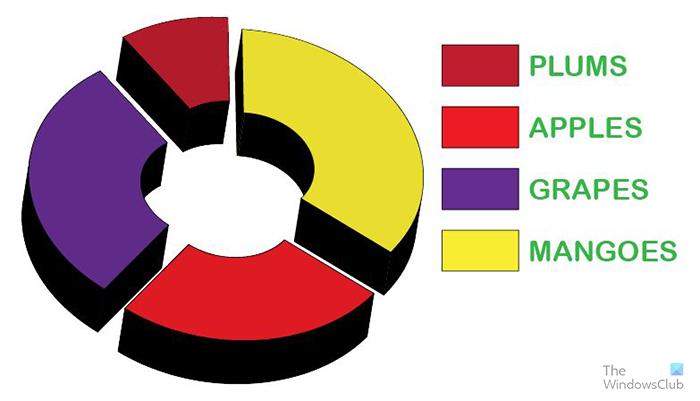
You can move the pieces apart so that the 3D is clearer. When the pieces are close together, especially with the smaller center the 3D may overlap. This is the Pie graph 3D with the smaller hole in the center.
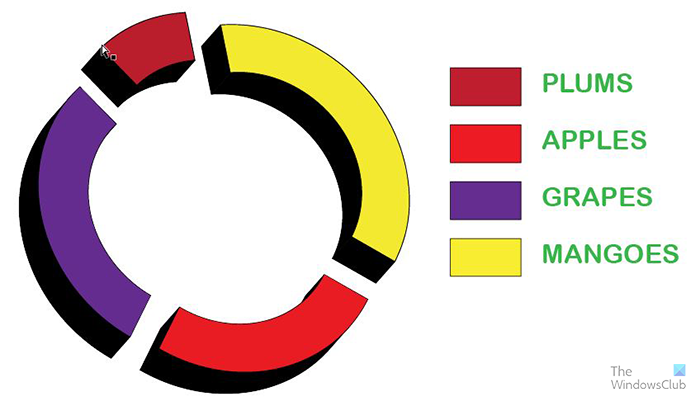
This is the Pie graph 3D with the larger hole in the center.
14] Save
To save the donut graph for future use and edits you need to save it as an Illustrator .ai file. Go to File then Save as and choose a name for the document then press Save. The file will be saved so that you can edit it at a later date.
To save the file in a format that makes it easy to share you need to use the Export option. Go to File then Export, the Export window will open for you to choose a file name, save location, and file format. For transfers and use online, .JPEG is a great format because it is compressed and easy to share digitally. If you need to print and you need a better quality file, save as .PNG or .TIFF. When you have chosen the file name, location, and format, press Save.
How do you make a donut circle in Illustrator?
A donut is a circle with a hole in the center. To create a circle with a hole in the middle in Illustrator you would follow these steps.
- Use the ellipse tool to create a circle with a fill color
- Use the ellipse tool to create another smaller circle and place it in the center of the first circle
- Select both circles and then select the Shape builder tool and use it to remove the center of the inner circle. This will create a hole that you can see through
How do you turn a circle into a sphere in Illustrator?
- To turn a circle into a sphere in Illustrator you would create a full circle
- Use the scissors tool to cut the circle in half and delete the left half
- You then select the half of the circle that is left and go to the top menu bar and click Effects then 3D then Revolve.
- The 3D options menu window will appear, click Preview to see what the 3D looks like and make necessary adjustments
- When you are finished making adjustments, click Ok to accept the adjustments and close the 3D options window.
Leave a Reply