Minecraft makes it possible for users to explore and create in an open world beaming with life and danger. Now, when traversing the world, it makes perfect sense for users to have a spyglass in their arsenal in order to see far and beyond. In this post, we will show you how to make and use a Spyglass in Minecraft.

How to make a Spyglass in Minecraft
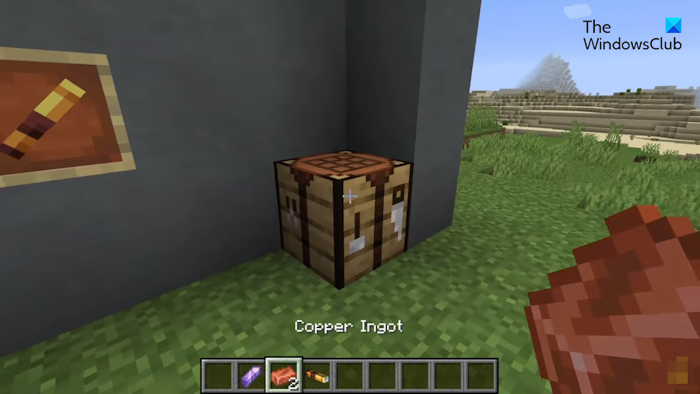
Before you can create a spyglass, you will need to have copper ingots in your inventory. You will need at least two copper ingots to get started. Not only that, you will need a single amethyst shard, and do not forget the crafting table. Bear in mind that the two ingots and the amethyst shard should not be placed on the crafting table randomly. But this is something we will explain in more detail because it’s important for acquiring a spyglass.
1] Open the crafting table

The first thing you should do here is to open the crafting table after acquiring the necessary resources. Bear in mind the 3×3 crafting table is required here, and not the 2×2 variant.
If you’re playing Minecraft on Windows, then press the E key to open the table.
Those who are playing on Xbox must press the X button.
READ: How to put out a campfire in Minecraft
2] Add items to the 3×3 crafting table

The next step here is to add the items directly to the crafting table. Now, bear in mind you mustn’t add the items in random places.
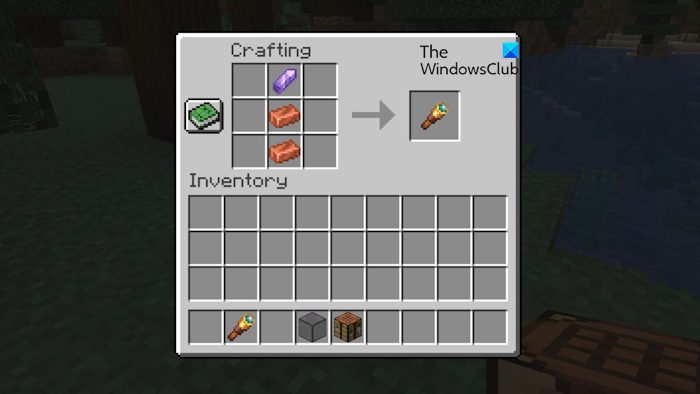
Ensure the amethyst shard is placed in the first row.
Below the shard should be the two copper ingots.
If added correctly then your crafting table should look similar to the image above.
READ: Minecraft Mod Fabric Installer has crashed
3] Place the Spyglass in your inventory
Once the items have been placed in the correct area on the crafting table, the spyglass will appear to the right.
All you have to do now is move it from the crafting table to your inventory, and that’s it.
You’ve just created and equipped a spyglass in Minecraft. You can now go ahead on your journey knowing you have the capabilities to see into the distance.
Read: How to grow Mushrooms in Minecraft
How to use the Minecraft Spyglass
When it comes down to using the spyglass, the task is quite easy, and that is expected. You see, the item can only be used to zoom in on a specific location from the player’s field of view (FOV). By default, the FOV is set to 60 degrees in the Bedrock Edition, and 70 degrees in the Java Edition.
Players can change their FOV from between 30 degrees to 110 degrees, so there is a lot of room to play around with where the spyglass is concerned.
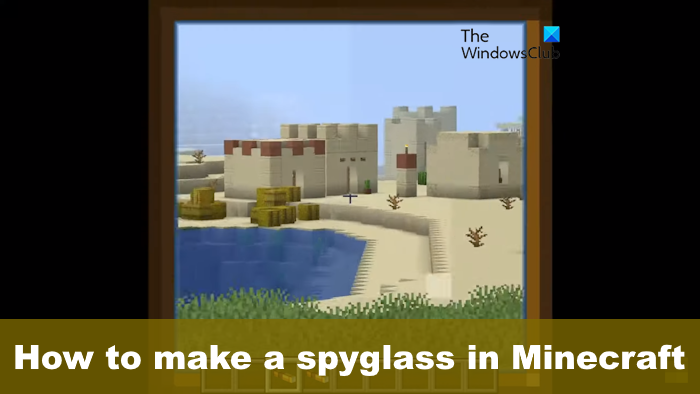
Bear in mind that when the spyglass is in use, a square vignette is shown. The effect is similar to when players are wearing a carved pumpkin. Furthermore, we must point out that pressing the F1 key removes the vignette.
Note that if an object is hazy from a distance, it will stay that way when viewed from the spyglass. Additionally, mobs that are too far in the distance to render will not render when the spyglass is used. This is because the spyglass can only show a magnified version of what the player is already looking at.
Also, when the spyglass is being used, the player is slowed down. Strangely enough, players can only use the spyglass for a maximum of 1 minute before the interface closes automatically.
READ: How to migrate Minecraft account from Mojang to Microsoft Account
What is the point of a Spyglass in Minecraft?
The reason behind the creation of this item is to make it easier for players to view things from far away. You can zoom in on anything to get a better idea of what it is. The spyglass is not perfect, but it works, and that’s more important from our point of view.
Can you put enchantments on a Spyglass?
Yes, you can put enchantments on a Spyglass, and one of the best is Sol Sight. This rare enchantment allows the player to set enemies on fire after looking through the Spyglass. Bear in mind that after setting a target on fire, you will not be able to look through Spyglass until the cooldown period ends.
Leave a Reply