Arrows are used for safety signs, emphasis on objects, directions and so much more. Learning how to make Arrows in Illustrator is very important because a lot of times arrows are used for large signs. Illustrator is used for vector graphics and vector graphic is great for making large artwork. These arrows will be resized so being an Illustrator vector graphic, the arrows will keep their quality regardless of the size.
How to make Arrows in Illustrator
You can create arrows in Illustrator using different tools and features as follows:
- Make arrows using the Shape tools
- Make arrows with the Brush tool
- Make arrows using Symbols
- Make arrows with the Pen tool
1] Making arrows using the shape tools
You may need to create arrows for signs to show directions to a meeting point or an establishment. You may not be very skilled in Illustrator, however, using the shape tools to make arrows is quite easy. A basic arrow is made of a shaft (straight section) and a point, you just need shapes to represent these parts.
Using the Rectangle tool to create arrows
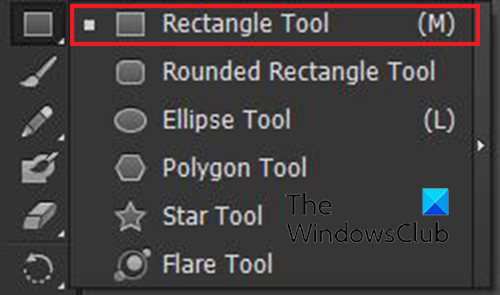
You can use the Rectangle tool to create arrows, the Rectangle tool is located on the left tools panel.

Select the Rectangle tool or press M then draw a long rectangle to create the shaft of the arrow.
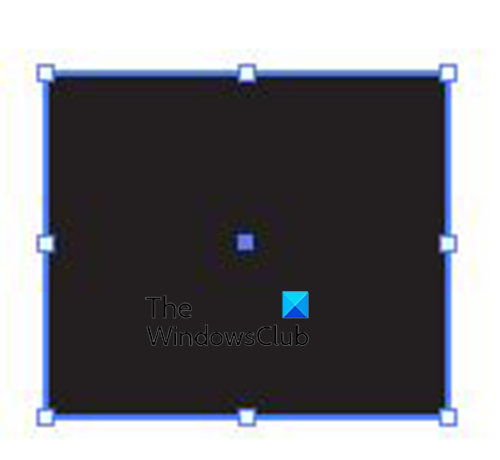
With the shaft created, it is now time to add the point of the arrow. You can use the same Rectangle tool to create the point of the arrow. With the Rectangle tool selected, draw a square.
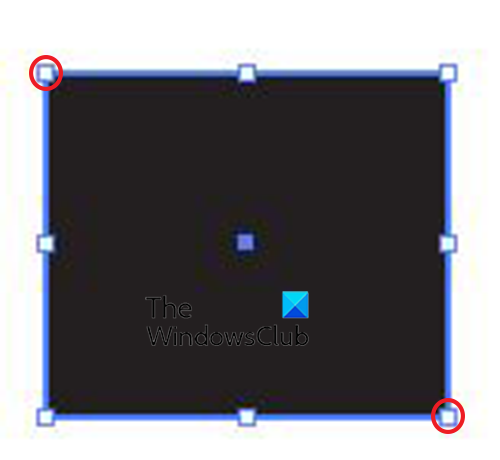
Use the Direct selection tool and click the top left handle and the lower right handle of the square then press Backspace.
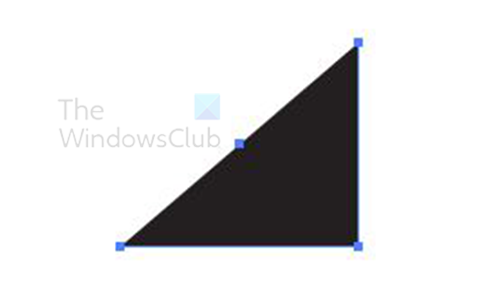
This will delete parts of the square leaving it looking like a triangle. You can also turn the square into an arrowhead by selecting the pen tool. You would then hover over any of the corner handles until the Pen tool cursor have a dash beside it, you would then click the handle. This would delete that handle and turn the square into a triangle. You would then move it towards the shaft of the arrow where you will rotate it.

To rotate the arrow head you can use the Rotate tool on the left tools panel. To access the Rotate tool, click it or press R. You can also rotate the arrowhead by hovering the cursor close to any of the handles. When the cursor turns into a curved arrow, hold the left mouse button and rotate the object. You would then move it until it is touching the shaft of the arrow.
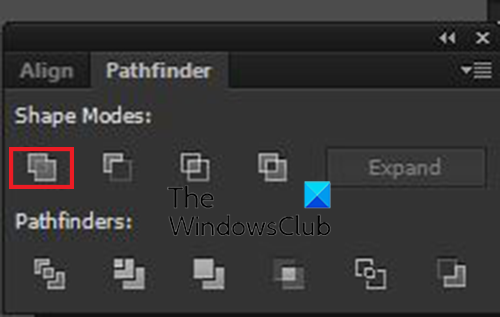
Even though the arrow parts are touching each other, they are two separate parts. To make them one object, select both parts then go to the Pathfinder panel and click Unite. You can also join them by selecting both pieces then going to the left tools panel and clicking the Shape builder tool or pressing Shift + M. With the Shape builder tool active, click the shapes, and drag from one part to the other.

This is the completed arrow. You can add more elements to your arrow.


You can change the color, add another arrowhead to the other end, and much more.
2] Make arrows with the brush tool
Another way that you can make arrows in Illustrator is by using the Paintbrush tool.
Select the paintbrush tool from the left tools panel then click and drag to create a line for the arrow’s shaft. You then draw the tip of the arrow.

To make a straight line, hold Shift while you draw the line.
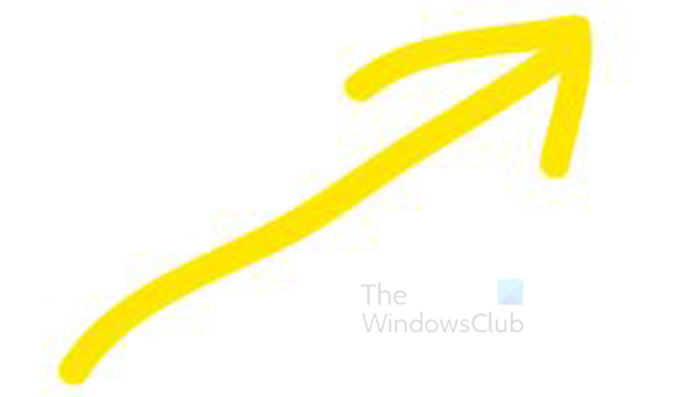
When you have completed the arrow, select both parts of the arrow then go to the top menu bar and click Object then Path the Outline stroke. With both parts of the arrow still selected, you can use the Shape builder tool from the left tools panel, or the Unite option from the Pathfinder panel to join both pieces of the arrow.
Read: How to insert Symbols in Illustrator
3] Make arrows using symbols
In Illustrator, symbols are like little pre-made icons. There are many symbols available and you can use them in your illustrations or other artwork. If you want an arrow, you will find them available in Symbols.
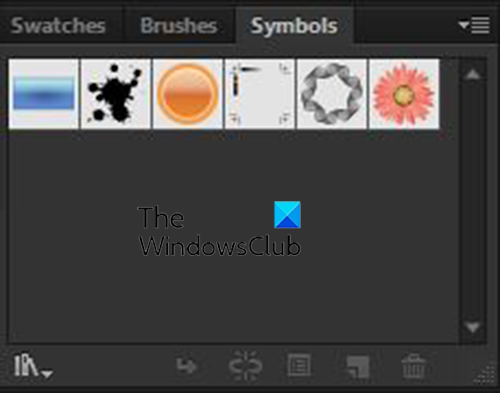
To access the symbols go to the Symbols pallet on the right side of the Illustrator work area.
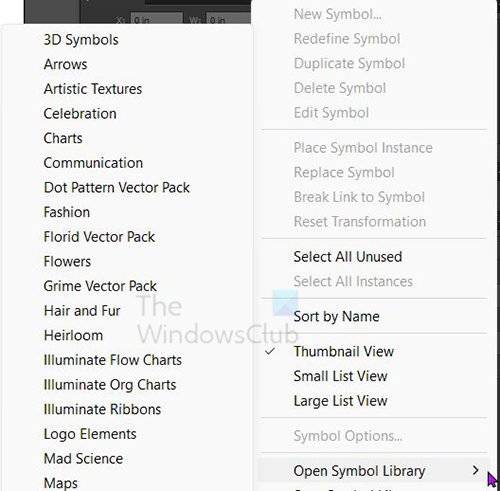
To access the arrow symbols, click the menu button on the top right of the symbols pallet then from the menu hover over Open symbol library. You would then look at the list of available symbols and choose Arrows.
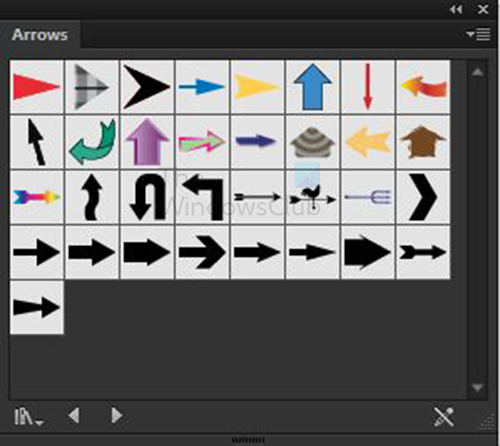
You will see the Arrows pallet open up with the available arrow symbols.
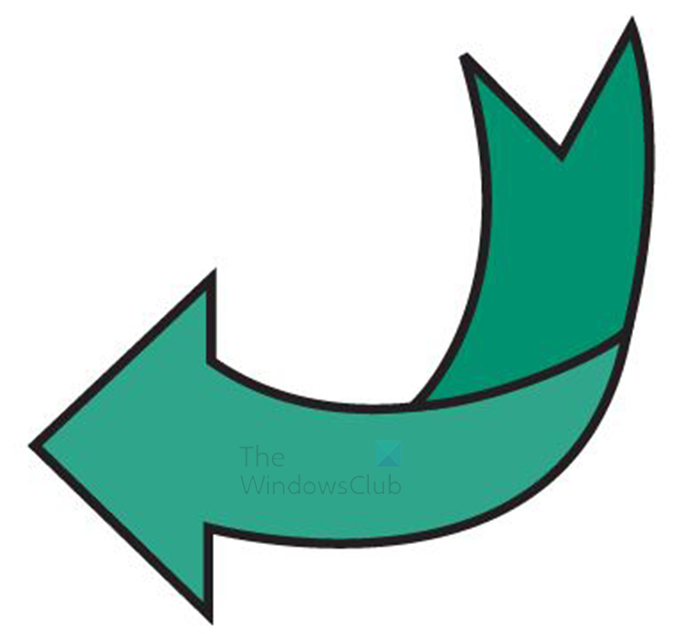
Click on the symbol that you want then drag it onto your work area.
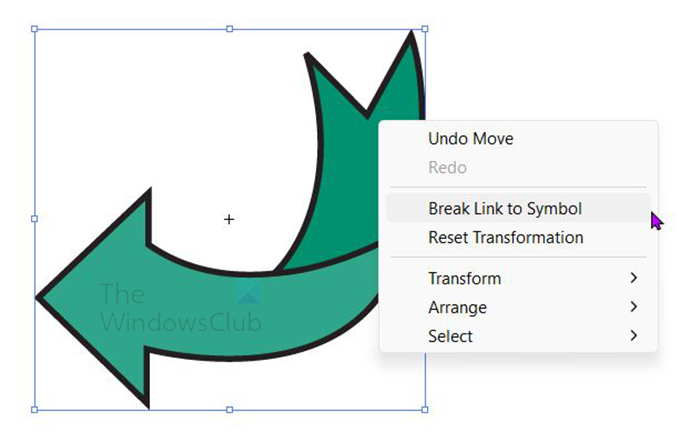
The color, or stroke cannot be edited for this arrow, it can only be resized. To edit the color and stroke, right-click on the arrow then click Break link to symbol.
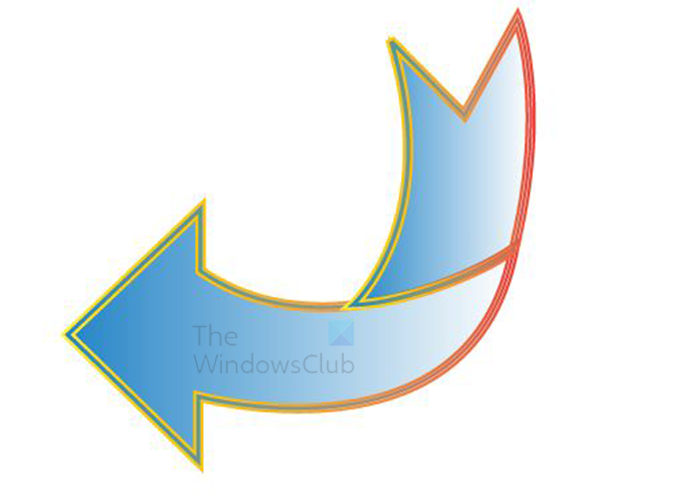
This is the symbol arrow that is edited.
4] Make arrows with the pen tool
Using the Pen tool to make arrows in Illustrator is quite easy. The Pen tool may take some time to learn, however, using it to make arrows is easy because arrows are simple.

To use the Pen tool to make arrows, select the Pen tool from the left tools panel. Click on the work area to create a starting point. if you want a straight line, hold Shift then click another point.
This will create a straight line that can be used as the shaft for the arrow. Ensure that the fill color is off and the stroke is on.

If you want to make a line that is curved with the Pen tool, you would click to create the first. When you go to create the second point, click and drag to enable the handles. If you drag down the line will curve down and if you drag up the line will curve up.

This is the line curved up so you can create an arrow that is curved up. The handle is still there so you can click it and adjust if you want to.To get rid of the handle, click on the selection tool then click anywhere on the canvas.
Add arrow head using brush definition
To get the head on the arrow, you would go to the top menu bar and click the Brush definition option. It usually has the word Basic. When you click the word basic or the drop-down arrow, the menu will ascend.
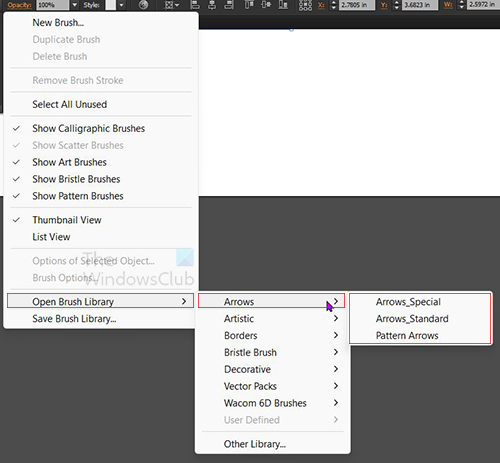
You would then look for the menu (three horizontal line), click the menu and another menu will appear.
From this new menu click Open brush library then Arrows then choose from Arrow_special, Arrows_standard, or Pattern arrow. Whatever one you choose a pallet will appear with the different ones available.
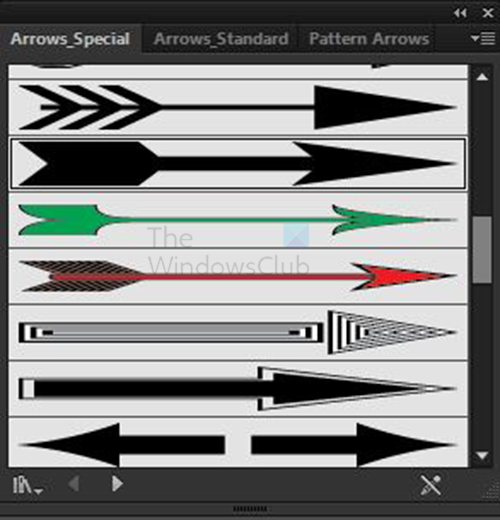
Arrow_special options
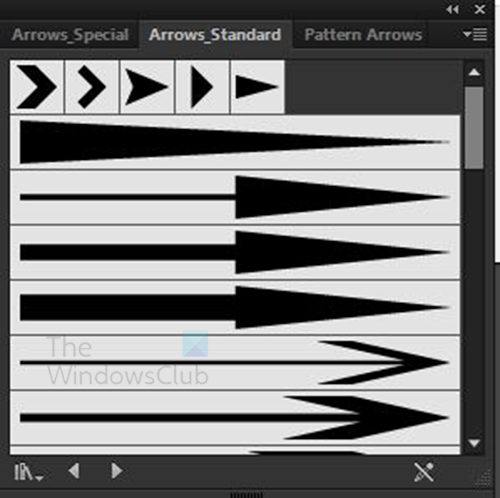
Arrow_standard options
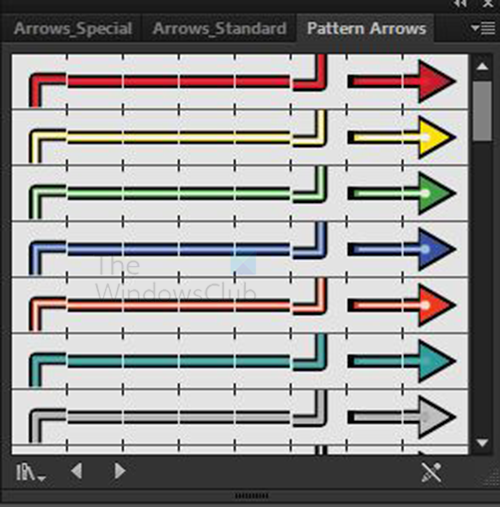
Pattern arrow options

This is one example of the Arrow _special. You can experiment with the others. You will notice that it comes out curved like the pen tool line was.

This is one example of the Arrow _standard. You can experiment with the others. You will notice that it comes out curved like the pen tool line was.

This is one example of the Pattern arrow. You can experiment with the others. You will notice that it comes out curved like the pen tool line was.
Add arrowhead using the stroke option
You can add the arrowhead and even the arrow tail by using the stroke option.
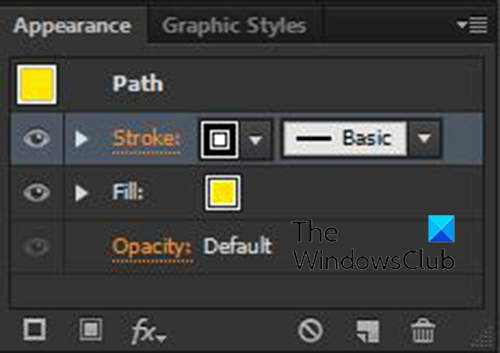
To do this, click on the Pen tool line or the path that you used. You then click the word Stroke in the right layers Appearance panel.
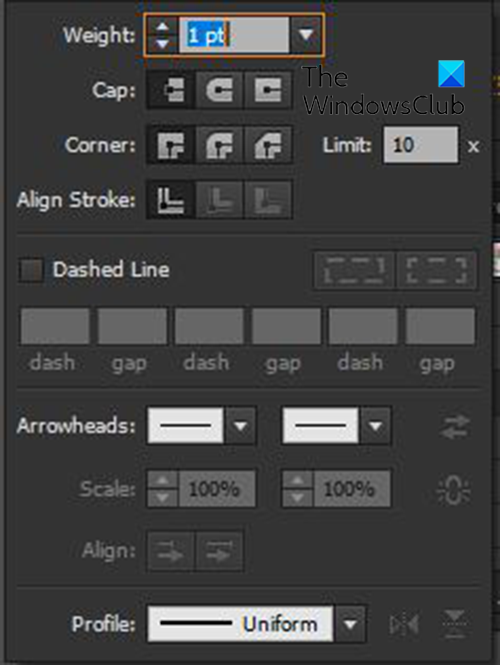
The stroke panel will appear, here you can choose what goes on each end of the Pen tool line or path. Look for the Arrowhead category and you see two boxes on the left and right. The left box is for the start and the right box is for the finish. The start is where you made the first point of the Pen tool and the finish is where you made the last point. You can use the reverse button if you put the arrowhead on the wrong part.

This is an example of an arrow using the stroke option arrow start and finish. You can use any of the available arrows start and finish.
Making arrows in Illustrator is quite easy and the arrows can be resized and keep their high quality.
Read: How to use Envelope Distort Tool to reshape Objects in Illustrator
How do you make a thick arrow in Illustrator?
There are a few ways t make a thick arrow in Illustrator. You can use shapes such as the Rectangle tool or the Rounded rectangle tool to create the arrow. These make it easy to create thick arrows, especially for large signages. Another way to create thick arrows in Illustrator is to increase the size of the stroke if you use lines or the Pen tool to create your arrow.
How do I add an arrowhead to a path in Illustrator?
To add an arrowhead to a path in Illustrator, select the path then go to the left pallet and click the word stroke. The stroke pallet will appear, look for the Arrowheads category. In the Arrowheads category, you can choose what goes on at the start and finish of the path. There are other things that you can do to the path as well in the stroke options.
Leave a Reply